
No Bake Mummy Oreo Halloween Cookies
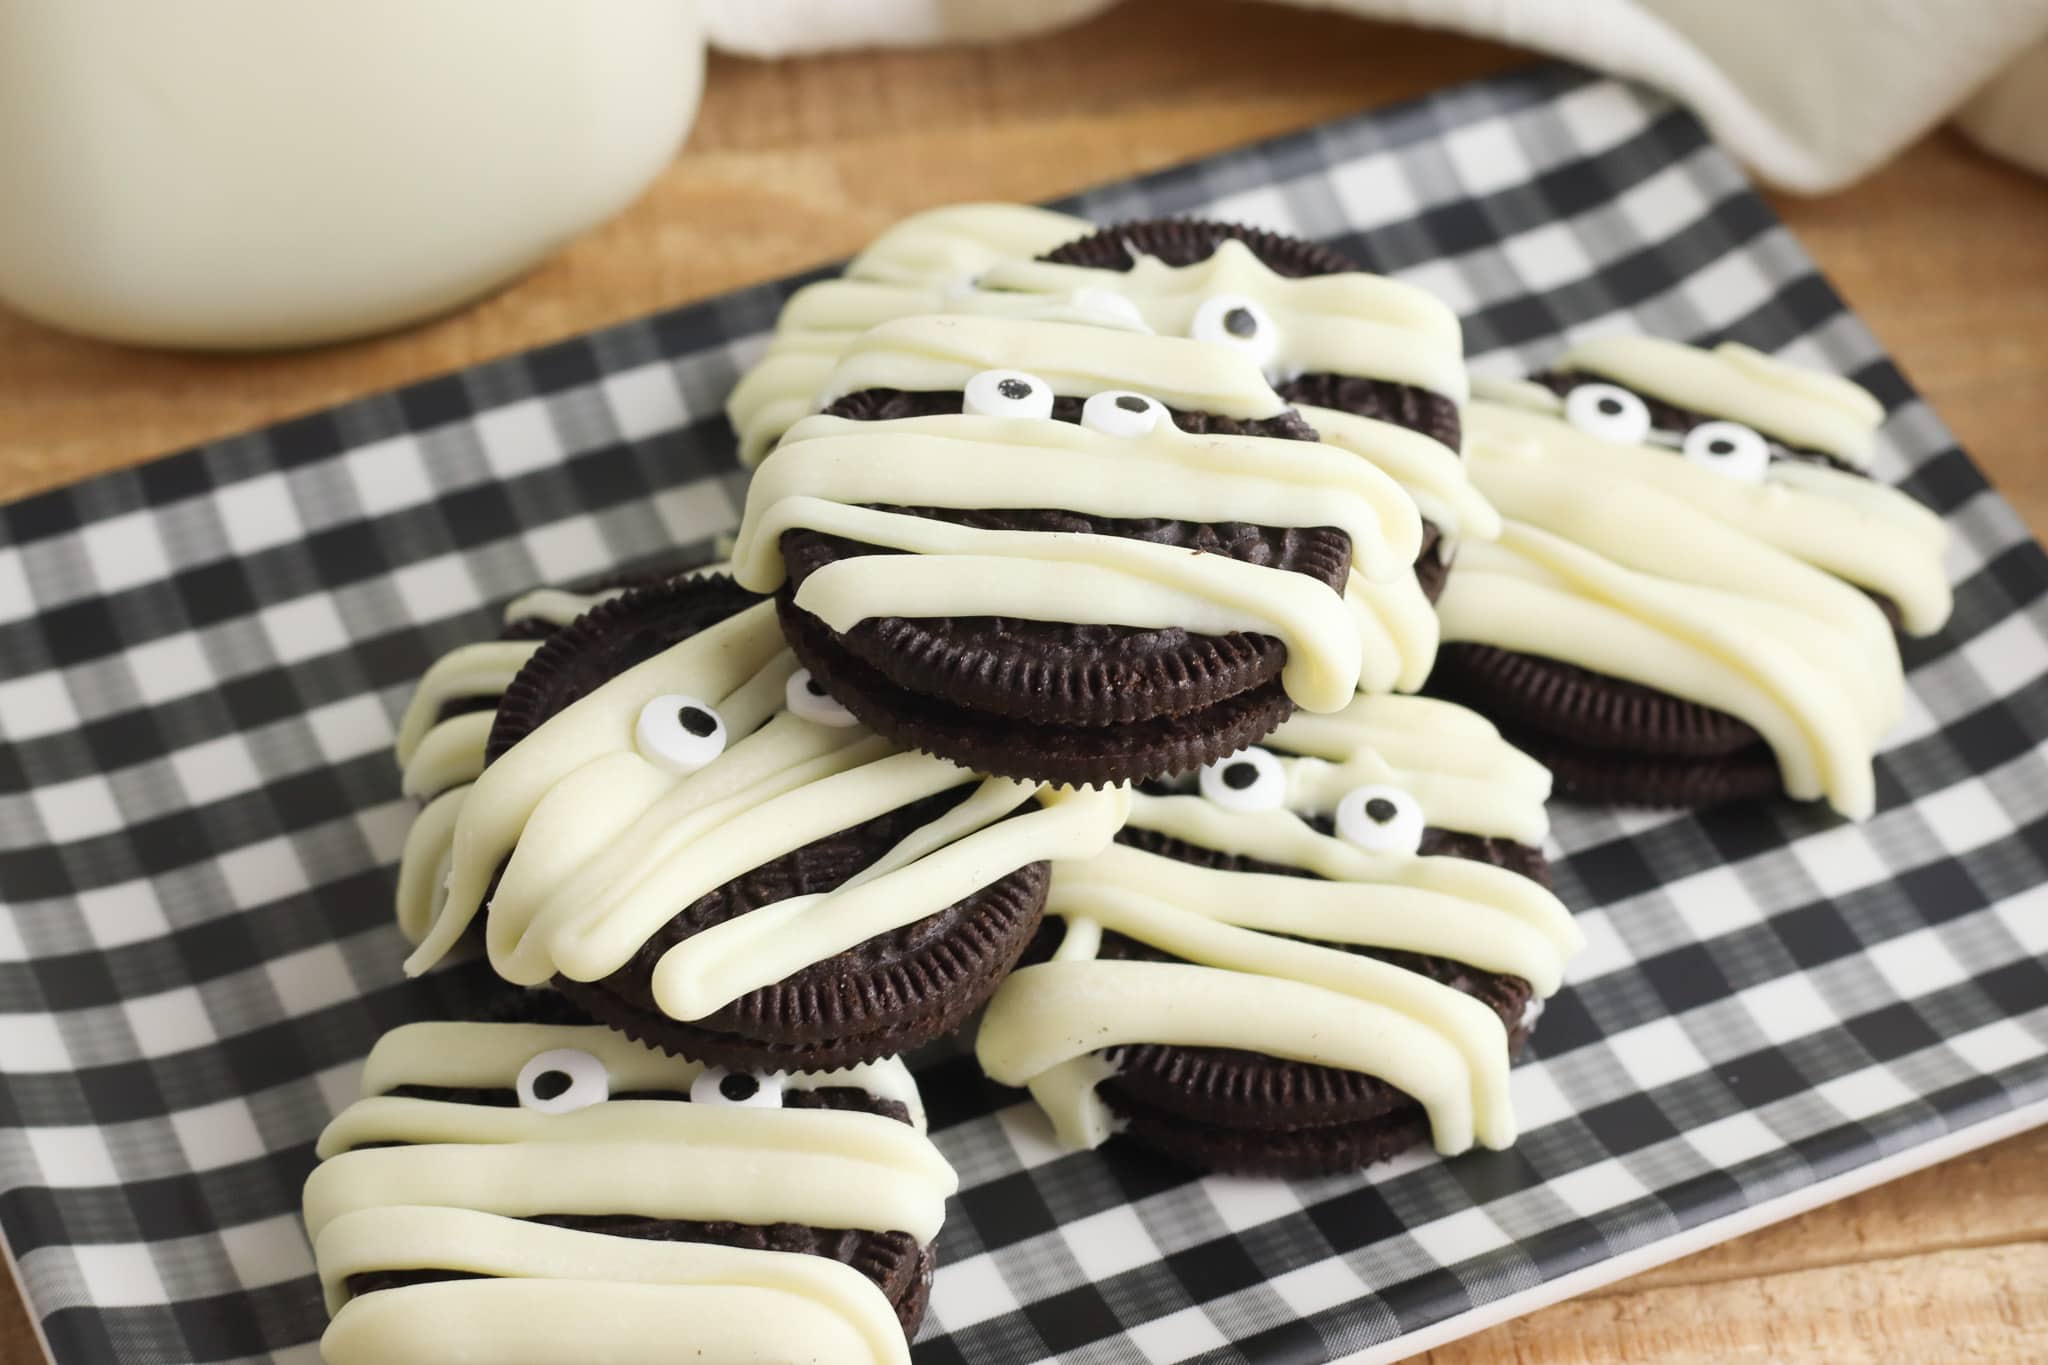
These No-Bake “Mummy” Oreo Cookies are a fun, ultra-easy Halloween treat that convert classic sandwich cookies into adorable spooky snacks with just candy melts and googly eyes.
I get excited about Halloween every single year. There’s just something so fun and exciting about seeing the kids geared up and ready to trick or treat in their costumes. And since I am an adult who refuses to fully grow up about Halloween, I find every excuse to make fun and spooky treats to go along with it.
I’ve made these Oreo mummy cookies every single year and at this point it’s a genuine Halloween tradition in my house. First off, who doesn’t love Oreos? They’re literally the best cookies. Then when you coat them in white candy melts and add little candy eyes, you’ve turned something already great into something that makes kids scream — in the good way.
Three ingredients, no baking, 40 minutes including the time for the candy to set. This is the Halloween activity that doesn’t require an entire afternoon.
The piping is the fun part and it doesn’t need to be perfect. Messy, overlapping crisscross lines look more like real mummy bandages than anything neat and uniform would. Let the kids do the drizzling — irregular technique is actually the right technique here. Just make sure an adult handles the melting.
Even though giving out homemade treats for Halloween is a no-go with strangers, these are perfect for close family and friends. The kids love handing them to their buddies and watching the reaction. They’re also a great school party treat if your school allows homemade snacks.
Not only are they simple and easy to make, but you don’t even have to really “bake” anything at all. It’s time to keep off the Halloween celebrations by making up a batch of these tasty mummy treats. (Literally just three simple ingredients!)
INGREDIENT NOTES
Oreos (14.3 oz package, standard): The whole package makes approximately 45 mummy cookies — enough for a crowd or a school party. The round shape is what makes the mummy visual work cleanly. Double Stuf works too but the thicker filling can make the cookies slightly harder to keep flat on the rack while the candy sets.
Vanilla candy melts (12 oz package): White is the classic mummy color. Wilton and Ghirardelli both work well. Melt in 30-second microwave intervals, stirring between each — white candy melts burn faster than chocolate and go from melted to seized quickly if overheated. The melted candy should be smooth and pourable but not runny. If it’s too thick to pipe, stir in half a teaspoon of vegetable oil or shortening to thin it slightly.
Candy eyes: The detail that completes the mummy. Available at craft stores, grocery stores in the baking aisle, and Amazon. Standard round candy eyes with a black pupil are the most recognizable. Press them into the candy while it’s still soft — they won’t adhere once the candy sets.
How To Make it
Start by setting up your workspace before anything gets melted. Line a baking sheet with parchment paper, place a wire cooling rack on top, and spread all the Oreos out in a single even layer. Have your candy eyes measured out and within reach — you’ll need them fast once the piping starts, and fumbling for the container mid-cookie means the candy sets before the eyes go on.
Melt the candy melts in a microwave-safe bowl in 30-second intervals, stirring between each one. Don’t rush this step and don’t skip the stirring — white candy melts burn faster than chocolate and go from perfectly melted to seized and grainy quickly if you overheat them. You’re looking for a smooth, glossy consistency that flows off a spoon in a slow ribbon. If it looks too thick to pipe, stir in half a teaspoon of vegetable oil and that should loosen it up.
Transfer the melted candy to a piping bag with a small round tip, or a zip-top bag with a tiny corner snipped off. The opening should be small — you want thin lines, not a flood of white.
Now pipe the bandages. This is where you let go of any instinct toward neatness. Drag the piping bag across each Oreo in irregular, overlapping lines at different angles — three to five passes per cookie, going back and forth in different directions the way actual bandages would be wrapped. Messy crisscross lines look far more like mummy bandages than neat parallel stripes. Leave a small gap near the top center of each cookie where the eyes will go.
The moment you finish piping a cookie, immediately press two candy eyes into that gap. You have about 30 to 60 seconds before the candy starts to firm up — once it sets, the eyes won’t adhere without adding more melted candy underneath them. Press gently so they sink slightly into the surface rather than just sitting on top. Then move to the next cookie.
Once all the cookies are done, leave them on the rack for about 20 minutes until the candy is completely set and firm. You can speed this up by putting the whole rack in the refrigerator for 10 minutes — just make sure the cookies come back to room temperature before storing, since condensation can make the candy coating look cloudy.
That’s it. Store in an airtight container at room temperature and they’ll keep for up to a week, though they never last that long.
FAQs:
While Oreos are perfect due to their round shape and chocolatey flavor, any similar-sized, round cookie would work.
Stir in a small amount of vegetable oil or Crisco — start with half a teaspoon and add more as needed until the candy flows smoothly from the piping bag. Don’t add water, which will cause the candy to seize.
Place them while the candy melt is still fully soft and warm — there’s about a 30-60 second window per cookie. Press gently so they sink slightly into the surface rather than just resting on top. If the candy has already set, a tiny dot of fresh melted candy under each eye acts as glue.
Up to one week stored in a cool, dry place in an airtight container. The candy coating stays set and the Oreos stay crisp. Don’t refrigerate — condensation can make the candy coating look cloudy.
When melting the candy, do so in short bursts in the microwave to prevent burning.

THE PIPING TECHNIQUE
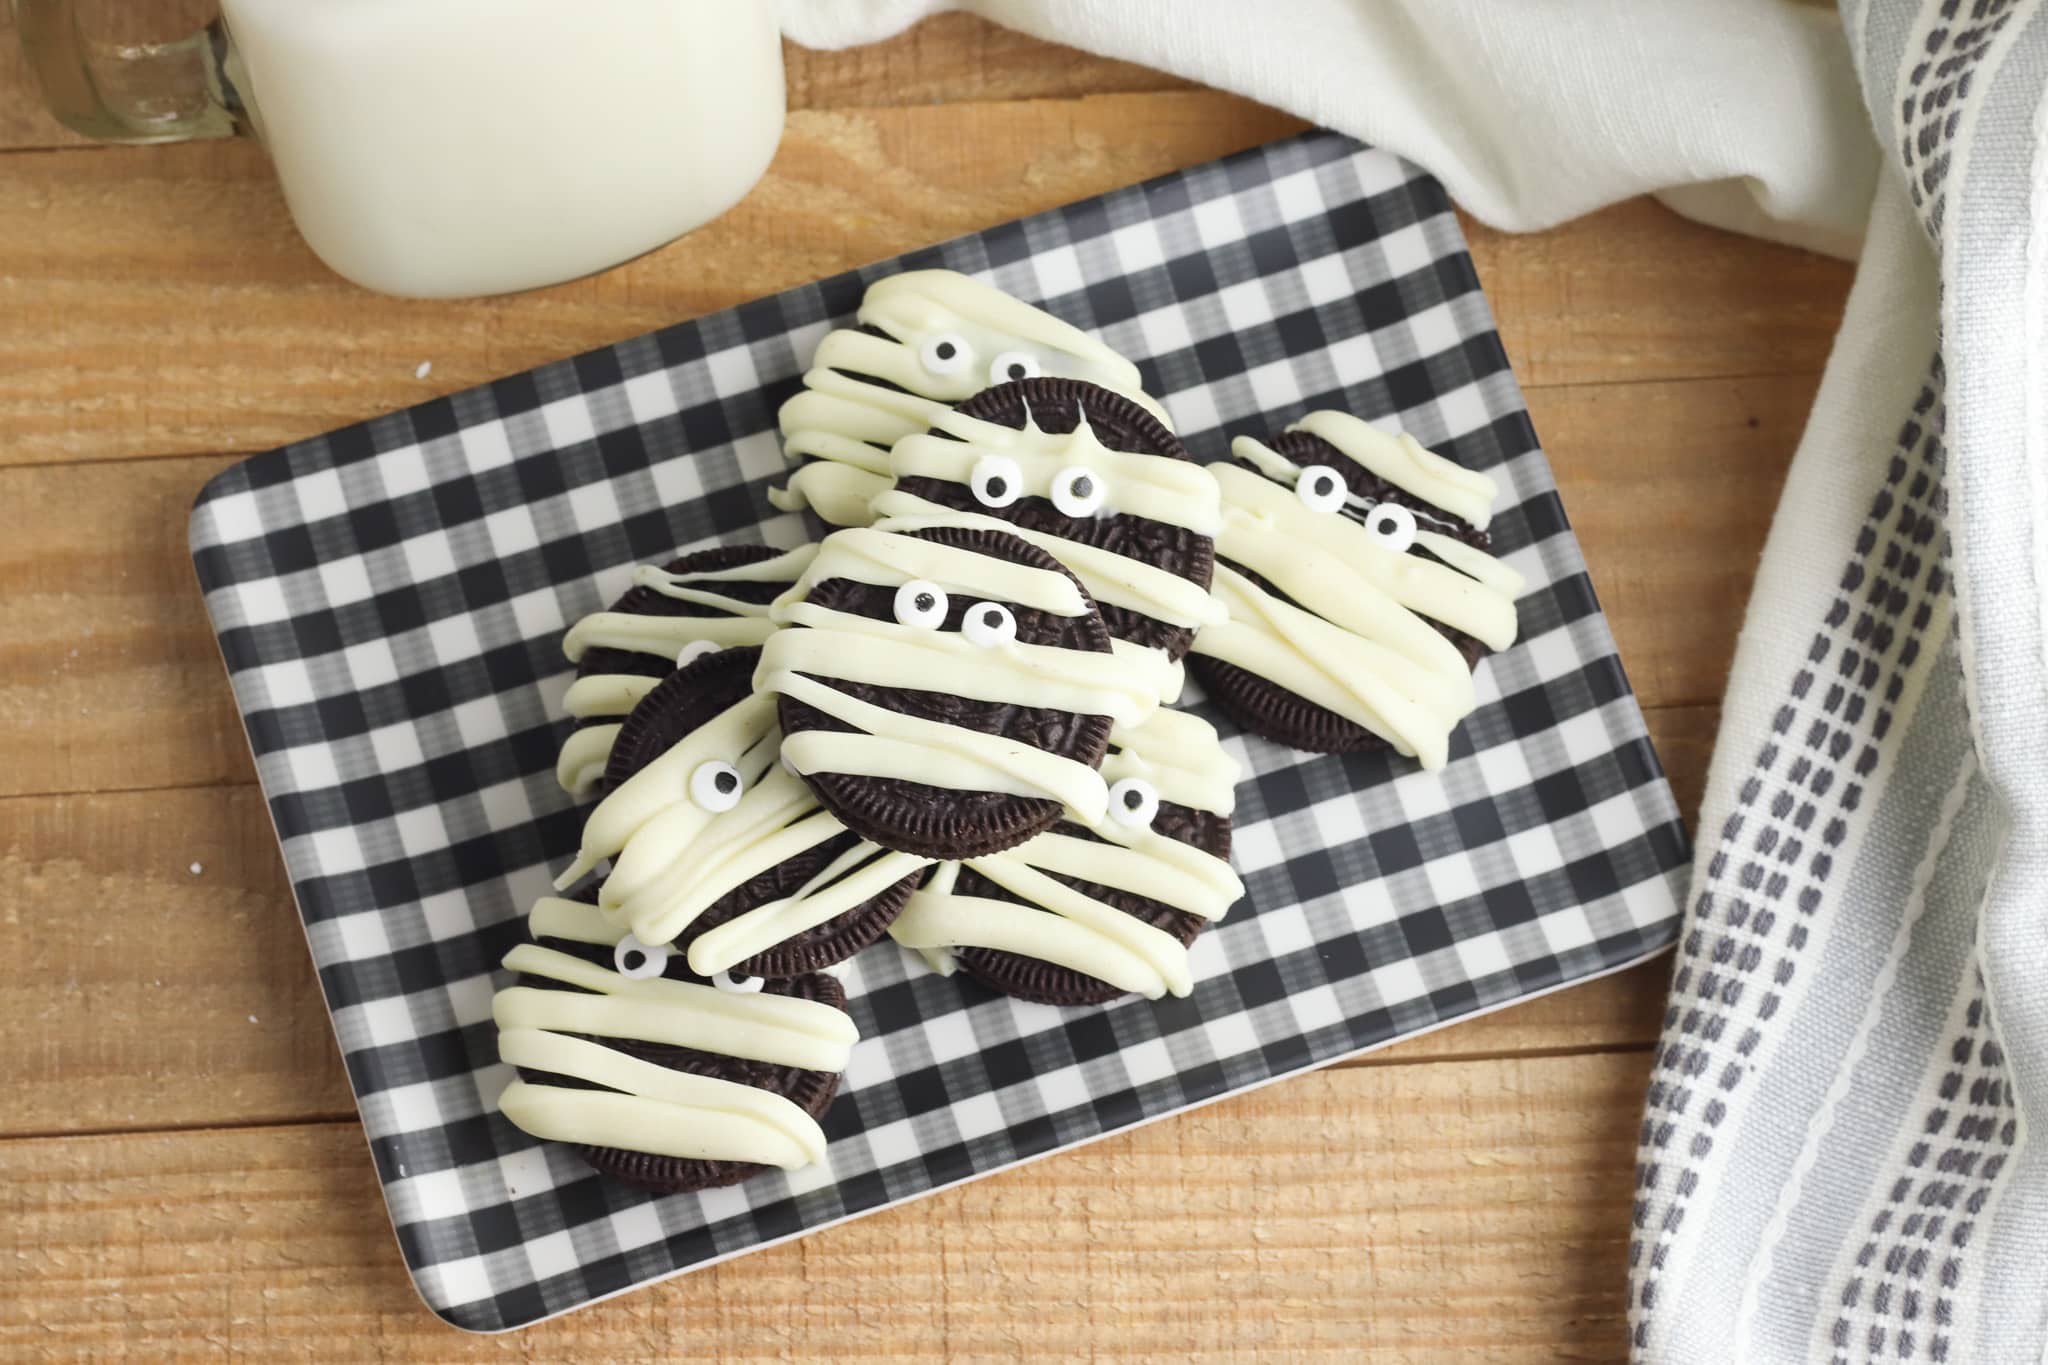
The mummy bandage look comes from piping irregular, overlapping lines across the Oreo in different directions — not neat parallel stripes, but messy crisscross lines that look like bandages wrapped haphazardly around a mummy. Start from one edge and drag the piping bag across the cookie, then change direction and go back across at a slightly different angle. Three to five passes per cookie in varying directions is enough. Leave a small gap near the top for the eyes to sit — two candy eyes placed close together in that gap before the white sets is what makes them look like mummies rather than just white-drizzled Oreos. Press the eyes down gently so they adhere while the candy is still soft.
Storage:
Store in a cool, dry place in an airtight container for up to a week.
Tips for Making this Recipe with Kids:
Safety: Ensure all melting duties are handled by adults.
Decorating Fun: Let the little ones drizzle the candy melts onto the Oreos to create the mummy’s bandages.
Eye Placement: Kids will love placing the candy eyes on the mummies.
Fun Ways to Share These Halloween Mummy Oreos
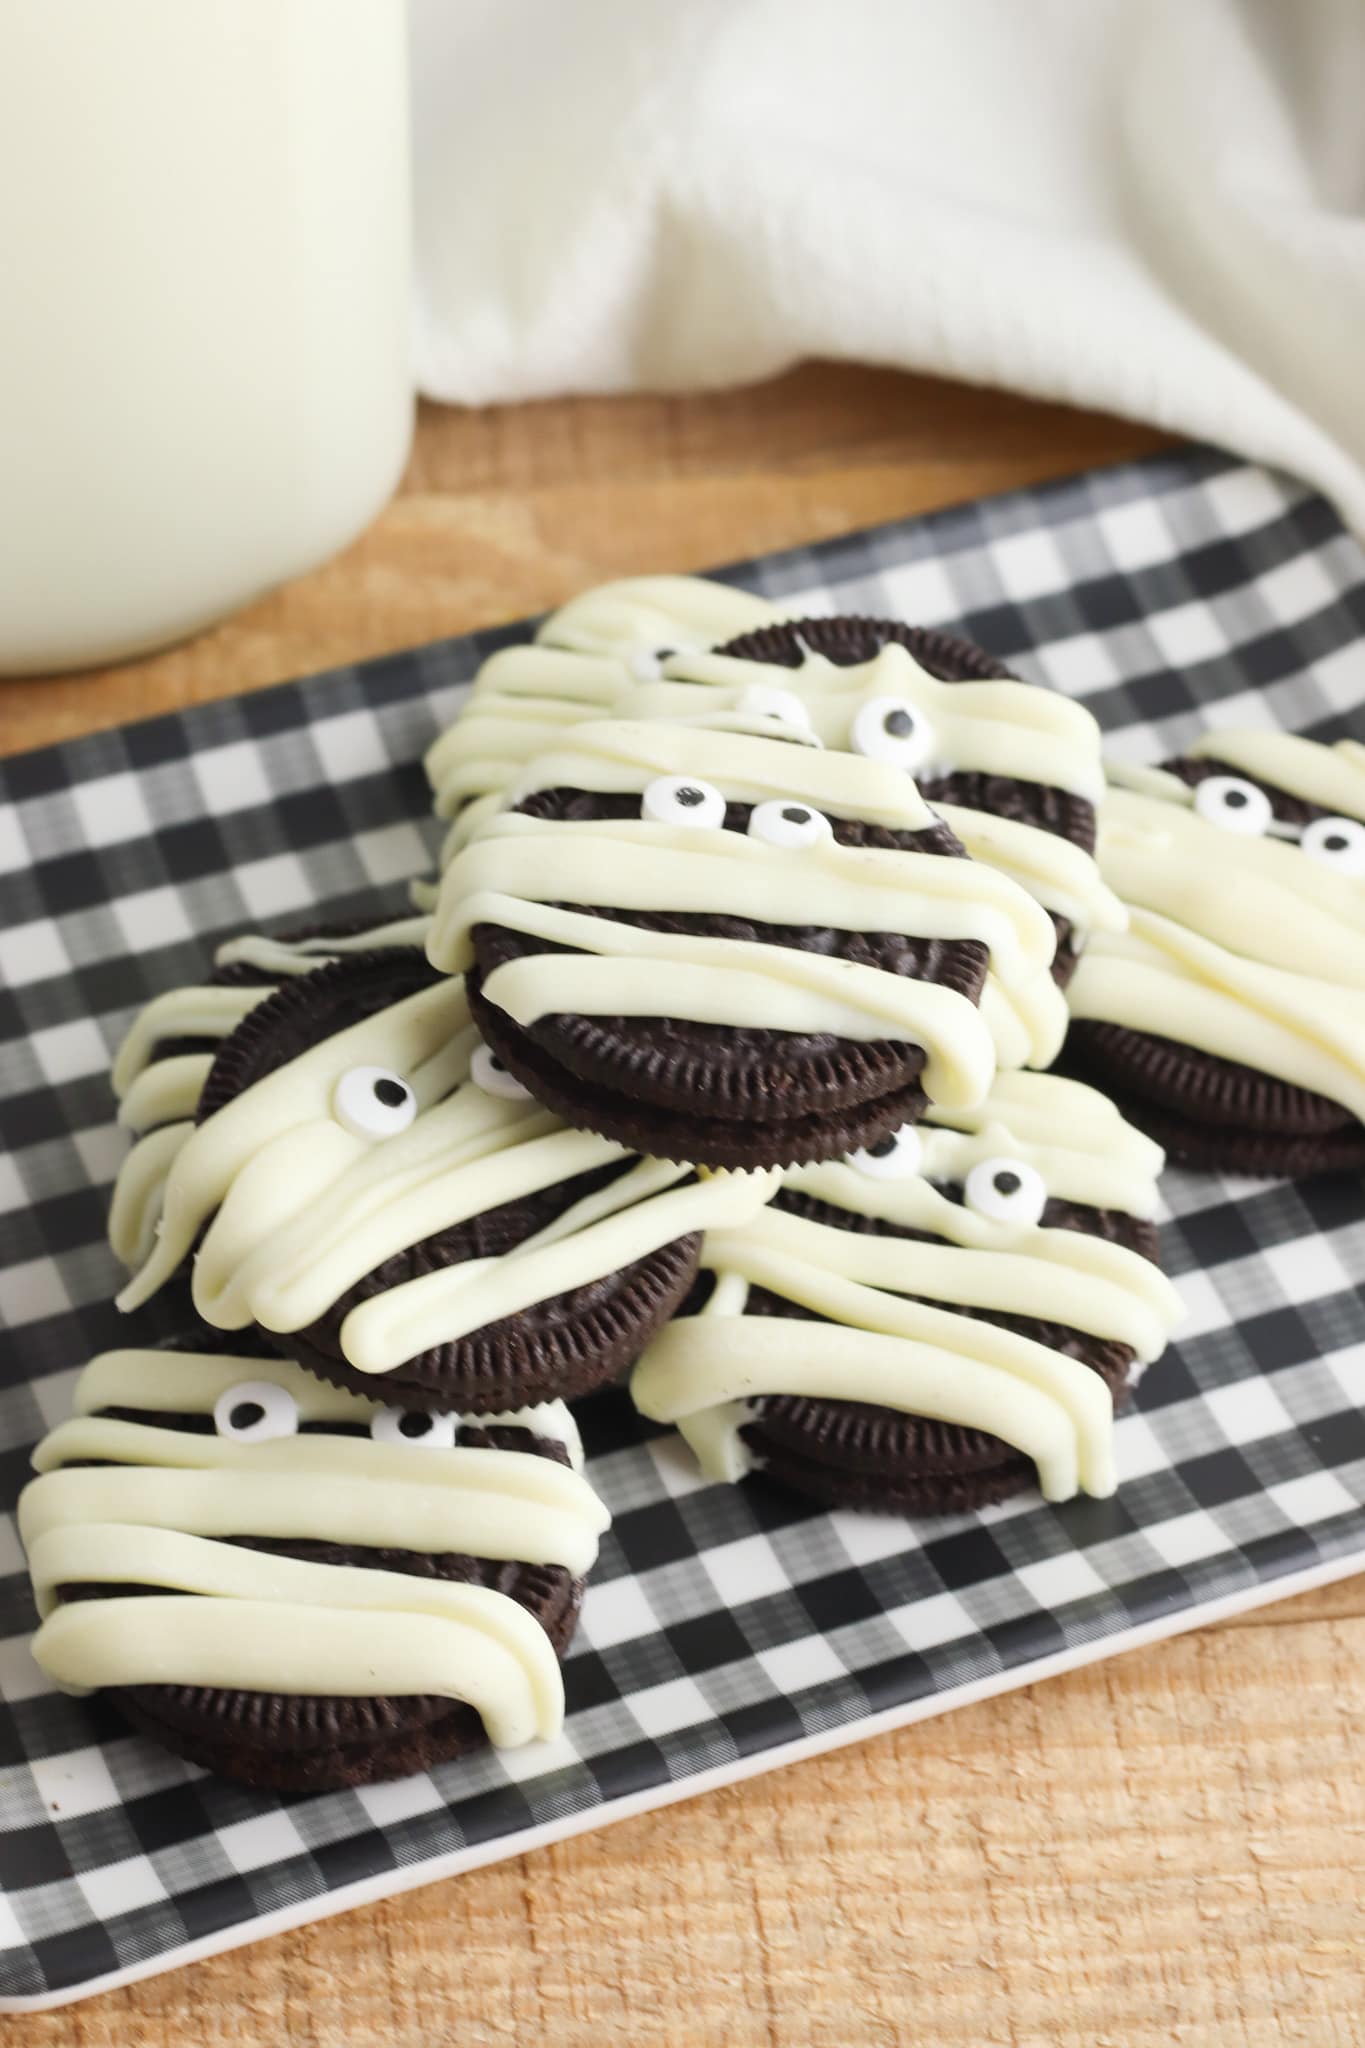
Even though giving out homemade treats for Halloween is a no-no, you can still share them with your close family and friends. The kids love giving a “pair of mummies” to their buddies and watching their eyes light up over such a fun and simple treat.
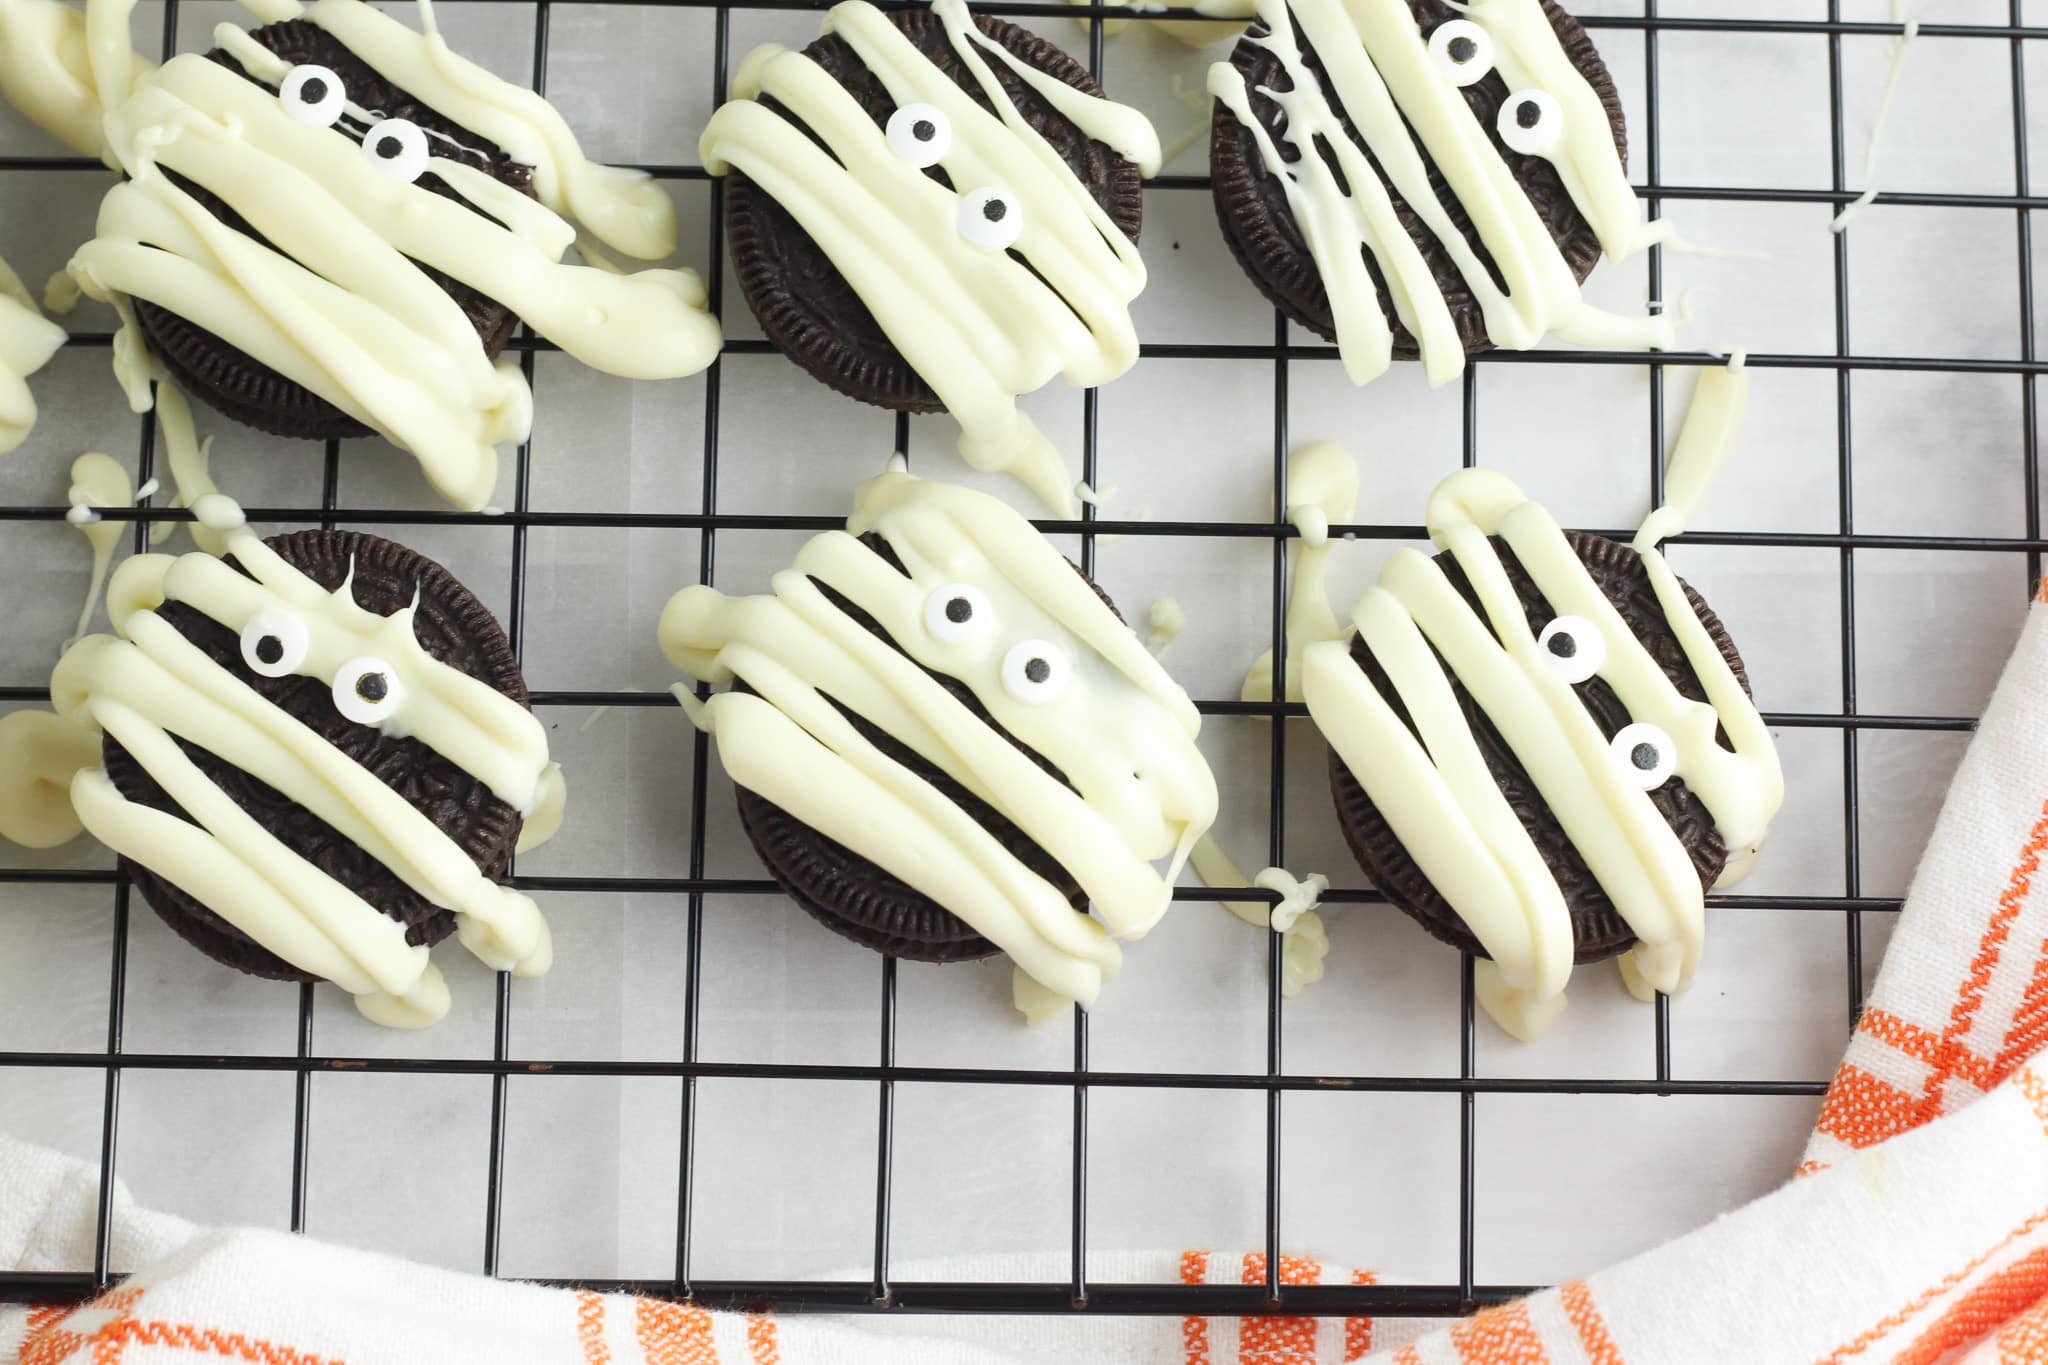
And if the kids are back in school and celebrate Halloween at school, these are a great school snack for the Halloween party as well! Forget buying Halloween cupcakes at the store and win the mom of the year award when you show up with these tasty Oreo treats. You’ll be the top “mommy” with these “mummy” treats!
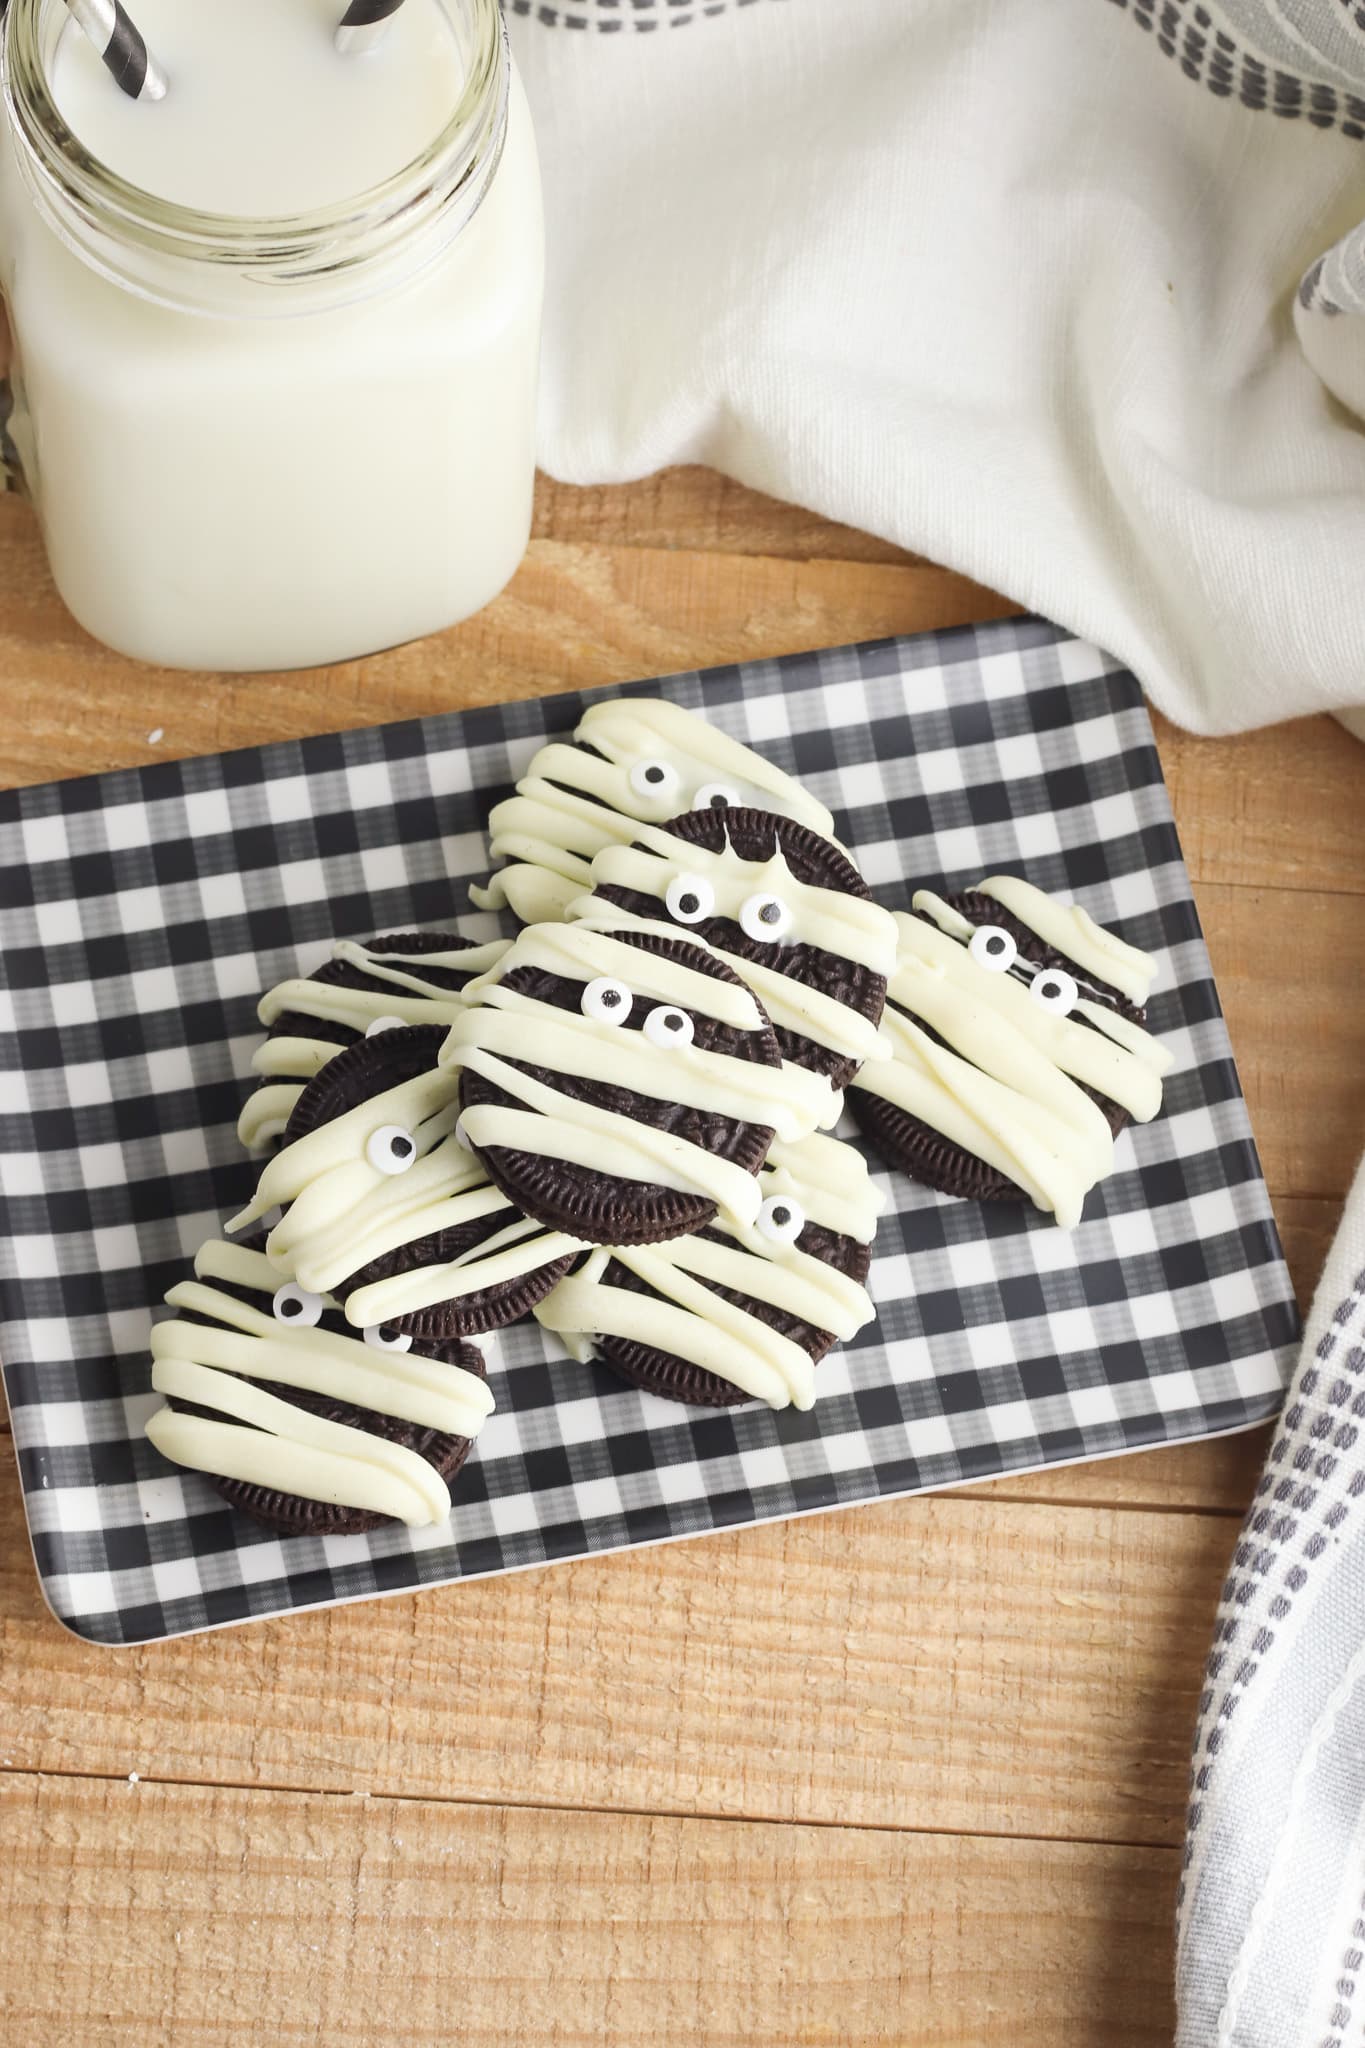
If you’re looking for a simple Halloween snack that you can easily make without adding a bunch of time and stress to your day, these Mummy Oreo Halloween cookies are it! So fun that the kids are going to want to join in as well!
Topping Options:
Sprinkles: Halloween-themed sprinkles can add an extra festive touch.
Edible Glitter: For a magical shimmer.
Colored Drizzles: Drizzle with colored candy melts for added pizzazz.
The messier the piping, the better the mummy looks — perfect bandages are not the goal and not the point. Let the kids drizzle, get the eyes on fast while everything is still soft, and leave them alone for 20 minutes to set. That’s genuinely the whole recipe. Leave a comment and tell me if this is already a Halloween tradition in your house too.
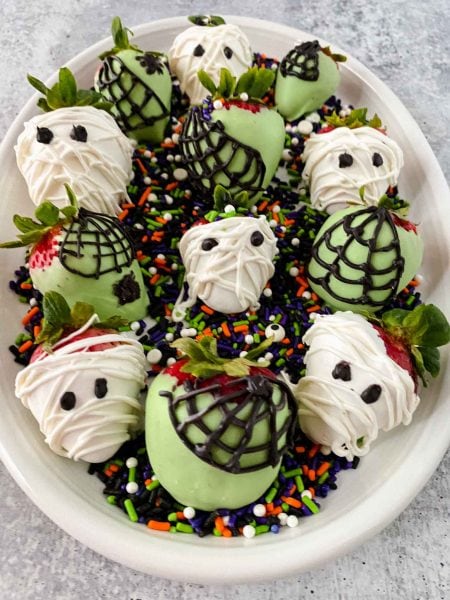
Here are some more fun Halloween treats to make this year:



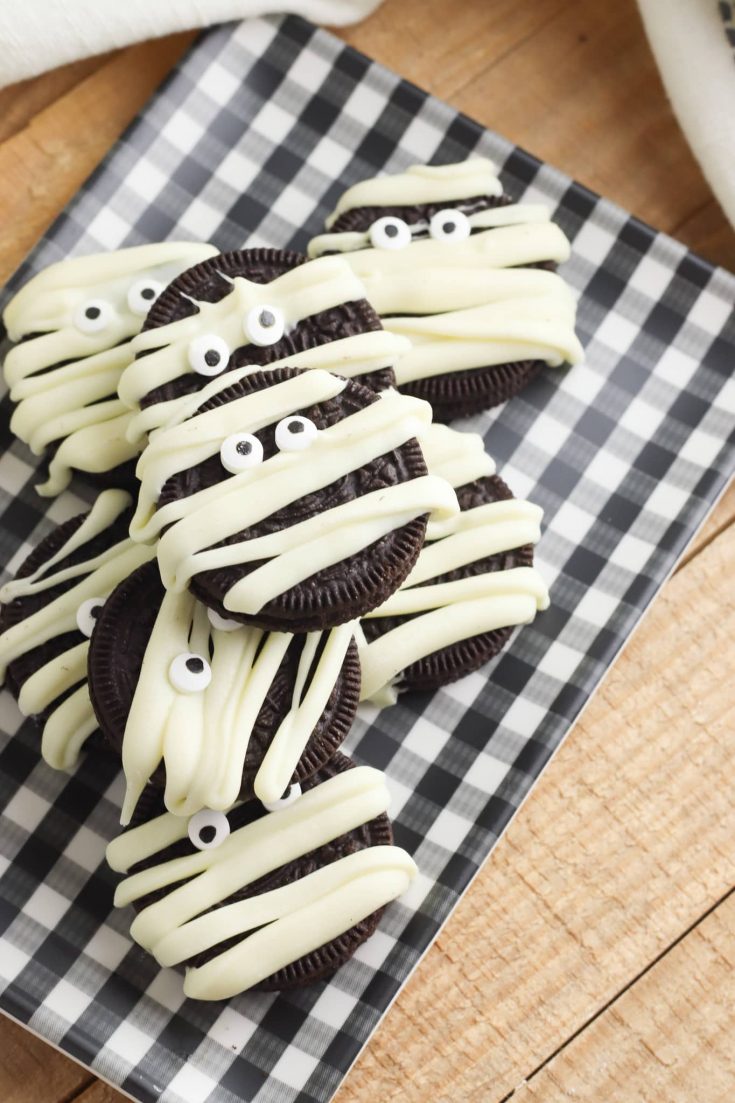
No Bake Halloween Mummy Oreo Cookies
These super fun mummy cookies are super easy to make, require no baking and the kids will love these Halloween tasty treats!
Ingredients
- 1 14.3 ounce package Oreos
- 1 12-ounce package vanilla candy melts
- 1 package candy eyes
Instructions
- Line a baking sheet with parchment paper and place a wire cooling rack on top. Spread the Oreos in an even single layer on the rack.
- Melt the candy melts in a microwave-safe bowl in 30-second intervals, stirring between each, until completely smooth. If the candy is too thick to pipe, stir in a small amount of vegetable oil to thin it.
- Transfer the melted candy to a piping bag fitted with a small round tip, or a zip-top bag with a small corner snipped off.
- Pipe the mummy bandages: drag the piping bag across each Oreo in irregular, overlapping lines in different directions — three to five passes per cookie. Leave a small gap near the top center of each cookie for the eyes.
- Immediately place two candy eyes in the gap while the candy is still soft, pressing gently so they adhere.
- Allow the candy to set completely before serving or storing — about 20 minutes at room temperature, or 10 minutes in the refrigerator.
Nutrition Information
Yield
45Serving Size
1Amount Per Serving Calories 68Total Fat 2gSaturated Fat 1gTrans Fat 0gUnsaturated Fat 1gCholesterol 0mgSodium 38mgCarbohydrates 8gFiber 0gSugar 5gProtein 1g
Before you go, Grab Your Free Printable Recipe Kit!
Keep track of all your favorite recipes and ingredients with this free printable book!

Hi! I’m Nellie. I am an entrepreneur, a busy mama of 3 and a wife to my high school sweetheart. I have been sharing content for over 12 years about how to cook easy recipes, workout tips and free printables that make life a little bit easier. I have been featured in places like Yahoo, Buzzfeed, What To Expect, Mediavine, Niche Pursuits, HuffPost, BabyCenter, Mom 2.0, Mommy Nearest, Parade, Care.com, and more!
Get comfortable and be sure to come hang out with me on social. Don’t forget to grab your free fitness journal before you go!
