Easy Lemon Cream Cheese Danish Recipe (with Puff Pastry)
If you love the flaky, buttery texture of a bakery-fresh danish but don’t want to spend hours making pastry dough from scratch, you are in the right place!
As a busy mom, I’m all about smart kitchen shortcuts. These Easy Lemon Cream Cheese Danishes look elegant enough for a holiday weekend brunch, but thanks to a brilliant shortcut—frozen puff pastry—they come together in just 40 minutes.
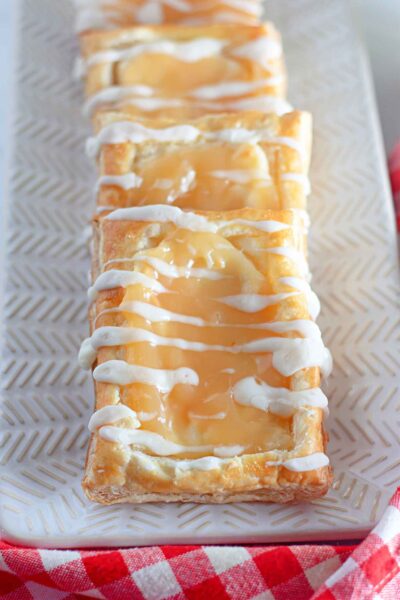
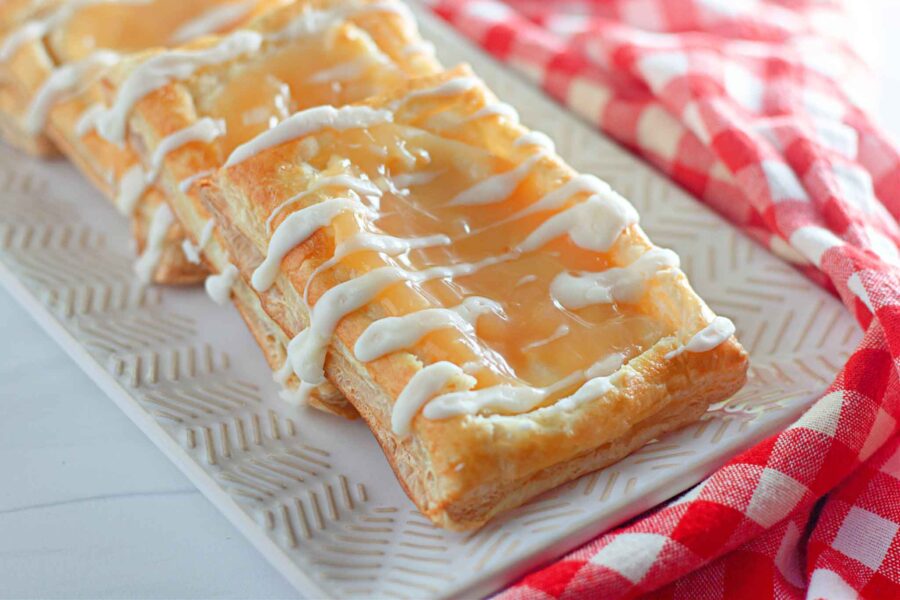
Each pastry features a crisp, golden puff pastry border, a rich and velvety sweet cream cheese center, and a vibrant layer of tangy lemon curd. Finished with a sweet vanilla drizzle, they pair beautifully with a hot cup of coffee or a glass of morning orange juice!

Ingredients For Puff Pastry Lemon Danishes
To make these simple citrus pastries, you’ll only need a few staple ingredients from the grocery store:
- Frozen Puff Pastry: The ultimate time-saver for flaky, buttery layers without the effort.
- Cream Cheese: Softened to room temperature so it blends into a smooth filling.
- Granulated Sugar & Vanilla: To sweeten and flavor the cream cheese layer.
- Lemon Curd: Store-bought or homemade works perfectly to provide that bright, zesty citrus punch.
- Egg & Water: For a quick egg wash to give the pastry edges that gorgeous bakery shine.

How to Make Lemon Danishes Step-by-Step
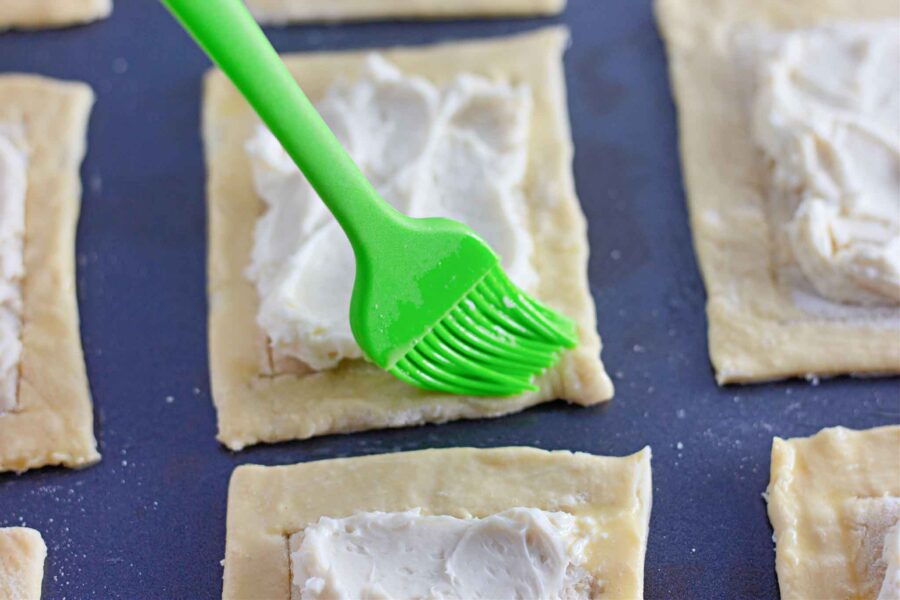
Preheat oven to 400F. Lay the two sheets of thawed puff pastry out flat on a clean work surface. Use a sharp knife to cut each sheet into 6 rectangles, making 12 total rectangles. Use the knife to score a ½ inch border around each rectangle (only cut about ½ way down into the dough). This will allow the outside ½ inch border to puff up while baking and the middle to stay flatter.
Use a fork to prick several areas around the middle of each rectangle of pastry. This helps to keep the center from rising too much while baking. Place the pastries onto one large or two medium baking sheets, about 1 inch apart. In a medium mixing bowl, use an electric mixer to beat together the cream cheese, granulated sugar, and 1 teaspoon of the vanilla extract.
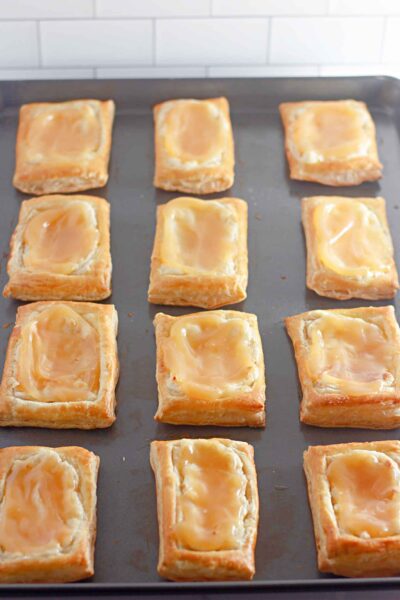
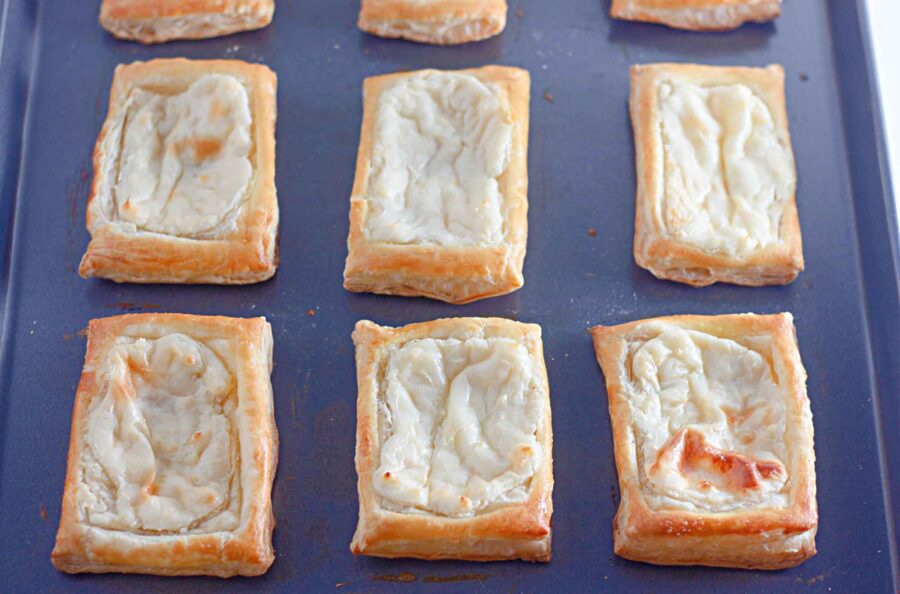
Scoop the mixture onto the pastries and spread out evenly over the center area, but not onto the ½ inch border. In a small bowl, whisk together the egg and water. Use a pastry brush to lightly brush the egg wash onto the ½ inch border of each pastry. Bake the pastries at 400F for 18-20 minutes until the pastry is puffed up and golden brown.
Remove from the oven and transfer the pastries to a wire cooling rack.While the pastries are still warm, add a dollop of lemon curd to the center of each pastry and spread out just enough to cover the cream cheese layer. In a small bowl, whisk together the powdered sugar, heavy cream, and remaining ½ teaspoon vanilla extract. Drizzle the frosting over the cooled pastries.
Tips for the Best Cream Cheese Danishes
- Thaw Puff Pastry in the Fridge: For the flakiest results, thaw your puff pastry sheets in the refrigerator overnight. If the dough gets too warm or thaws on the counter, the butter melts before baking, and you won’t get those beautiful airy layers.
- Soften the Cream Cheese: Ensure your cream cheese block is fully at room temperature before using an electric mixer. Cold cream cheese will leave unappetizing lumps in your filling.
- The Importance of Scoring and Pricking: Don’t skip scoring the 1/2-inch border and pricking the centers with a fork! Pricking releases steam so the center stays flat, creating a neat little “well” to hold your lemon filling while the borders puff up beautifully around it.
Variations
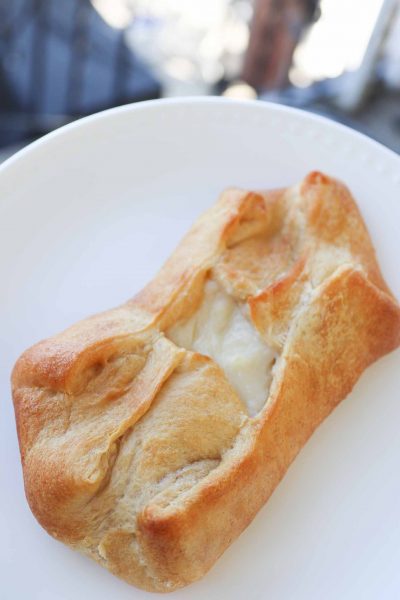
Cheese Danish
For a classic cheese danish, omit the lemon zest and lemon curd. Instead, fill the pastries with a sweet cream cheese mixture and top with your choice of fruit preserves or pie filling.
Savory Danish
Experiment with savory fillings by using ingredients like ham and cheese, spinach and feta, or smoked salmon and cream cheese. The flaky pastry works wonderfully with savory flavors too.

Where to Serve
Lemon Danishes are a versatile treat that can be served in various settings:
Weekend Brunch: Serve these danishes as part of a leisurely weekend brunch spread. They pair perfectly with fresh fruit and a hot cup of coffee.
Easter Brunch: Add a festive touch to your Easter brunch with these delightful pastries.
Dessert Table: Include Lemon Danishes on your dessert table for a delectable lemony treat.

How to Store and Reheat Leftover Danishes
Because these danishes feature a dairy-based cream cheese filling, they must be stored properly.
How to Reheat: To restore that fresh-out-of-the-oven crispness, avoid the microwave (which can make puff pastry soggy). Instead, pop them into a toaster oven or standard oven at 300°F (150°C) for 5-7 minutes until the pastry warms through and becomes flaky again.
In the Refrigerator: Place any leftover pastries in an airtight container and store them in the fridge for up to 4 to 5 days.

Common Problems Making Lemon Danishes
Pastry Not Rising
If your pastry doesn’t rise properly, it might be due to the dough not having enough time to rise. Ensure you let the pastry dough rise according to the package instructions, usually about 30 minutes to an hour.
Leaky Filling
To prevent the cream cheese mixture from leaking out during baking, make sure to seal the edges of the pastries well. Press the edges with a fork to ensure they are tightly sealed.

Glaze Too Thick or Thin
For the perfect drizzle glaze, start with the recommended measurements in the recipe. If it’s too thick, add a bit more heavy cream; if it’s too thin, add more powdered sugar until you achieve the desired consistency.
Tips for Making This Recipe with Kids
Get your little ones involved in the kitchen and make this a fun family activity:
Let the kids help with brushing the egg wash on the pastries; it’s a simple and safe task.
Allow them to sprinkle the lemon zest on top, which adds a burst of fresh lemon flavor and is a great way to engage their senses.
Customize your Lemon Danishes with these topping options:
Confectioner’s Sugar: A light dusting of confectioner’s sugar adds a touch of sweetness and elegance.
Lemon Zest: For an extra zing, sprinkle some fresh lemon zest on top of each danish.
This Lemon Danish recipe works because it combines simple ingredients to create a delectable treat that’s perfect for breakfast or dessert. The flaky pastry, creamy cream cheese filling, and tangy lemon curd come together to create a delightful balance of textures and flavors.
Whether you’re enjoying it as an easy breakfast or a sweet ending to a meal, these Lemon Danishes are sure to become a family favorite. So, whip up a batch, savor the great flavors, and start your day with a smile.
faqs
Lemon curd is highly recommended because it is cooked down with sugar, egg yolks, and butter to create a thick, stable spread. Fresh lemon juice on its own is too liquidy and will run off the pastry. However, you can absolutely fold 1 tablespoon of fresh lemon zest into the cream cheese mixture to amplify the fresh citrus flavor!
Yes! You can slice the puff pastry, score and prick the centers, and add the cream cheese filling the night before. Cover the baking sheet tightly with plastic wrap and store it in the refrigerator. In the morning, brush the edges with egg wash and bake fresh! Note: Add the lemon curd and glaze after baking.
If your filling spilled over, the cream cheese may have been spread past the scored 1/2-inch border, or the centers weren’t pricked enough with a fork. Keeping the filling strictly inside the scored center ensures the rising pastry borders hold the filling in place.
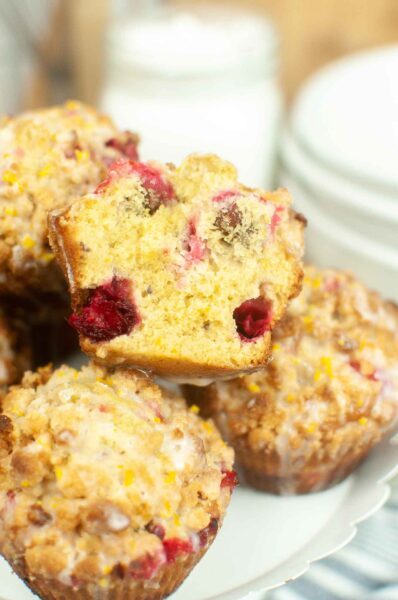
Here are some more amazing breakfast pastry recipes:


Easy Lemon Danish Recipe
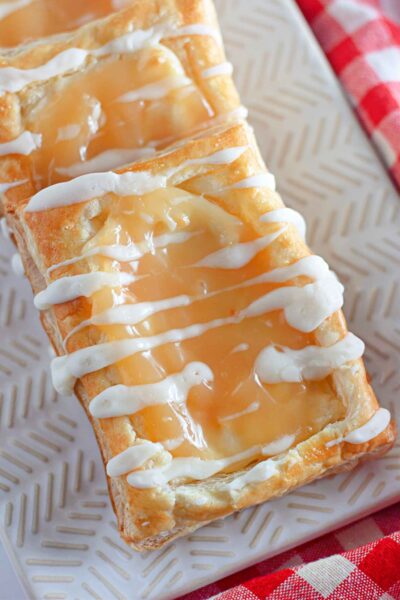
These amazing lemon danishes are great with your morning coffee or tea! A lovely lemon filling in a flaky pastry with a tasty vanilla frosting.
Ingredients
- 1 box (17.3 ounces) frozen puff pastry, thawed
- 1 (8 ounce) package cream cheese, softened to room temperature
- ¼ cup granulated sugar
- 1 ½ teaspoons vanilla extract, divided
- 1 egg
- 2 tablespoons water
- 1 jar lemon curd
- 1/3 cup powdered sugar
- 2 tablespoons heavy cream
Instructions
- Preheat oven to 400F.
- Lay the two sheets of thawed puff pastry out flat on a clean work surface. Use a sharp knife to cut each sheet into 6 rectangles, making 12 total rectangles.
- Use the knife to score a ½ inch border around each rectangle (only cut about ½ way down into the dough). This will allow the outside ½ inch border to puff up while baking and the middle to stay flatter.
- Use a fork to prick several areas around the middle of each rectangle of pastry. This helps to keep the center from rising too much while baking.
- Place the pastries onto one large or two medium baking sheets, about 1 inch apart.
- In a medium mixing bowl, use an electric mixer to beat together the cream cheese, granulated sugar, and 1 teaspoon of the vanilla extract. Scoop the mixture onto the pastries and spread out evenly over the center area, but not onto the ½ inch border.
- In a small bowl, whisk together the egg and water. Use a pastry brush to lightly brush the egg wash onto the ½ inch border of each pastry.
- Bake the pastries at 400F for 18-20 minutes until the pastry is puffed up and golden brown. Remove from the oven and transfer the pastries to a wire cooling rack.
- While the pastries are still warm, add a dollop of lemon curd to the center of each pastry and spread out just enough to cover the cream cheese layer.
- In a small bowl, whisk together the powdered sugar, heavy cream, and remaining ½ teaspoon vanilla extract. Drizzle the frosting over the cooled pastries.
Notes
For more lemon flavor, add 1 tablespoon fresh lemon zest to the cream cheese filling. Some fresh lemon juice can also be added if desired.
The pastries should be stored in the refrigerator and keep fresh for up to five days. They can be reheated in the microwave on high for 10-20 seconds.
Nutrition Information
Yield
12Serving Size
1Amount Per Serving Calories 129Total Fat 6gSaturated Fat 3gTrans Fat 0gUnsaturated Fat 3gCholesterol 48mgSodium 58mgCarbohydrates 17gFiber 0gSugar 16gProtein 2g

Before you go, Grab Your Free Printable Recipe Kit!
Keep track of all your favorite recipes and ingredients with this free printable book!
Hi! I’m Nellie. I am an entrepreneur, a busy mama of 3 and a wife to my high school sweetheart. I have been sharing content for over 12 years about how to cook easy recipes, workout tips and free printables that make life a little bit easier. I have been featured in places like Yahoo, Buzzfeed, What To Expect, Mediavine, Niche Pursuits, HuffPost, BabyCenter, Mom 2.0, Mommy Nearest, Parade, Care.com, and more!
Get comfortable and be sure to come hang out with me on social. Don’t forget to grab your free fitness journal before you go!