Creamy Red Velvet Cheesecake Recipe
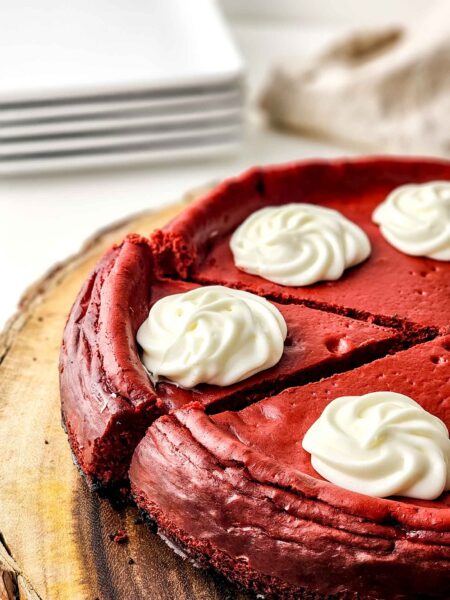
This red velvet cheesecake is a showstopper, a dessert that’s as gorgeous as it is delicious. It starts with a crunchy Oreo crust, followed by a red rich cheesecake layer infused with cocoa powder and a hint of tangy flavor from white vinegar and sour cream.
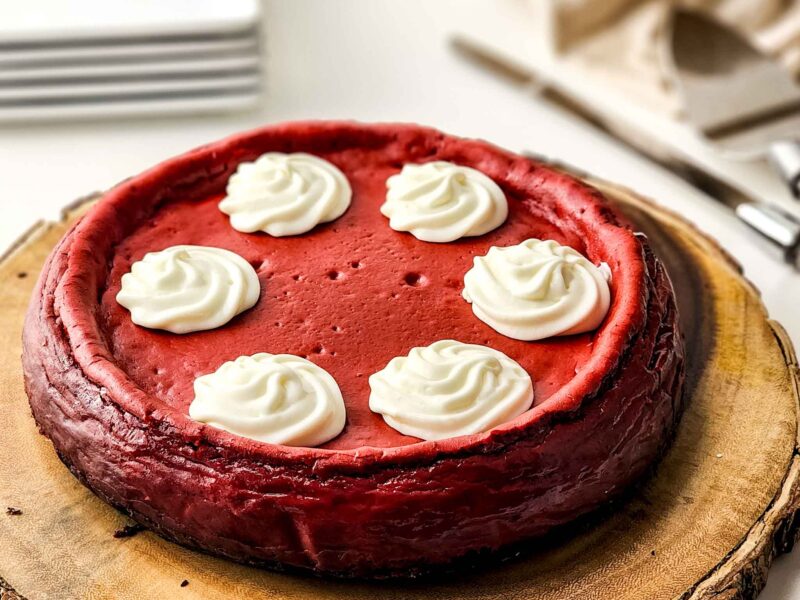
The red food coloring imparts that classic red velvet hue, making it a perfect treat for Valentine’s Day or any special occasion. Topped with a velvety cream cheese frosting, this dessert is a love letter to the senses.
Q: Can I make this cheesecake without a springform pan? A: A springform pan is ideal for cheesecakes, including this red velvet version, because it allows for easy removal without damaging the cake. However, if you don’t have one, you can use a regular cake pan lined with parchment paper, but be sure to grease the sides well.
Q: How do I achieve the perfect red color? A: The key to that signature red velvet color is the right amount of red food dye. Start with the amount listed in the recipe and adjust to reach your desired hue.
Tips and Tricks
Room Temperature Ingredients: Ensure all your ingredients, especially the cream cheese and eggs, are at room temperature to achieve a smooth cheesecake batter.
Water Bath: Baking your cheesecake in a water bath helps to cook it gently and evenly, preventing cracks.
Paddle Attachment: When mixing your cheesecake filling, use a paddle attachment on your stand mixer to avoid incorporating too much air, which can cause the cheesecake to rise and fall, leading to cracks.
This red velvet cheesecake is perfect for any gathering that calls for a touch of elegance—think dinner parties, holiday feasts, or a romantic Valentine’s Day dinner at home.
Wrap the cheesecake tightly in plastic wrap or aluminum foil and store it in the refrigerator for up to 5 days. For longer storage, you can freeze it for up to 2 months.
Common Problems and How to Avoid Them
Cracks: Avoid overmixing the batter and don’t open the oven door while baking. Let the cheesecake cool gradually in the oven with the door ajar.
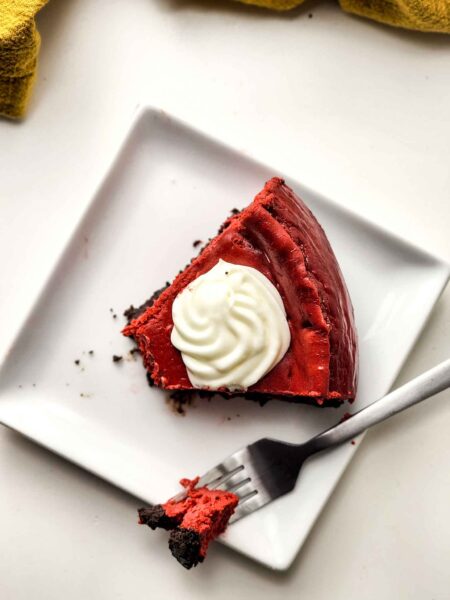
Soggy Crust: Prevent a soggy crust by using melted butter in the Oreo crust and pressing it firmly into the bottom of the pan.
Whether you’re a fan of red velvet or just looking for a delicious cake to impress, this creamy red velvet cheesecake recipe is sure to be a hit. It’s a labor of love, but the result is a moist red velvet cake layered with creamy cheesecake that’s well worth the time invested.
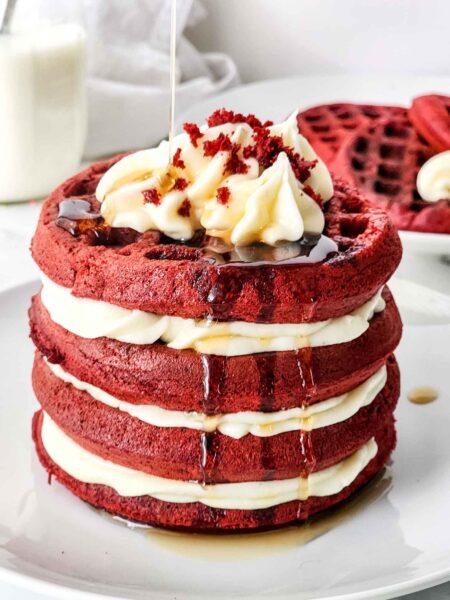
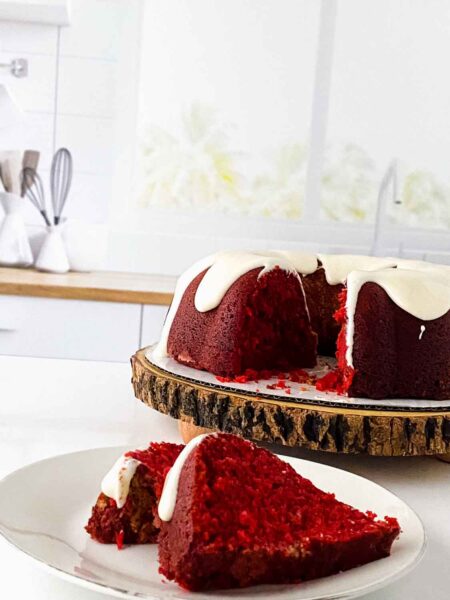
Here are some more amazing red velvet recipes to check out:


Red Velvet Cheesecake
Indulge in the luxurious blend of a crunchy Oreo crust and a velvety red velvet cheesecake layer, all topped with a luscious cream cheese frosting. This visually stunning dessert is perfect for special occasions, offering a rich, tangy flavor that's sure to delight any fan of red velvet.
Ingredients
- Oreo Crust
- 2 cups oreos crumbs
- 4 tablespoons unsalted butter, melted
- Cheesecake Filling
- 24 ounces cream cheese, softened
- 1 cup white granulated sugar
- 3 tablespoons cocoa powder
- ¼ cup milk
- 2 teaspoons white vinegar
- ⅓ cup sour cream
- 2 teaspoons vanilla extract
- 3 eggs, 1 egg yolk
- Red Food Dye
- Cream Cheese Topping
- 4 ounces cream cheese
- ⅓ cup white granulated sugar
- ½ teaspoon vanilla extract
- ⅛ teaspoon salt
- 1 cup heavy cream
Instructions
- Preheat the oven to 350 degrees Fahrenheit. Prepare a springform pan with parchment paper on the bottom and around the edges of the pan.
- In a bowl add the oreo crumbs and melted butter. Use a fork to blend together until combined and the oreos become thick and slightly crumbly.
- Pour into the prepared springform pan and press in the bottom and slightly up the sides of the pan. Place in the freezer while making the cream cheese filling.
- In a large mixing bowl add the cream cheese. Blend the cream cheese until smooth and lump free.
- Add the sugar and blend again until combined.
- Pour in the milk, vinegar, vanilla extract, sour cream, and cocoa powder at once. Blend with the hand mixer until thoroughly combined. Scrap the sides of the bowl if needed.
- Add in each egg, one at a time, blending between each addition. On the last addition of the egg yolk, add the food dye with, using a generous amount depending on the vibrancy of your food dye of choice. The batter is a little brown so you want the batter to be a nice deep red once everything is mixed thoroughly.
- Remove the oreo crust from the freezer and pour the red velvet mixture into the springform pan.
- Slightly shake the pan to even out the cheesecake and bake in the oven for 60 minutes.
- The cheesecake will still be slightly jiggly in the center when done. Turn the oven off and let the cheesecake stay in the oven for another hour to finish cooking and allow it to set perfectly.
- Refrigerator for 6 hours or overnight. Make the cream cheese topping about half an hour before serving.
- In a bowl, add the cream cheese and white sugar. Blend together until smooth.
- Then add the vanilla and salt. Mix once more until combined.
- In a separate, smaller bowl, whip up the heavy cream until stiff peaks form.
- Add the whipped cream to the cream cheese mixture and fold together until the two are smooth and no streaks are left.
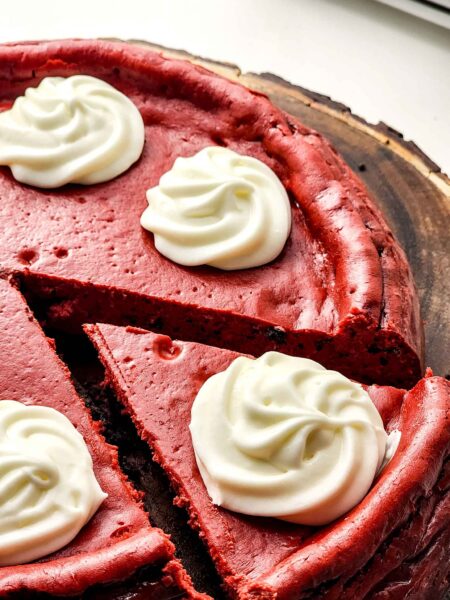
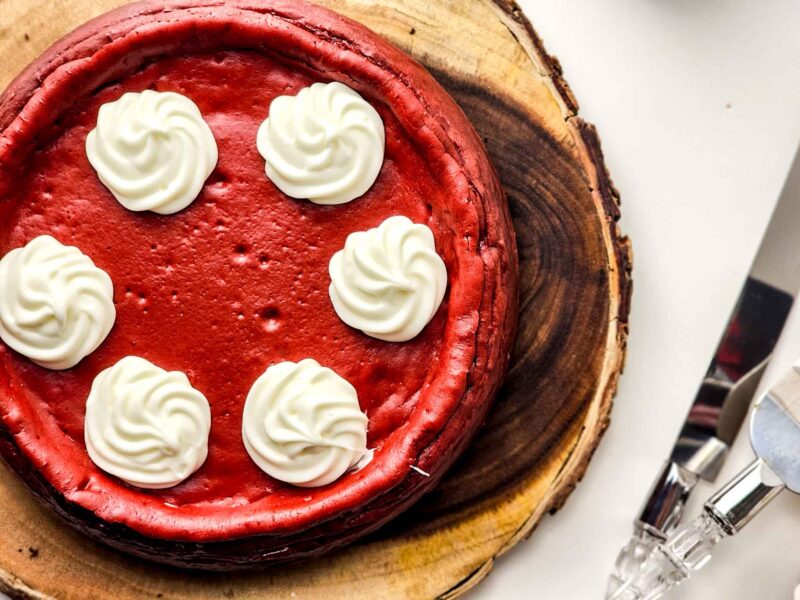
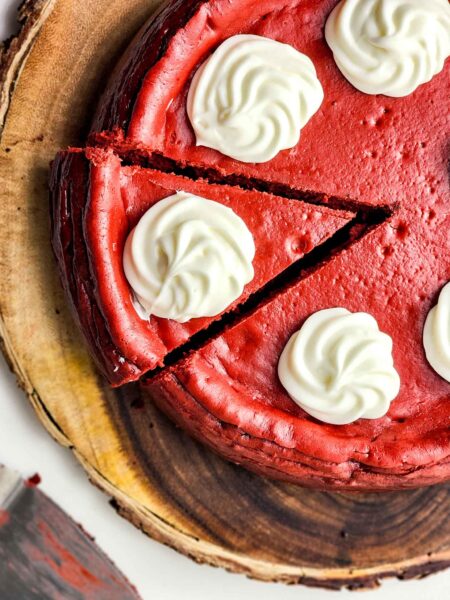
- Place in a piping bag fitted with a large star piping tip. Create 6-8 swirls or on top of the cheesecake or as many swirls as slices of cheesecake you plan to cut.
- Cut, serve and enjoy!
Nutrition Information
Yield
8Serving Size
1Amount Per Serving Calories 1029Total Fat 71gSaturated Fat 38gTrans Fat 1gUnsaturated Fat 27gCholesterol 260mgSodium 692mgCarbohydrates 87gFiber 2gSugar 66gProtein 15g

Before you go, Grab Your Free Printable Recipe Kit!
Keep track of all your favorite recipes and ingredients with this free printable book!
Hi! I’m Nellie. I am an entrepreneur, a busy mama of 3 and a wife to my high school sweetheart. I have been sharing content for over 12 years about how to cook easy recipes, workout tips and free printables that make life a little bit easier. I have been featured in places like Yahoo, Buzzfeed, What To Expect, Mediavine, Niche Pursuits, HuffPost, BabyCenter, Mom 2.0, Mommy Nearest, Parade, Care.com, and more!
Get comfortable and be sure to come hang out with me on social. Don’t forget to grab your free fitness journal before you go!