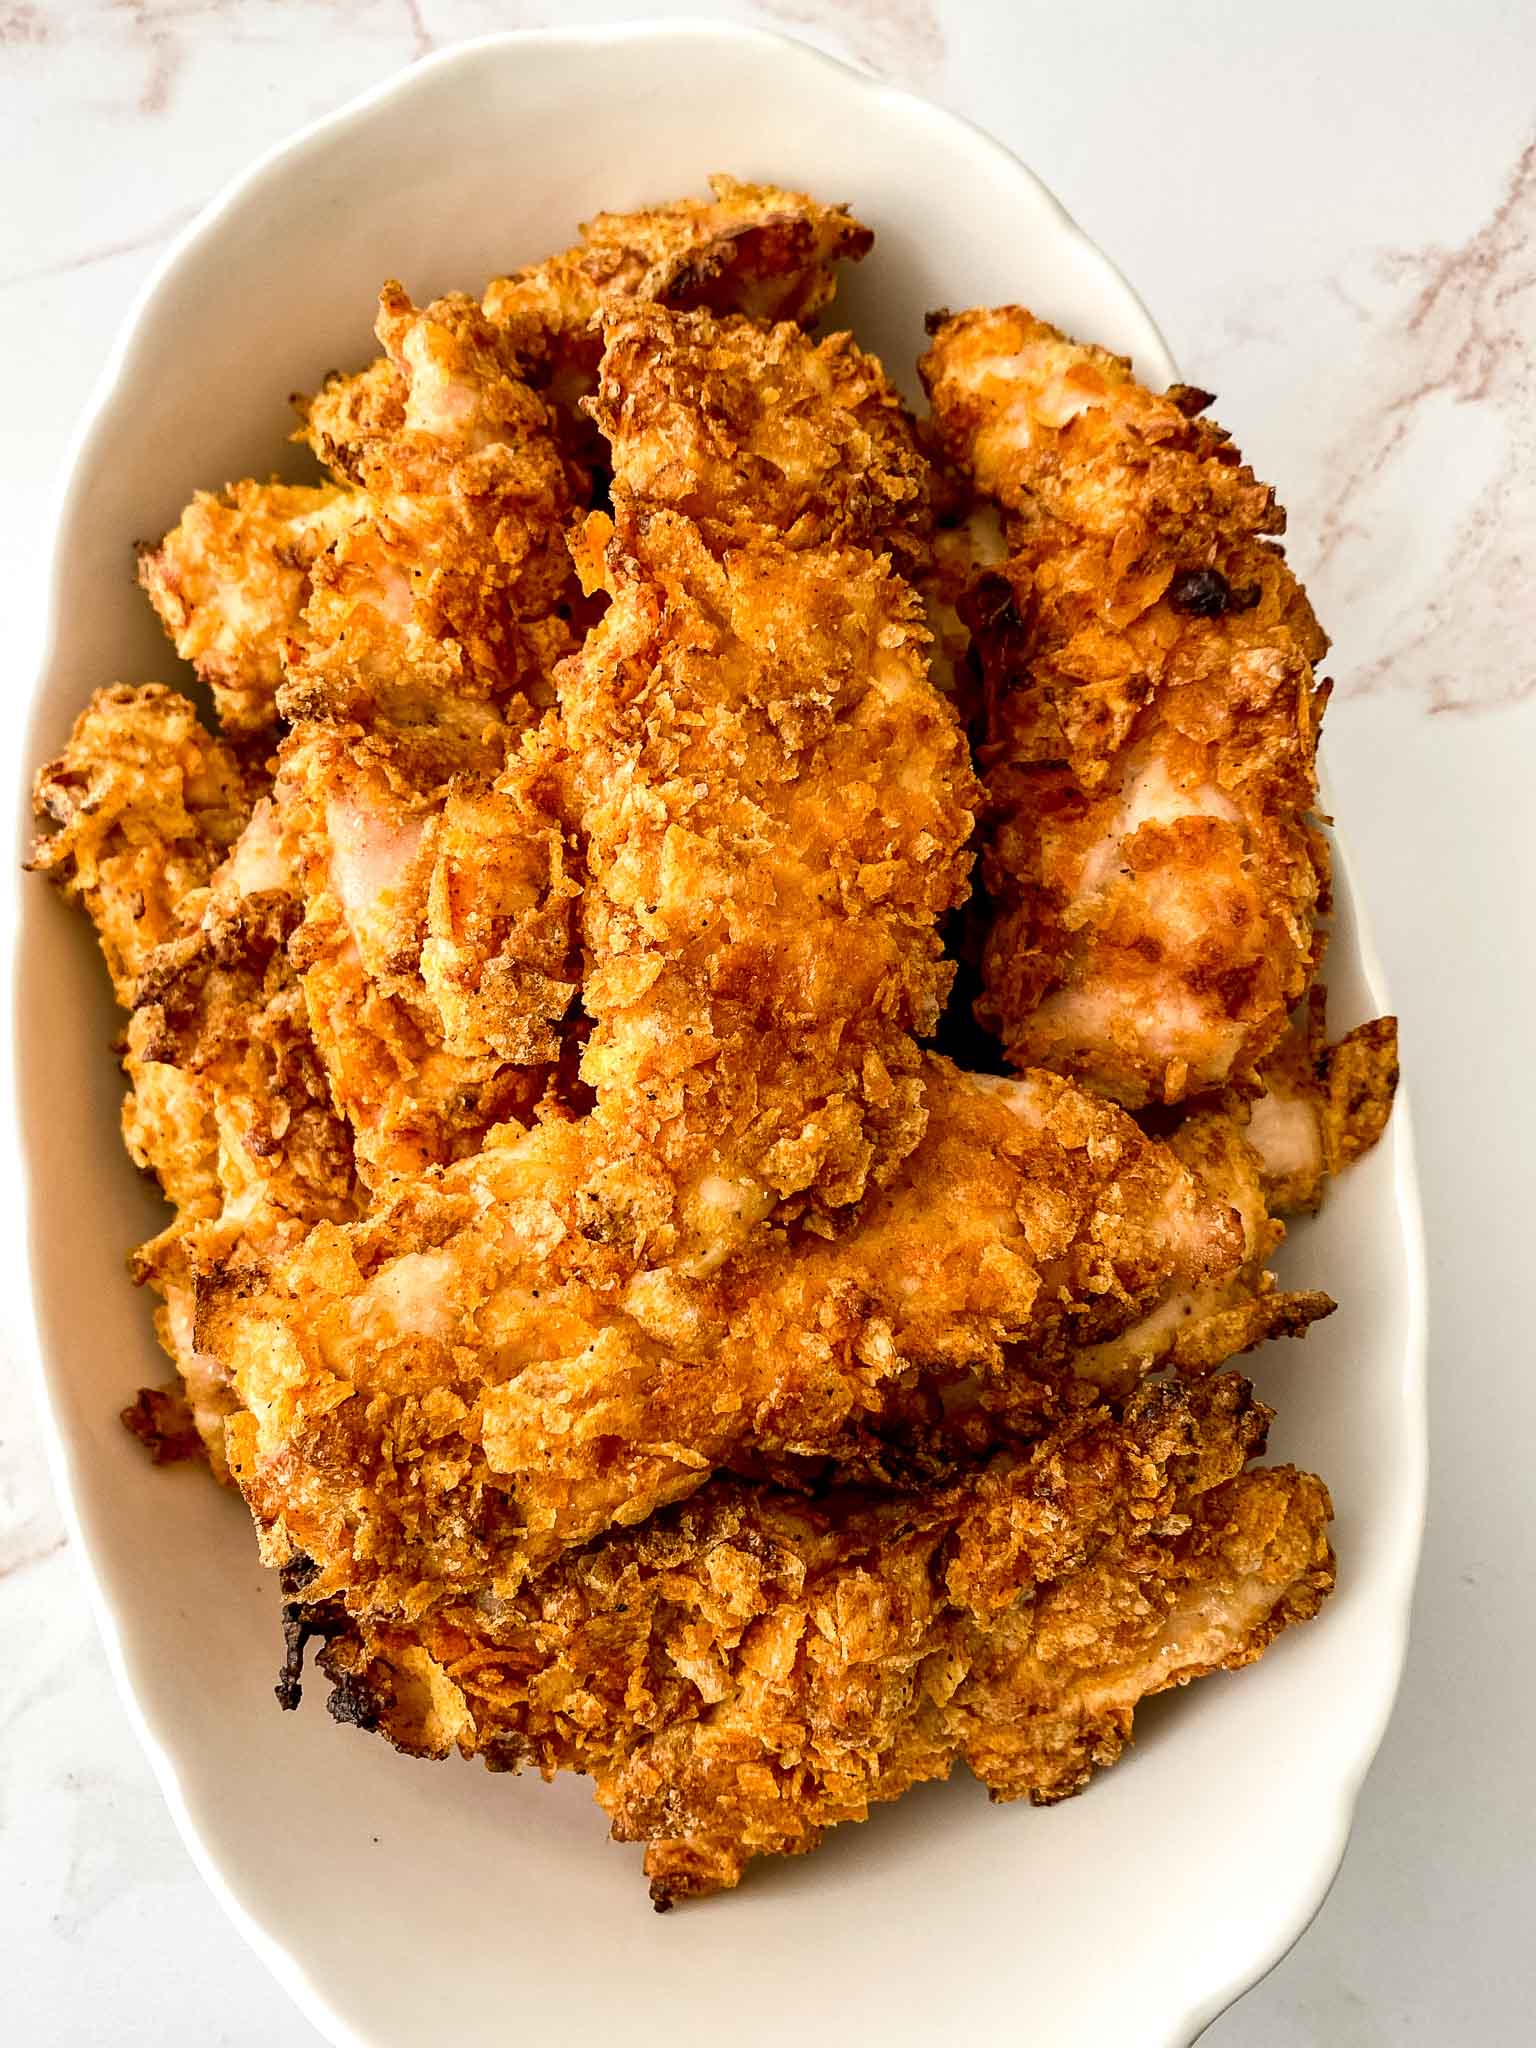
Crispy Secret Ingredient Chicken Tenders
Have you ever wondered about how to make tasty chicken tenders from scratch? These homemade crispy chicken tenders are so good and easy to make!
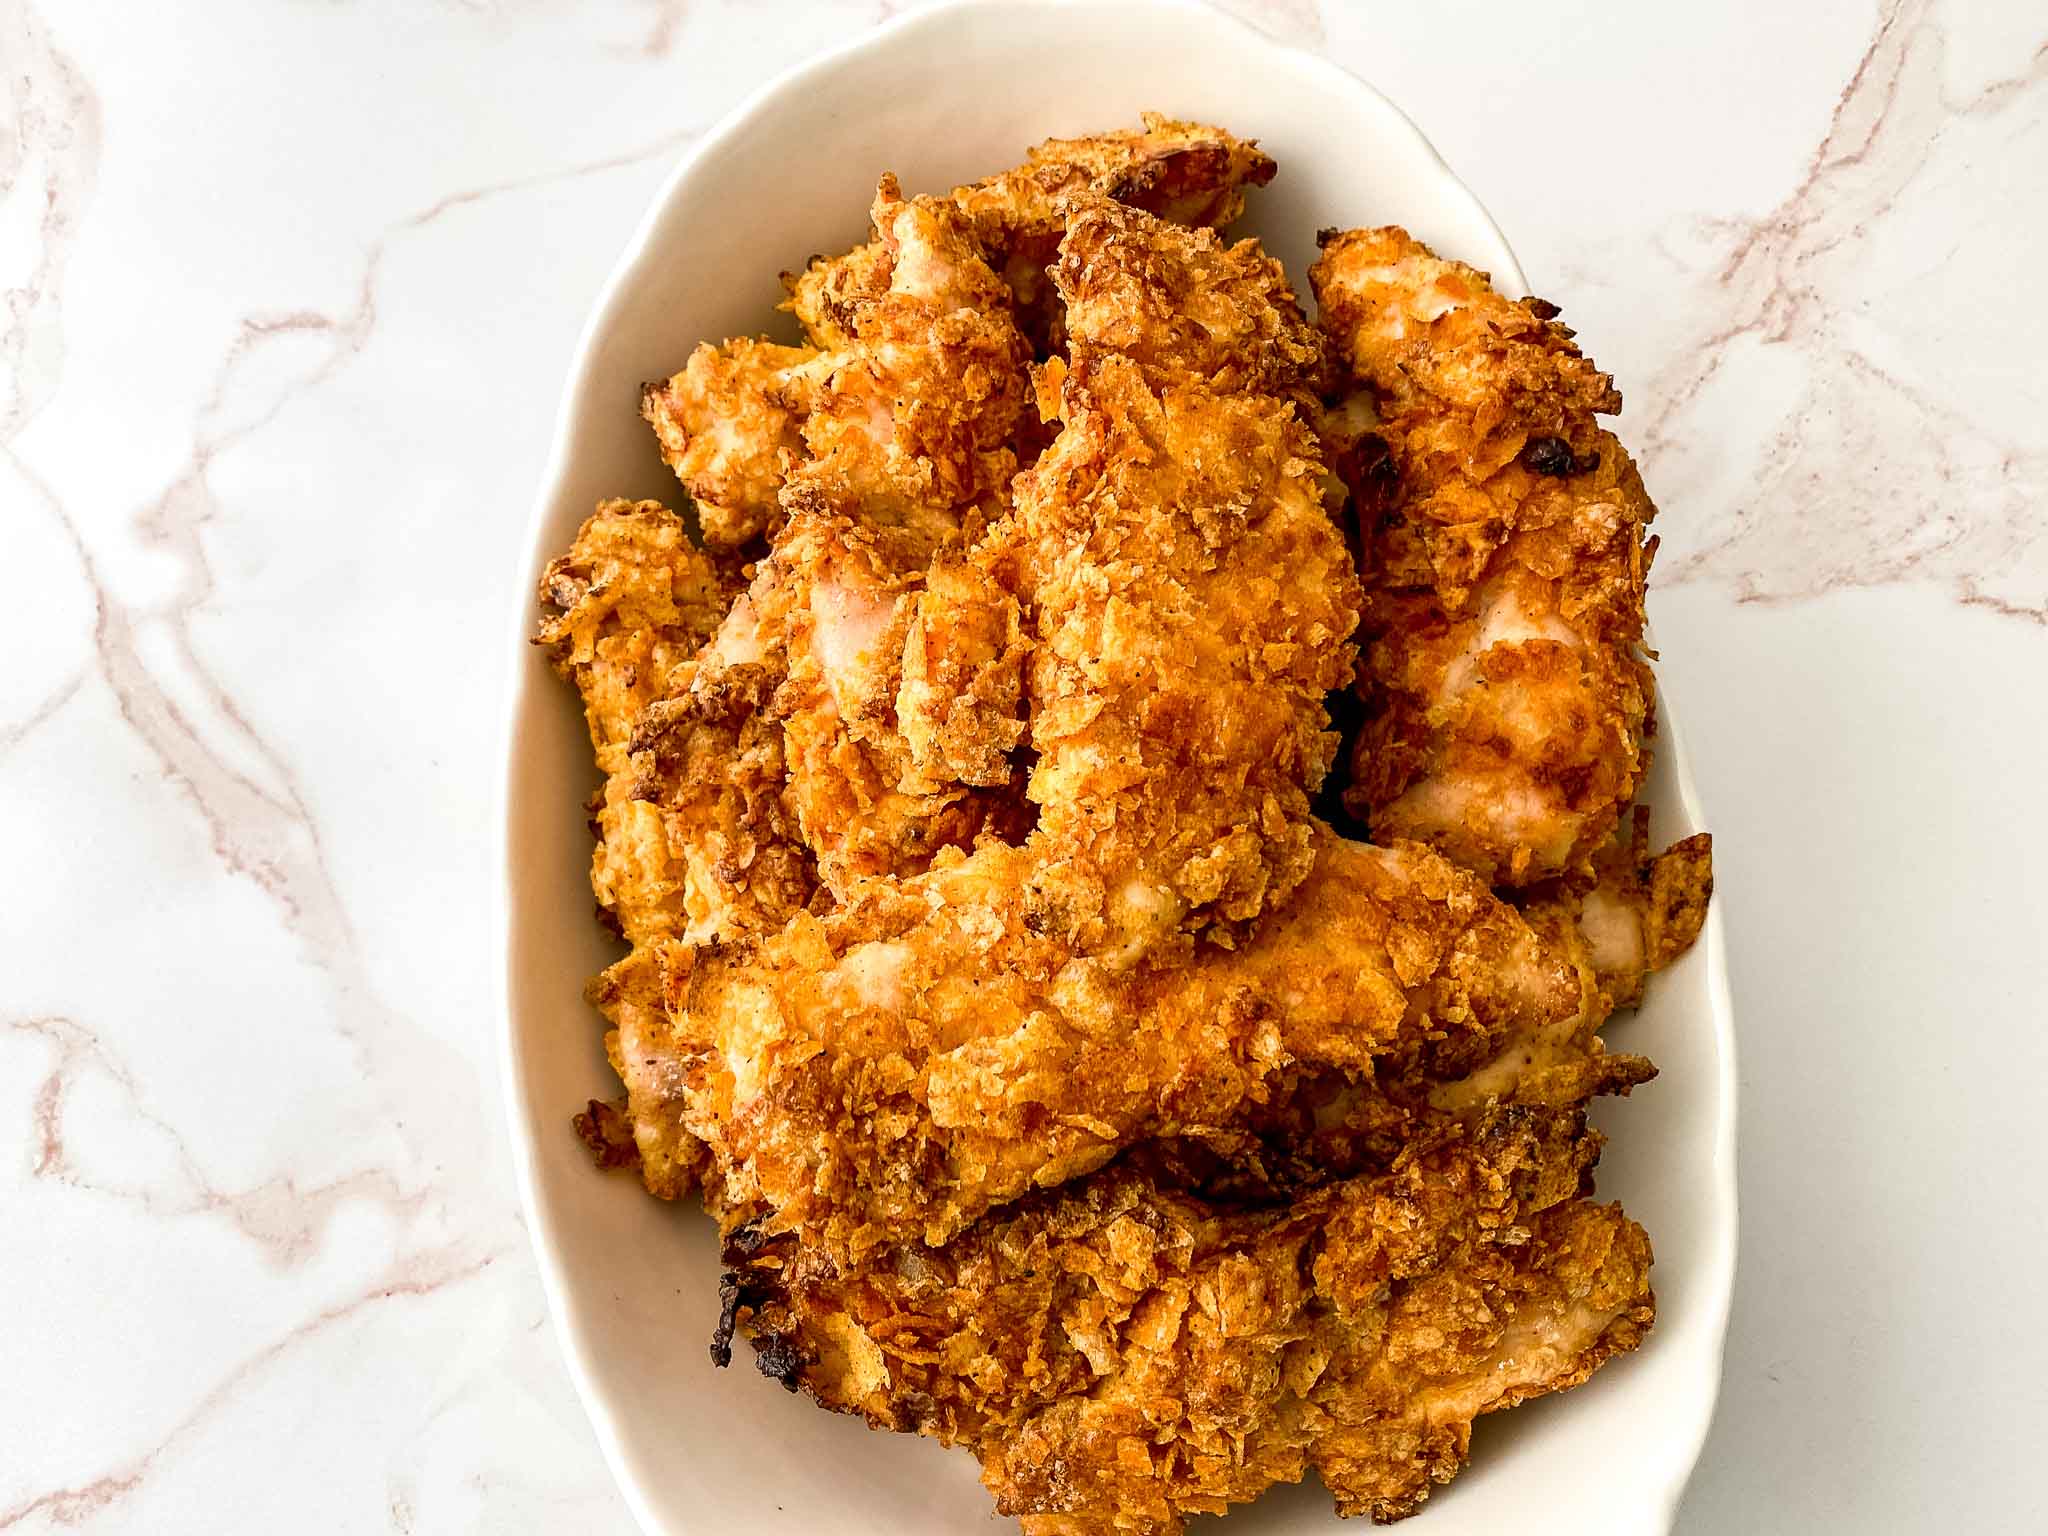
My kids have strong opinions about chicken tenders. Not just any chicken tenders — the kind with the crunch that holds up all the way to the last bite, that doesn’t get soggy while you’re still eating the first half of the plate. I tried panko, I tried regular breadcrumbs, I tried cornflake coatings. They were all fine. Then I tried crushed BBQ chips and we never went back.
The BBQ chip coating is the whole point of this recipe. It gives you crunch, it gives you seasoning, and it gives you a flavor you can’t get from plain breadcrumbs — smoky, slightly sweet, savory all at once. No deep fryer, no oil, no special equipment. Three bowls, a baking sheet, 450°F, and 20 minutes. These are on the table in under 35 minutes and my kids eat every single one.
What ingredients are in these homemade baked chicken tenders?
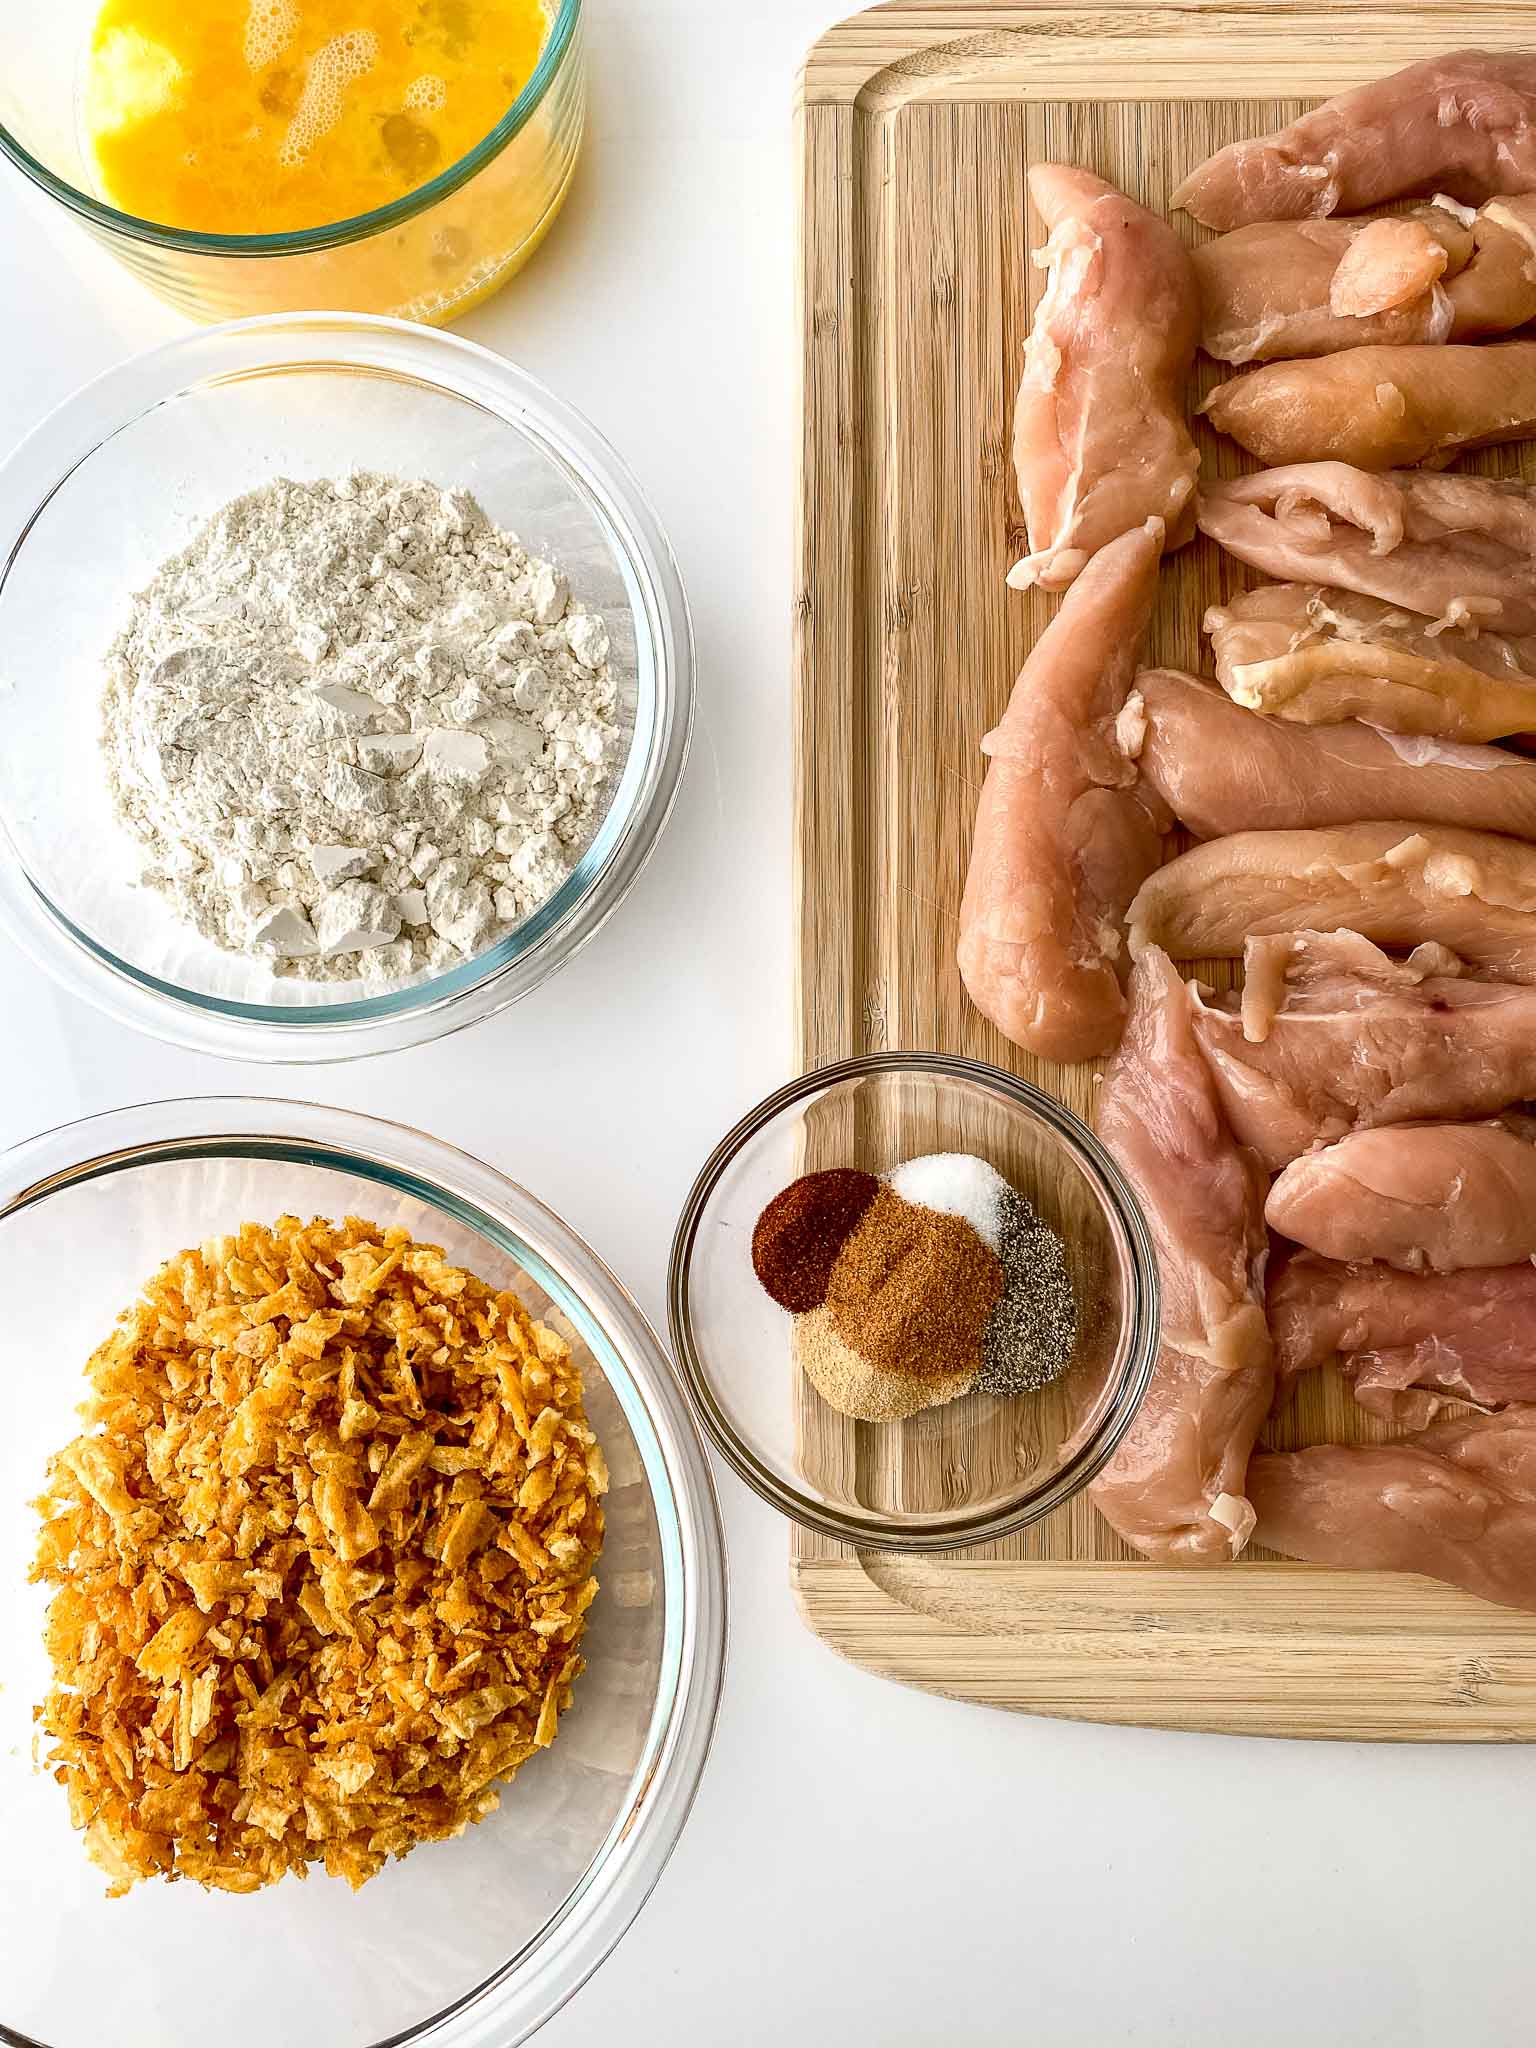
Chicken Tender Ingredients
- 1 cup flour (all purpose, gluten free etc)
- 1 teaspoon garlic powder
- 1 teaspoon paprika
- 1 tsp Kosher salt and freshly ground black pepper
- 3 large eggs
- 5 cups tangy bbq chips, crushed – this is the game changer! It adds so much flavor to the tenders. 2 pounds boneless chicken breast, cut into strips
INGREDIENT NOTES
Chicken (2 lbs boneless chicken breast, cut into strips): Cut the breast into strips about ½-inch thick and 3–4 inches long. Even sizing matters for even baking — if some strips are twice as thick as others, the thin ones will be done before the thick ones. Use actual chicken tenders (the tenderloin cut) if your store sells them separately — they’re already the right size and slightly more tender than sliced breast.
Flour (1 cup) + garlic powder + paprika + salt + pepper: This is your first coating layer. The seasoned flour gives the egg something to adhere to and adds a base layer of flavor under the chip coating. Don’t skip the seasonings in the flour — plain flour on its own is a missed opportunity.
Eggs (3 large): The binder. Lightly beaten, they create the adhesive layer between the flour and the chip coating. Three eggs for 2 lbs of chicken is the right ratio — you want enough egg wash to fully coat each tender without it pooling.
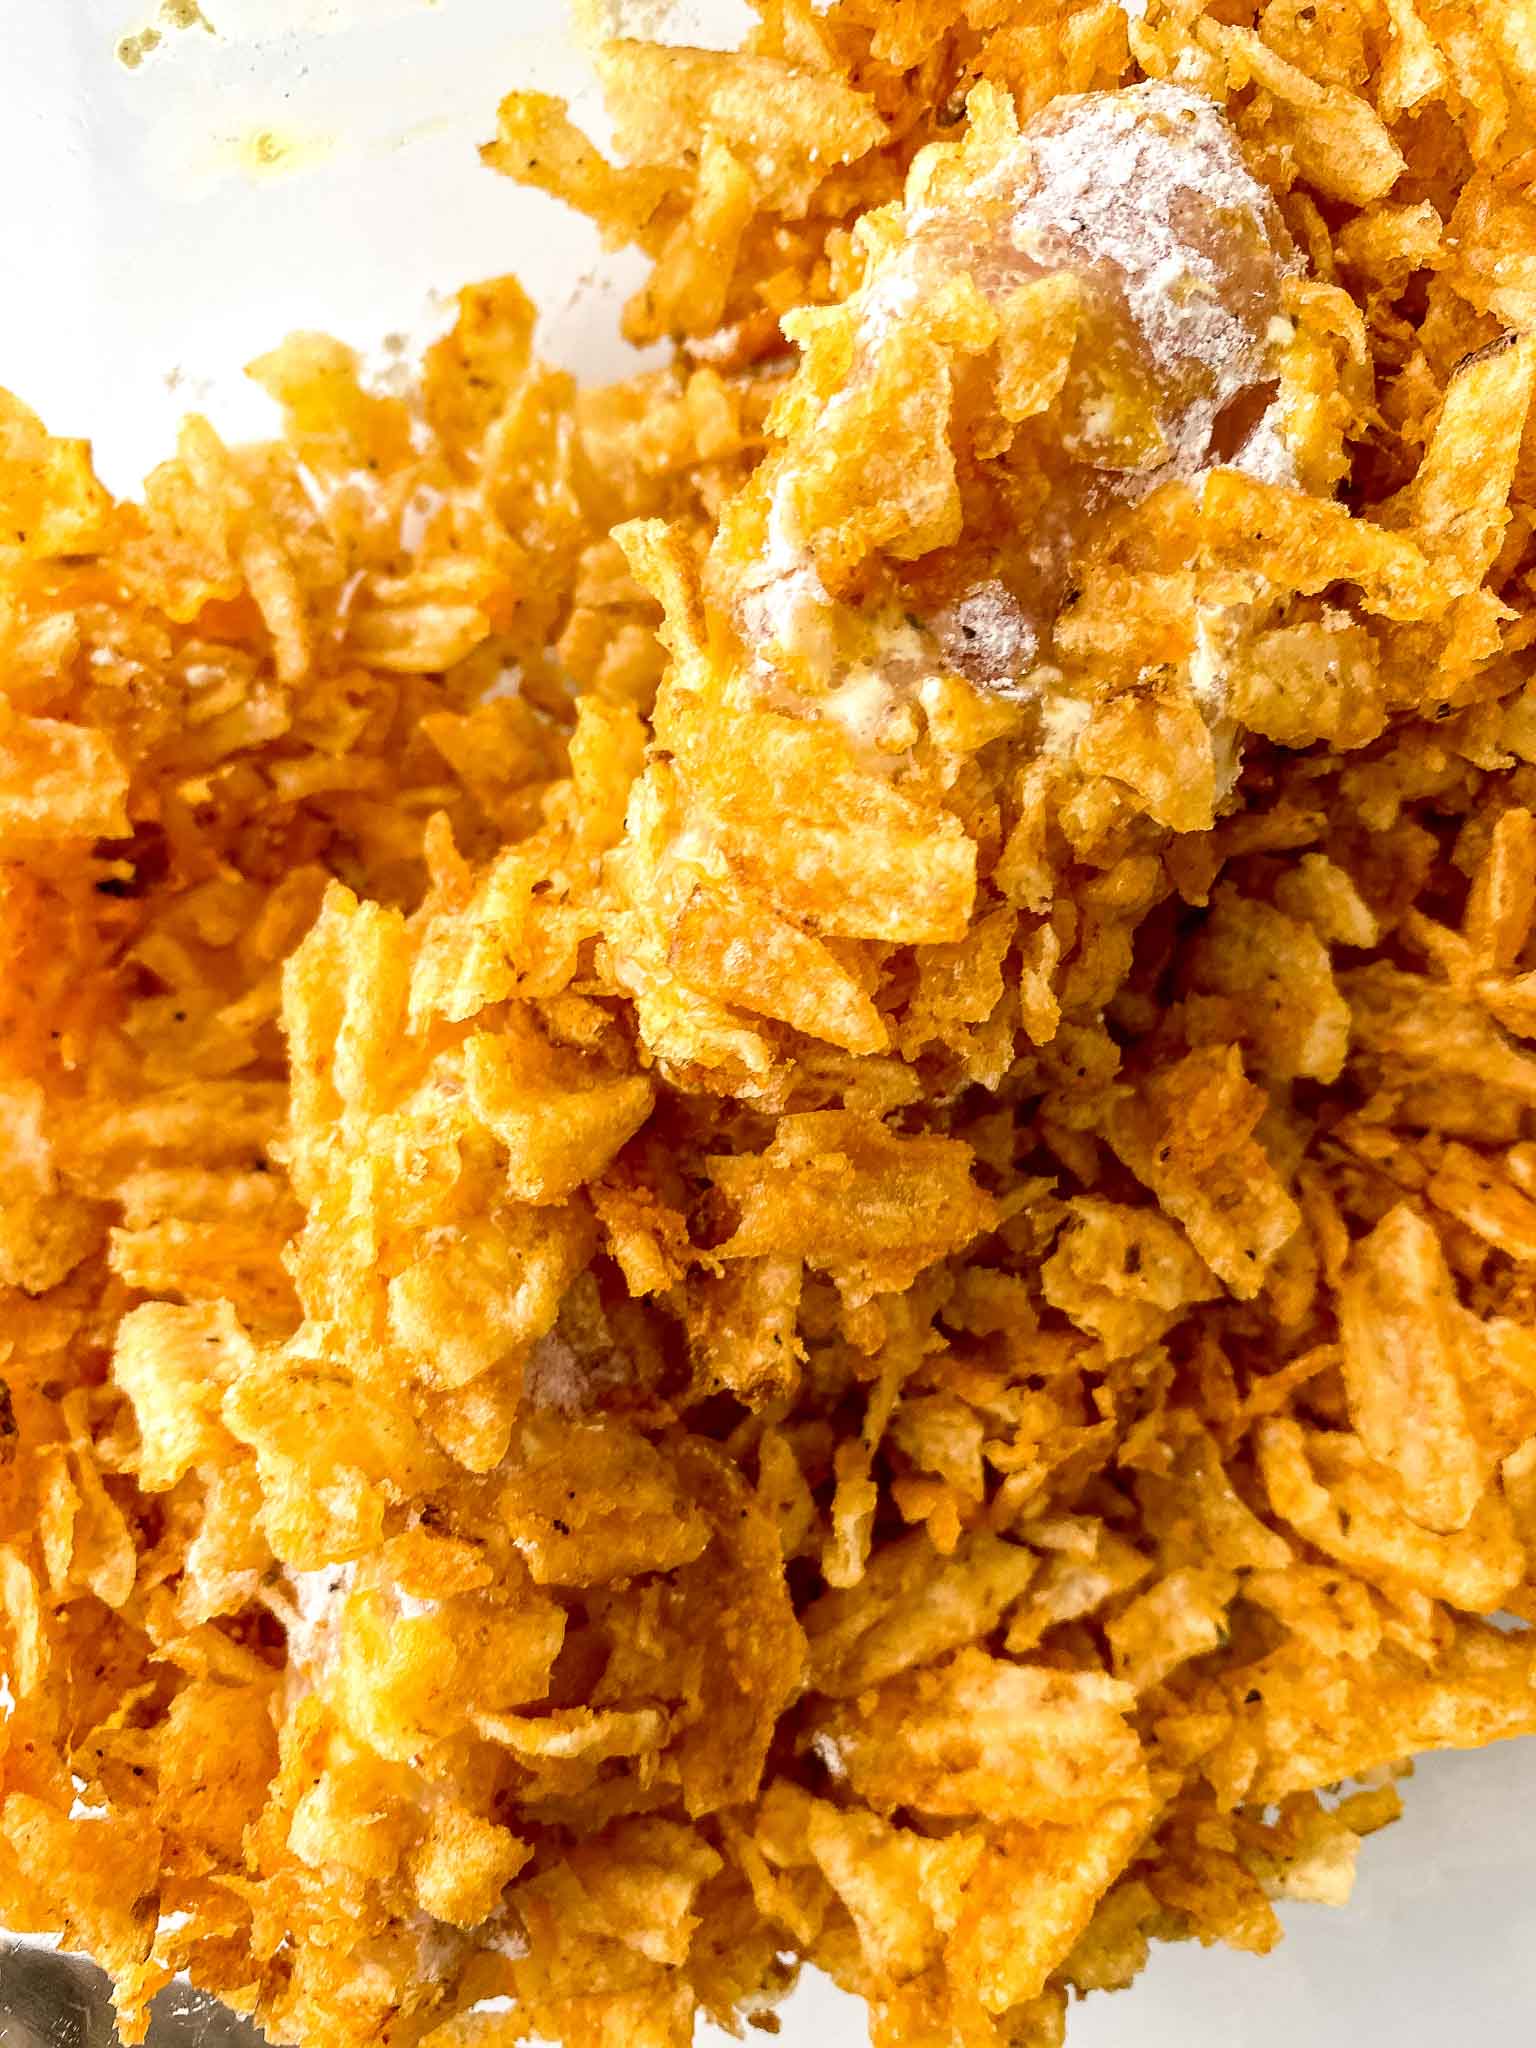
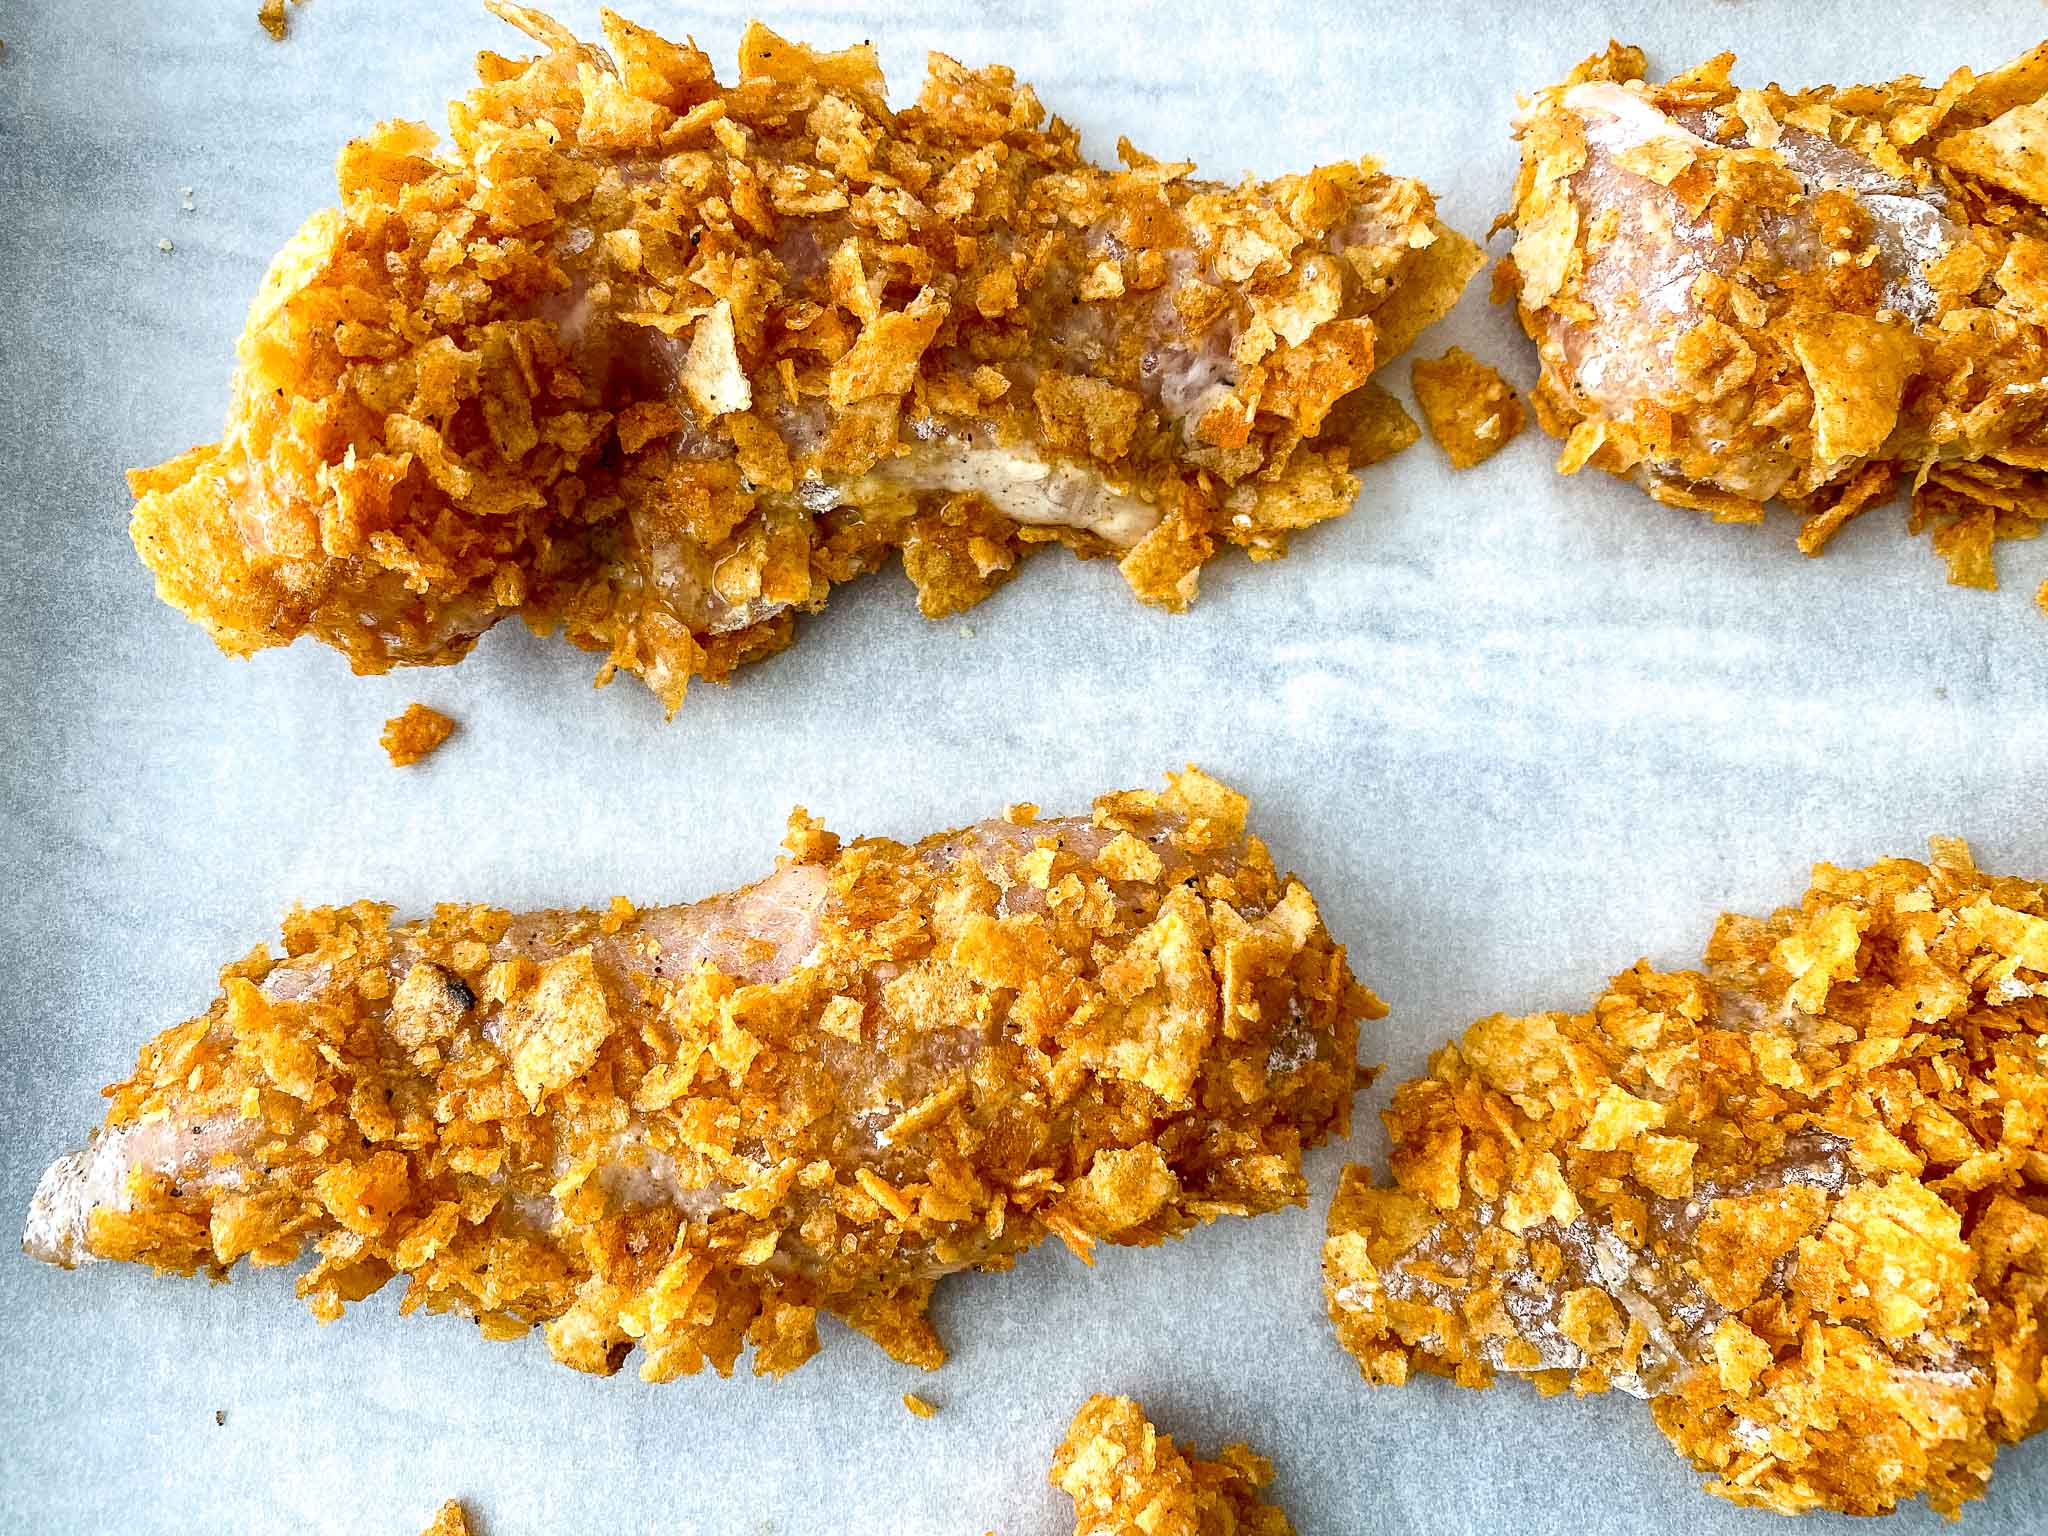
BBQ chips (5 cups, crushed): The coating. Crush them in a sealed zip-lock bag until they’re a rough crumb — not dust, not large chunks. You want pieces roughly the size of coarse breadcrumbs, with some variation in size for texture. The easiest method: put chips in the bag, seal it, and have a kid go to town on it with their hands. It works, and they love it.
450°F oven: This temperature is intentional and important. High heat flash-crisps the chip coating quickly, giving you the crunch you’re after without drying out the chicken. Don’t reduce the temperature — the result at 350°F or 375°F is a softer, less satisfying exterior.
Instructions:
Set up your three-bowl dredging station before you touch the chicken: Bowl 1 is the seasoned flour (mix the flour, garlic powder, paprika, salt, and pepper together thoroughly). Bowl 2 is the beaten eggs. Bowl 3 is the crushed BBQ chips.
Lightly season the chicken strips with a little extra salt and pepper before they go into the flour. Then work the dredge: flour first — shake off the excess, you want a thin, even coat, not a thick crust. Egg next — let the excess drip off for a second before moving on. BBQ chips last — press the chip crumbs onto the surface of each tender gently so they adhere. Place on a parchment-lined baking sheet in a single layer with space between each piece. Crowding the pan steams the chicken instead of crisping it.
Into the 450°F oven for 10 minutes. Flip each tender and bake for another 10 minutes. The chip coating should be deeply golden and set — if it’s still looking pale at 20 minutes, give it 2–3 more minutes. Check the thickest tender with an instant-read thermometer: you’re looking for 165°F internal temperature before they come off the pan.
Let them rest on the pan for 2–3 minutes before serving. The crust firms up slightly as it cools and you won’t burn anyone’s mouth.
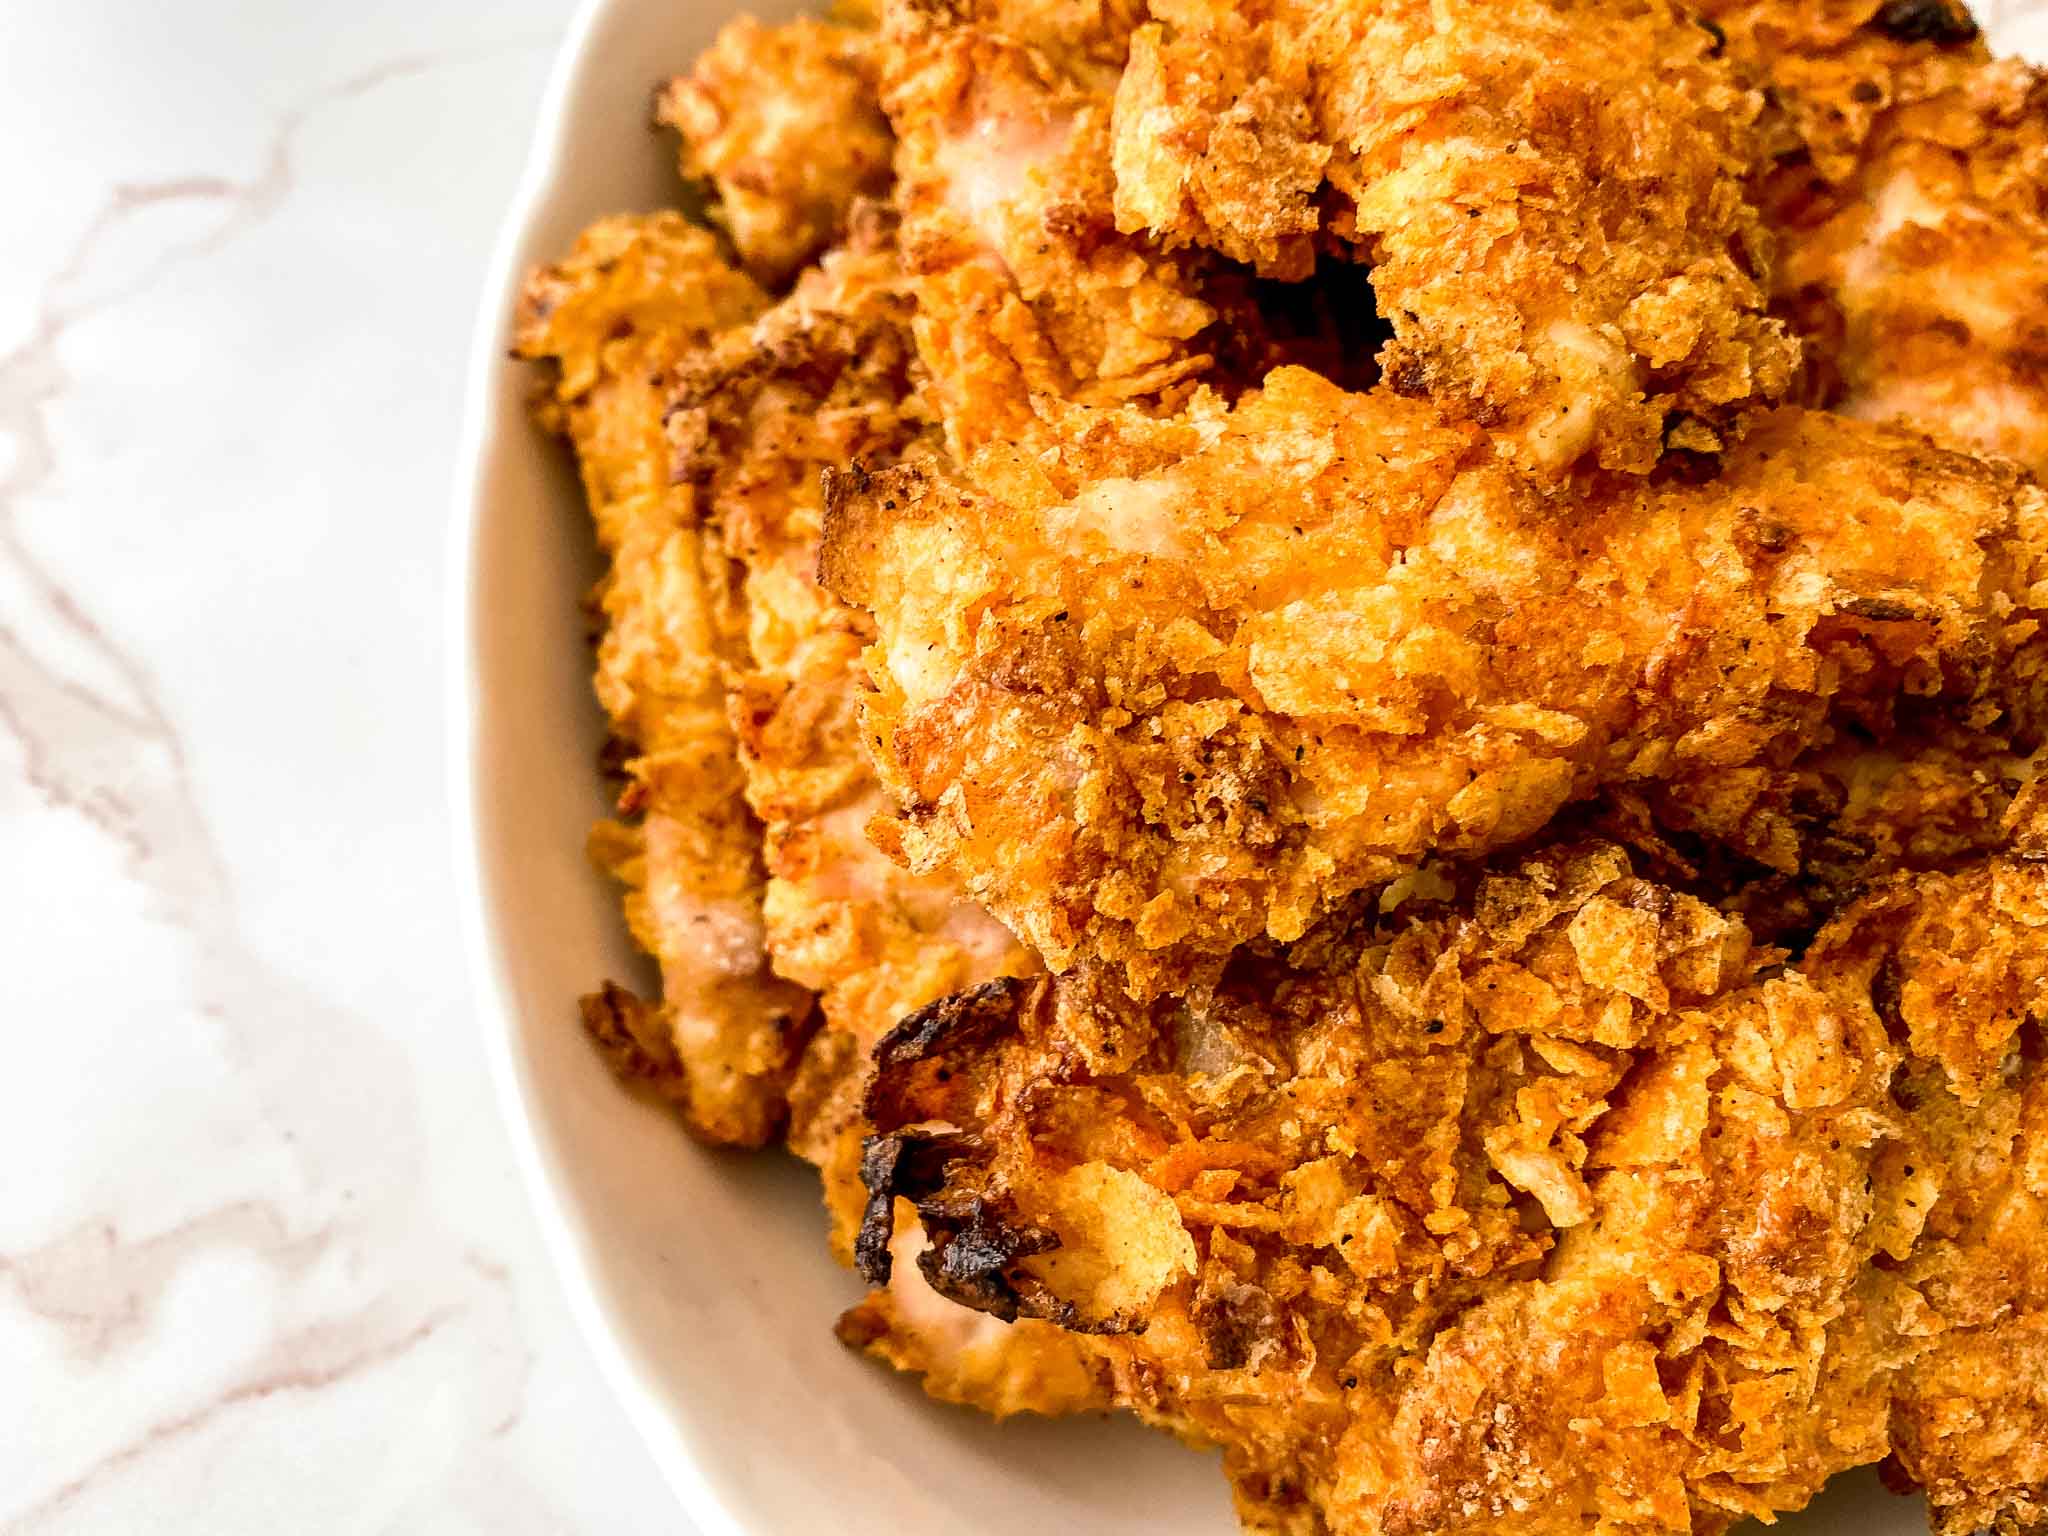
THE SECRET INGREDIENT — AND WHY IT WORKS
The coating on most homemade chicken tenders is panko or breadcrumbs — both perfectly fine, both kind of neutral. BBQ chips do something different. They’re already seasoned, so you get smokiness and depth in the crust without adding anything else. They’re thin and crispy, so when crushed they create a coating that bakes up with real crunch at 450°F. And they have enough fat content from the chip itself that the exterior gets golden and crispy in the oven without any added oil.
Any tangy or smoky BBQ chip works — Lay’s BBQ, Kettle Brand Backyard Barbeque, or store-brand BBQ chips all produce great results. Avoid chips with very sweet or honey-based BBQ flavoring if you want a savory crust. Classic smoky BBQ is the target.
Five cups sounds like a lot. It is — you need enough depth in the bowl to properly coat each tender. You’ll likely have some leftover, which is fine.
FAQs
Classic smoky or tangy BBQ flavor works best — Lay’s BBQ, Kettle Brand Backyard Barbeque, or store-brand BBQ chips all produce excellent results. Avoid very sweet or honey-based BBQ varieties if you want a savory crust. The chip brand matters less than the flavor category.
It’s intentional. The high heat flash-crisps the chip coating quickly, giving you real crunch without needing oil. Lower temperatures (350–375°F) produce a softer exterior that doesn’t have the same satisfying crunch. Trust the temperature.
Yes. Bread the chicken tenders through the chip coating step, place on a parchment-lined baking sheet, and refrigerate for up to 24 hours before baking. Bake straight from the fridge — add 2–3 minutes to the cook time.
Yes. Freeze breaded-but-unbaked tenders on a baking sheet until solid (about 1 hour), then transfer to a freezer bag for up to 3 months. Bake from frozen at 450°F for 25–28 minutes, flipping at the 15-minute mark. Or freeze fully baked tenders and reheat in a 400°F oven or air fryer until heated through and re-crisped.
Internal temperature of 165°F at the thickest part is the only reliable test. The chip coating will be deep golden brown on the outside when they’re done, but thickness varies — always verify with a thermometer.
Yes. Boneless skinless thighs cut into strips work well and stay juicier than breast meat. They may need 2–3 extra minutes in the oven due to slightly more fat content — check temperature to confirm.
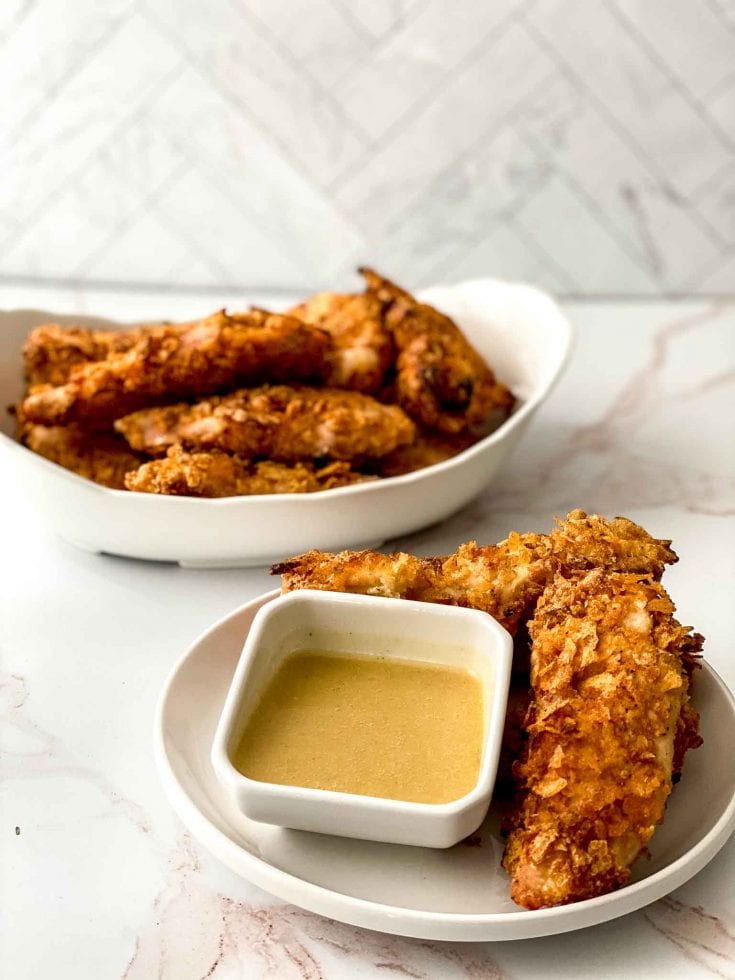
What dipping sauces work best?
Honey mustard is the classic pairing. Ranch is a crowd favorite. The homemade Chick-fil-A sauce is the one my kids request most. BBQ sauce leans into the chip flavor. All four work.
TIPS
Crush chips to a coarse crumb, not dust. Too fine and you lose the texture. Aim for the consistency of coarse panko — some variation in size is ideal.
Press the chips onto the chicken. Don’t just dip — use your fingers to press the crumbs into the surface so they stick. This is the difference between a coating that stays on and one that falls off in the oven.
Single layer on the baking sheet, no touching. Crowded tenders steam instead of crisp. Use two baking sheets if you need to.

Flip only once. Once at the 10-minute mark. Flipping more often disrupts the crust while it’s setting.
Check temperature, not time. Cooking time varies based on the thickness of your strips. A thermometer at 165°F is the only reliable doneness check for chicken.
Don’t skip the flour layer. The flour gives the egg wash something to grab onto, which gives the chips something to grab onto. Skip it and the coating slides off.
VARIATIONS
Sour cream and onion chips: Same technique, completely different flavor profile. Tangy, savory, great with ranch dipping sauce.
Salt and vinegar chips: For people who like things sharp. The vinegar flavor bakes out somewhat but leaves a subtle brightness in the crust.
Flamin’ Hot chips: Coat in Flamin’ Hot Cheetos or Flamin’ Hot chips for a spicy, bright-red crust. Kids who can handle heat go absolutely wild for these.
Honey BBQ: For a sweeter crust. Pairs especially well with a blue cheese dip.
Air fryer version: Air fry at 400°F for 8–10 minutes, flipping halfway. The chip coating crisps up beautifully in the air fryer and the cook time is shorter. Check at 8 minutes.
Gluten-free: Use a gluten-free all-purpose flour blend in place of regular flour. Most BBQ chips are naturally gluten-free — check the bag to confirm before using.

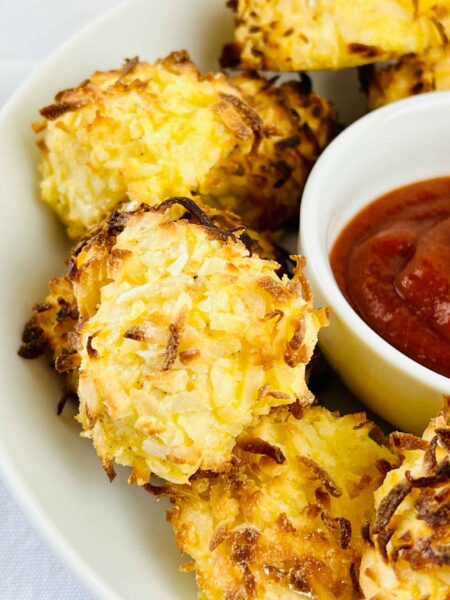
These have been in the regular weeknight rotation long enough that my kids can basically recite the steps — flour, egg, chips, oven, 20 minutes. Once you make them the first time the process is committed to memory, which is exactly what a weeknight recipe should be. If you want to branch out from the oven version, the Air Fryer Coconut Chicken Tenders use a similar dredge technique with a completely different flavor profile and are worth trying back-to-back to see which one your family picks. Both are in the 30-minute range. Both disappear fast.
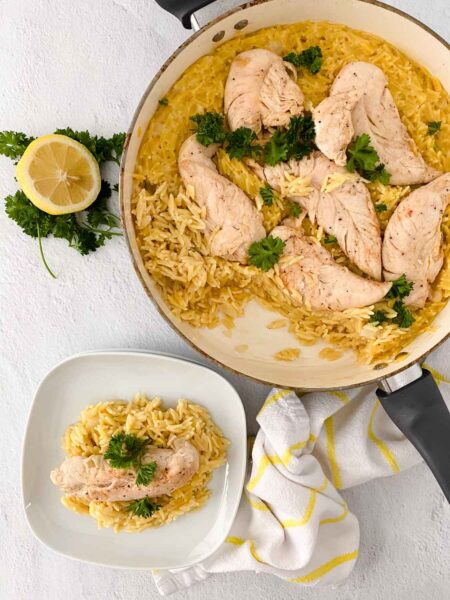
Here are some more yummy chicken recipes to try:


Easy Homemade Crispy Chicken Tenders
These yummy homemade crispy chicken tenders are so great and perfect for anytime!
Ingredients
- 1 cup flour (all purpose, gluten free etc)
- 1 teaspoon garlic powder
- 1 teaspoon paprika
- 1 tsp Kosher salt and freshly ground black pepper 3 large eggs
- 5 cups tangy bbq chips, crushed
- 2 pounds boneless chicken breast, cut into strips
Instructions
- Preheat the oven to 450°F
- Lightly beat three eggs in a bowl and set aside.
- Combine flour and seasonings in a bowl mix to incorporate.
- Crush barbecue chips in a plastic Ziploc bag and then pour into a medium-size bowl for dredging. Lightly sprinkle chicken tenders with salt and pepper
- Coat the tenders in flour, Then egg, then coat in barbecue chips and place on a parchment lined baking sheet.
- Bake for 10 minutes on one side flip over and bake for an additional 10 minutes
- Serve with honey mustard, ranch, or ketchup.
Notes
The tenders should be fully cooked through before serving baking them in a high heat oven at 450° will help the internal temperature of the chicken tenders rise quickly
Nutrition Information
Yield
12Serving Size
1Amount Per Serving Calories 642Total Fat 33gSaturated Fat 5gTrans Fat 0gUnsaturated Fat 26gCholesterol 111mgSodium 688mgCarbohydrates 61gFiber 4gSugar 5gProtein 32g

Before you go, Grab Your Free Printable Recipe Kit!
Keep track of all your favorite recipes and ingredients with this free printable book!
Hi! I’m Nellie. I am an entrepreneur, a busy mama of 3 and a wife to my high school sweetheart. I have been sharing content for over 12 years about how to cook easy recipes, workout tips and free printables that make life a little bit easier. I have been featured in places like Yahoo, Buzzfeed, What To Expect, Mediavine, Niche Pursuits, HuffPost, BabyCenter, Mom 2.0, Mommy Nearest, Parade, Care.com, and more!
Get comfortable and be sure to come hang out with me on social. Don’t forget to grab your free fitness journal before you go!