Easy Homemade Mini Cannolis (No Frying, No Cannoli Tubes)
If you a looking for a yummy dessert look no further than these homemade mini cannolis! This recipe teaches you how to make the cannoli shells and filling from scratch.
My husband has been a cannoli person his whole life. I came to them late — I think I assumed they were complicated, the kind of dessert you just buy from a bakery and don’t attempt at home. Then I actually made them, and I realized two things: first, I loved them. Second, the baked wonton wrapper version solves every single problem I thought made cannolis hard.
No frying. No hot oil. No cannoli tubes. No pastry dough. You take wonton wrappers, brush them with a butter-sugar-vanilla mixture, wrap them around a foil cylinder, bake them at 450°F for five minutes, and you have crispy, golden shells that hold up beautifully to the filling. The ricotta and cream cheese filling comes together in one bowl, chills for two hours, and pipes in cleanly.
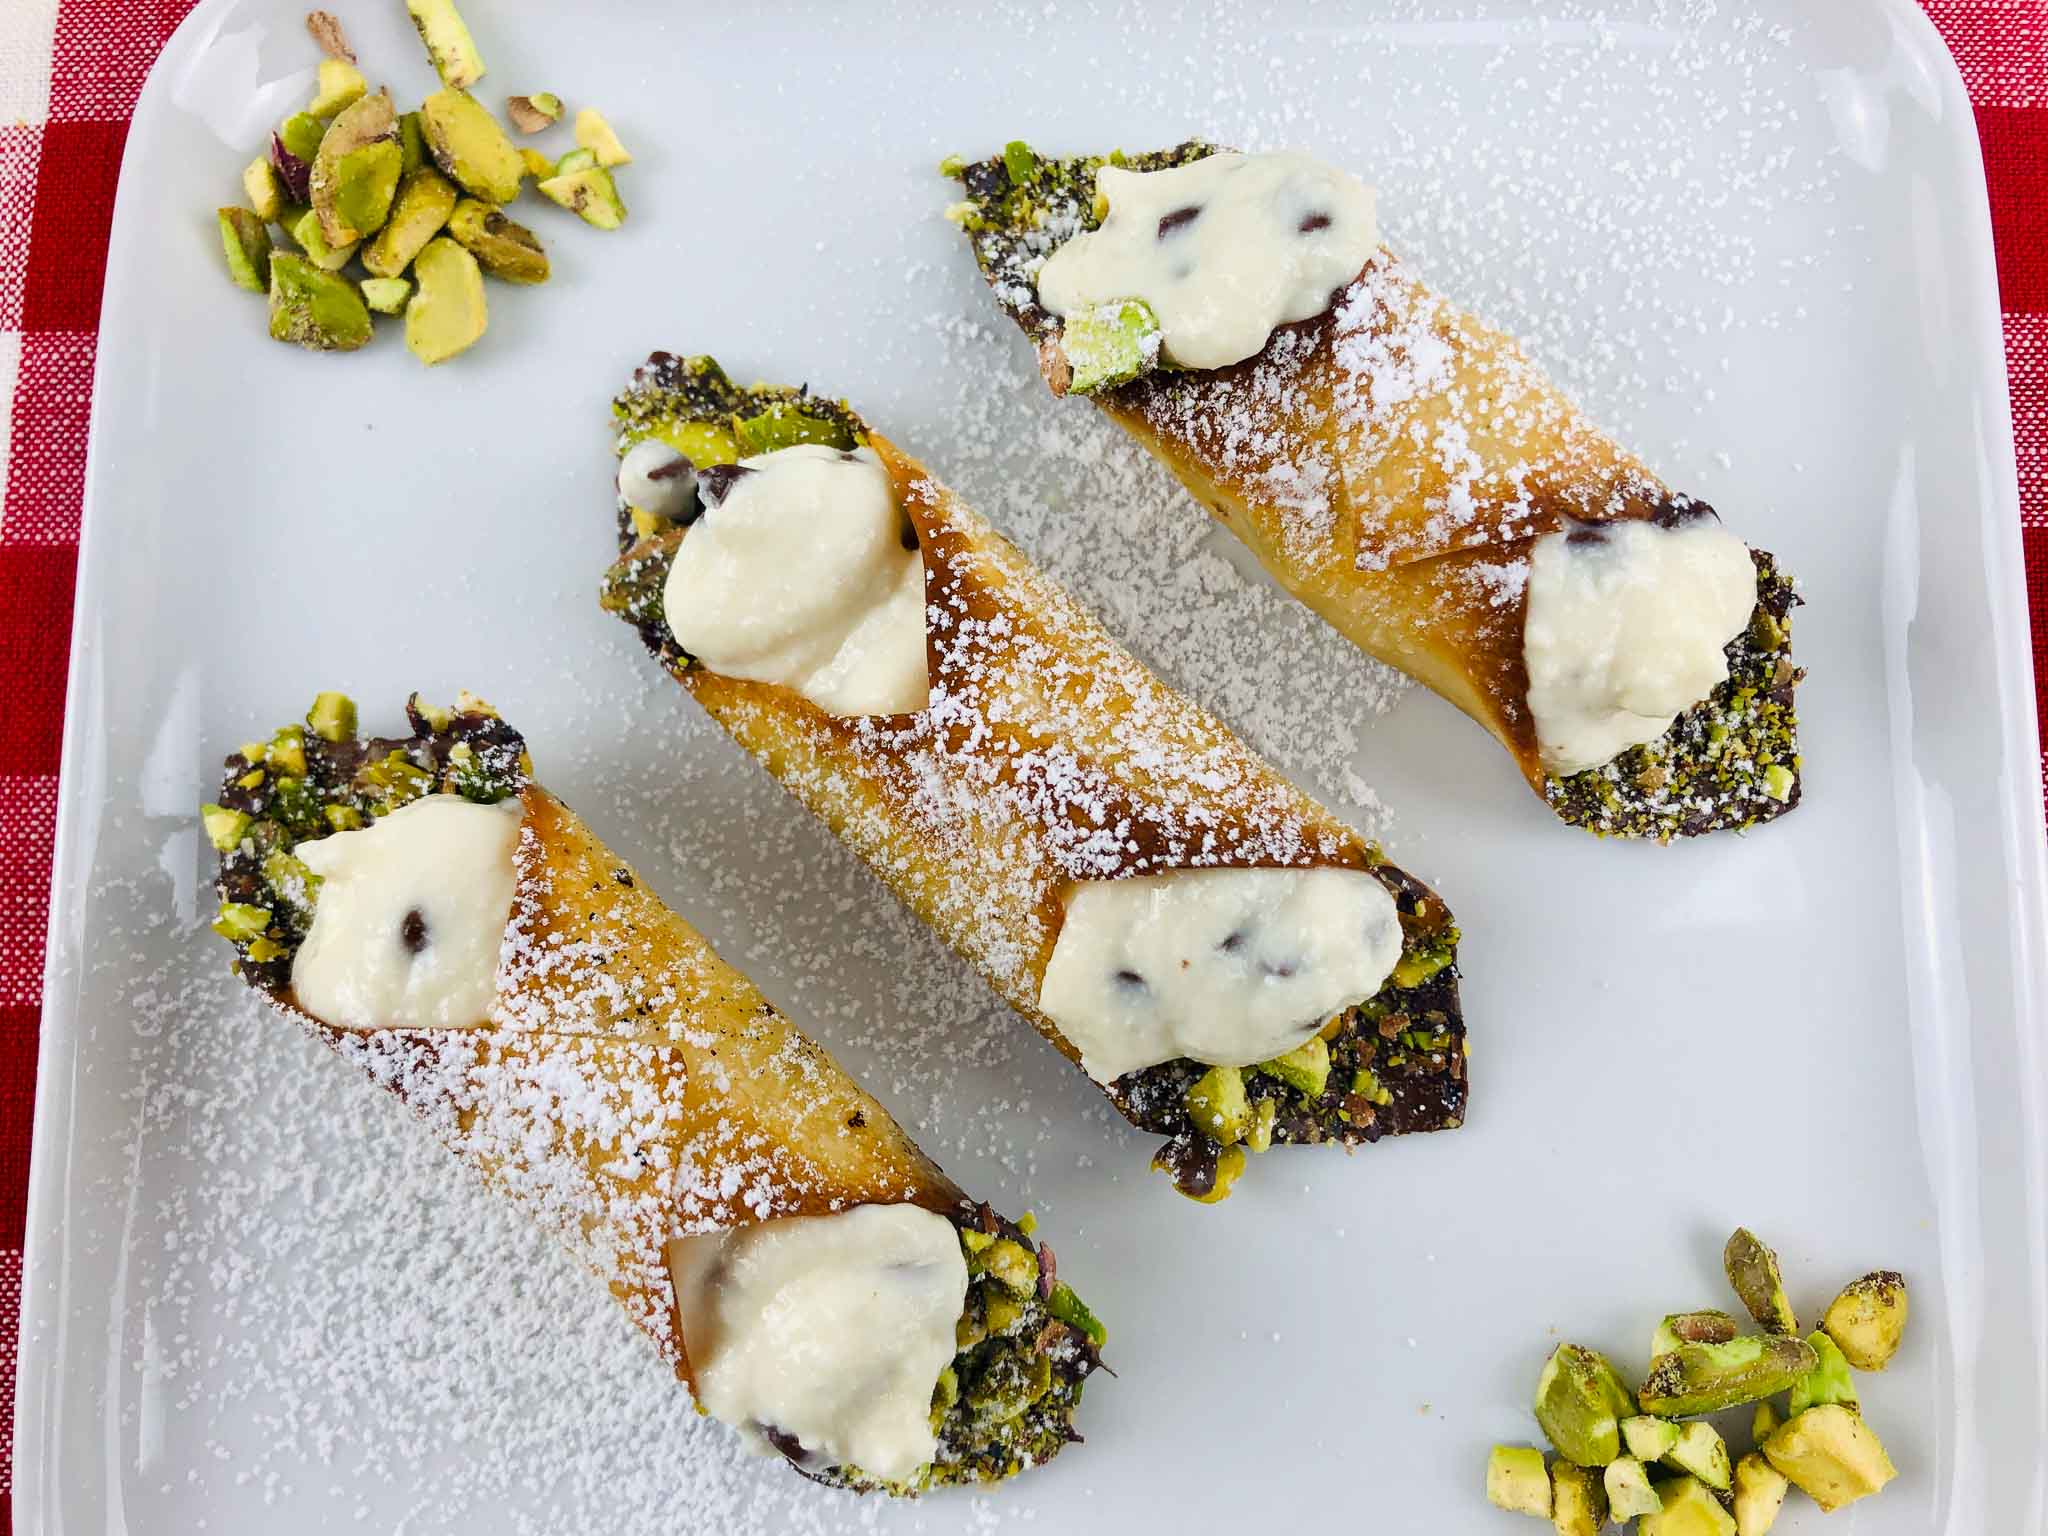
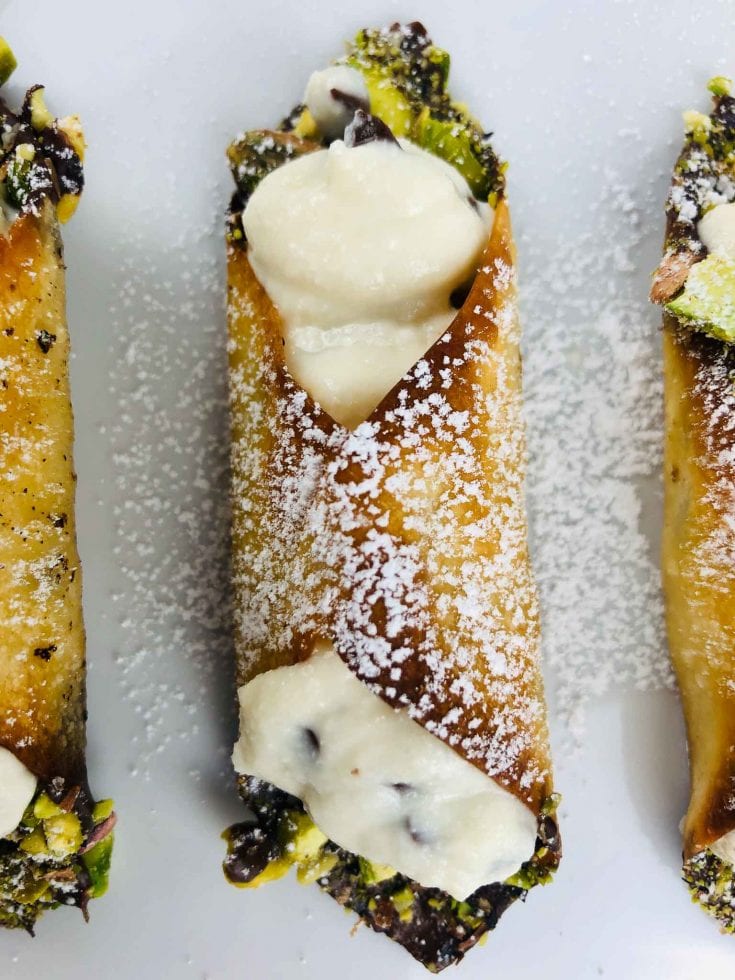
Growing up in Brooklyn, I was surrounded by Italian-American food culture — the kind of bakeries in Carroll Gardens and Bensonhurst that have been making cannolis the same way for decades. This recipe doesn’t try to replicate that tradition exactly. It’s a home cook’s version: easier, faster, and completely doable on a weeknight. But the result? Crispy shells, creamy filling, chocolate-dipped ends with pistachios. It holds its own.
You will need the following ingredients for these amazing mini cannoli shells delicious dessert:
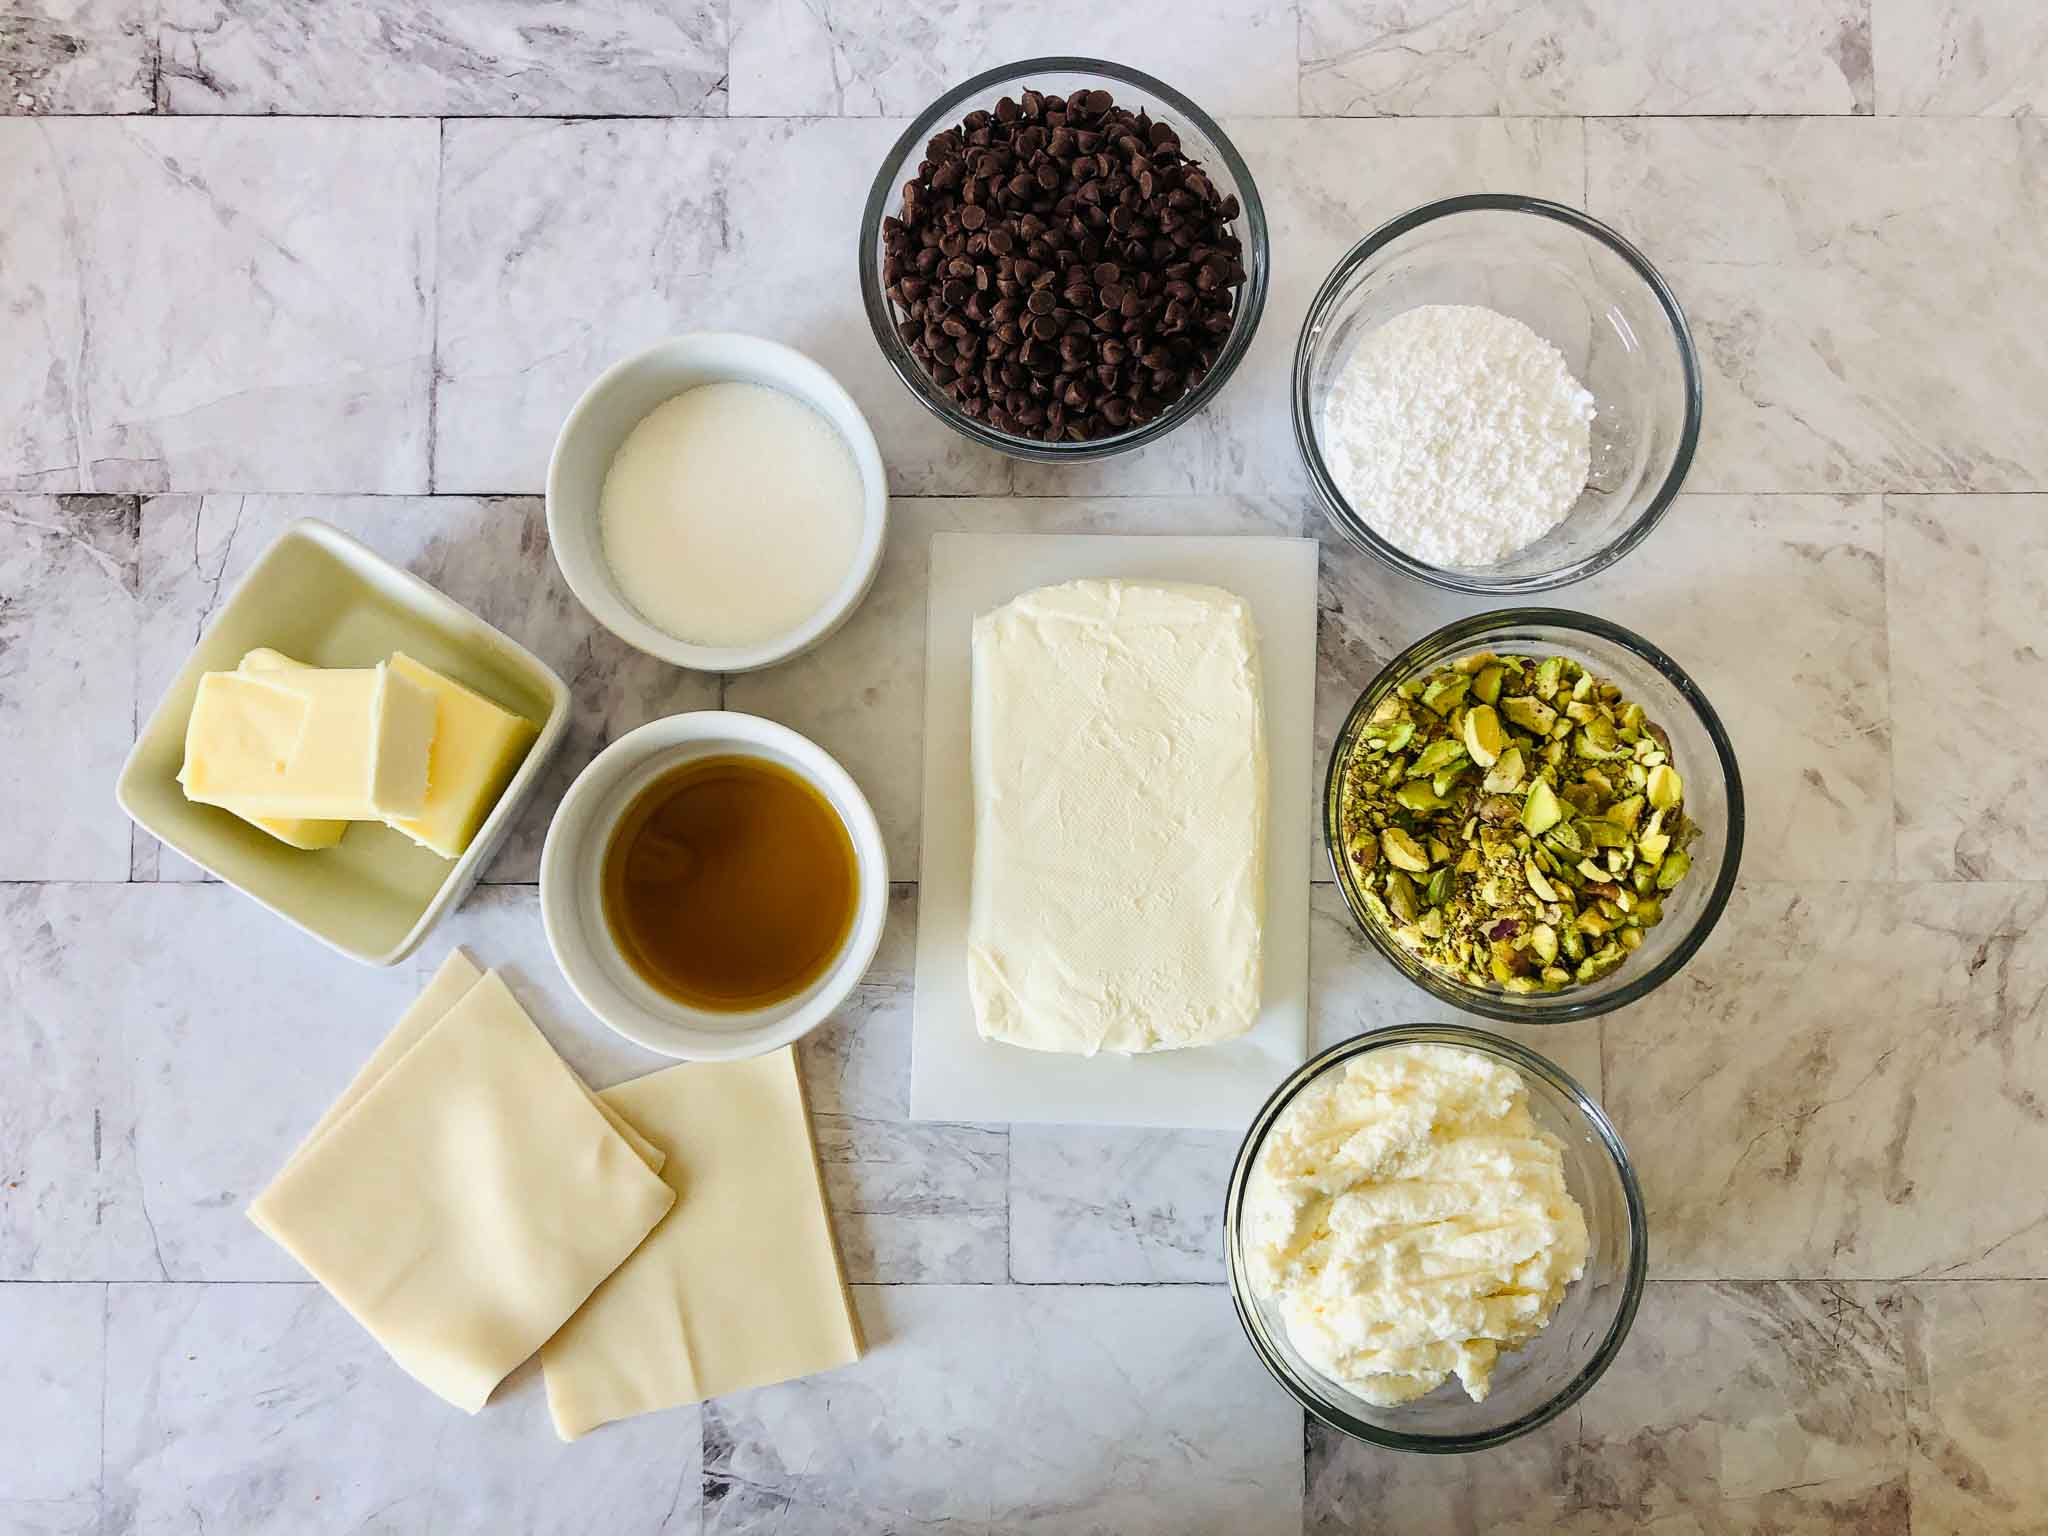

Cannoli Ingredients
Shells (Cannoli molds):
butter
sugar
vanilla
wonton wrappers
pistachios, crushed
mini chocolate chips
powdered sugar
Filling:
cream cheese, softened
ricotta cheese
sugar
vanilla
mini chocolate chips
INGREDIENT NOTES
Wonton wrappers: One package from the refrigerated section of most grocery stores. Square wrappers work best for wrapping around the cylinder evenly. You’ll use approximately 8–10 wrappers depending on how tightly you roll them.
Unsalted butter, melted: One stick (½ cup), melted and cooled slightly before brushing. Unsalted preferred so the shells don’t taste savory. Let the melted butter cool for a few minutes before mixing in the vanilla so it doesn’t cook out.
Sugar (for shells): Just 2 tablespoons — enough to give the shells a very light sweetness and help with browning without making them dessert-sweet on their own.
Vanilla: 1 teaspoon goes into the butter mixture for the shells. It adds a subtle flavor that complements the filling.
Cream cheese: 8 oz, softened to room temperature before mixing. Cold cream cheese won’t blend smooth — you’ll get lumps. Take it out of the refrigerator 30–45 minutes before you start.
Ricotta cheese: 15 oz whole-milk ricotta. Full-fat is important here for richness and texture. If your ricotta looks very wet when you open the container, drain it through a fine mesh strainer for 20–30 minutes first. Watery ricotta = loose filling.
Sugar (for filling): ½ cup granulated sugar. Taste after mixing — if you prefer a sweeter filling, add an extra tablespoon.
Mini chocolate chips: 1 cup for the filling + 1 cup for melting to dip the finished shells. Buy two bags or one large bag. The minis incorporate better into the filling than regular chips.
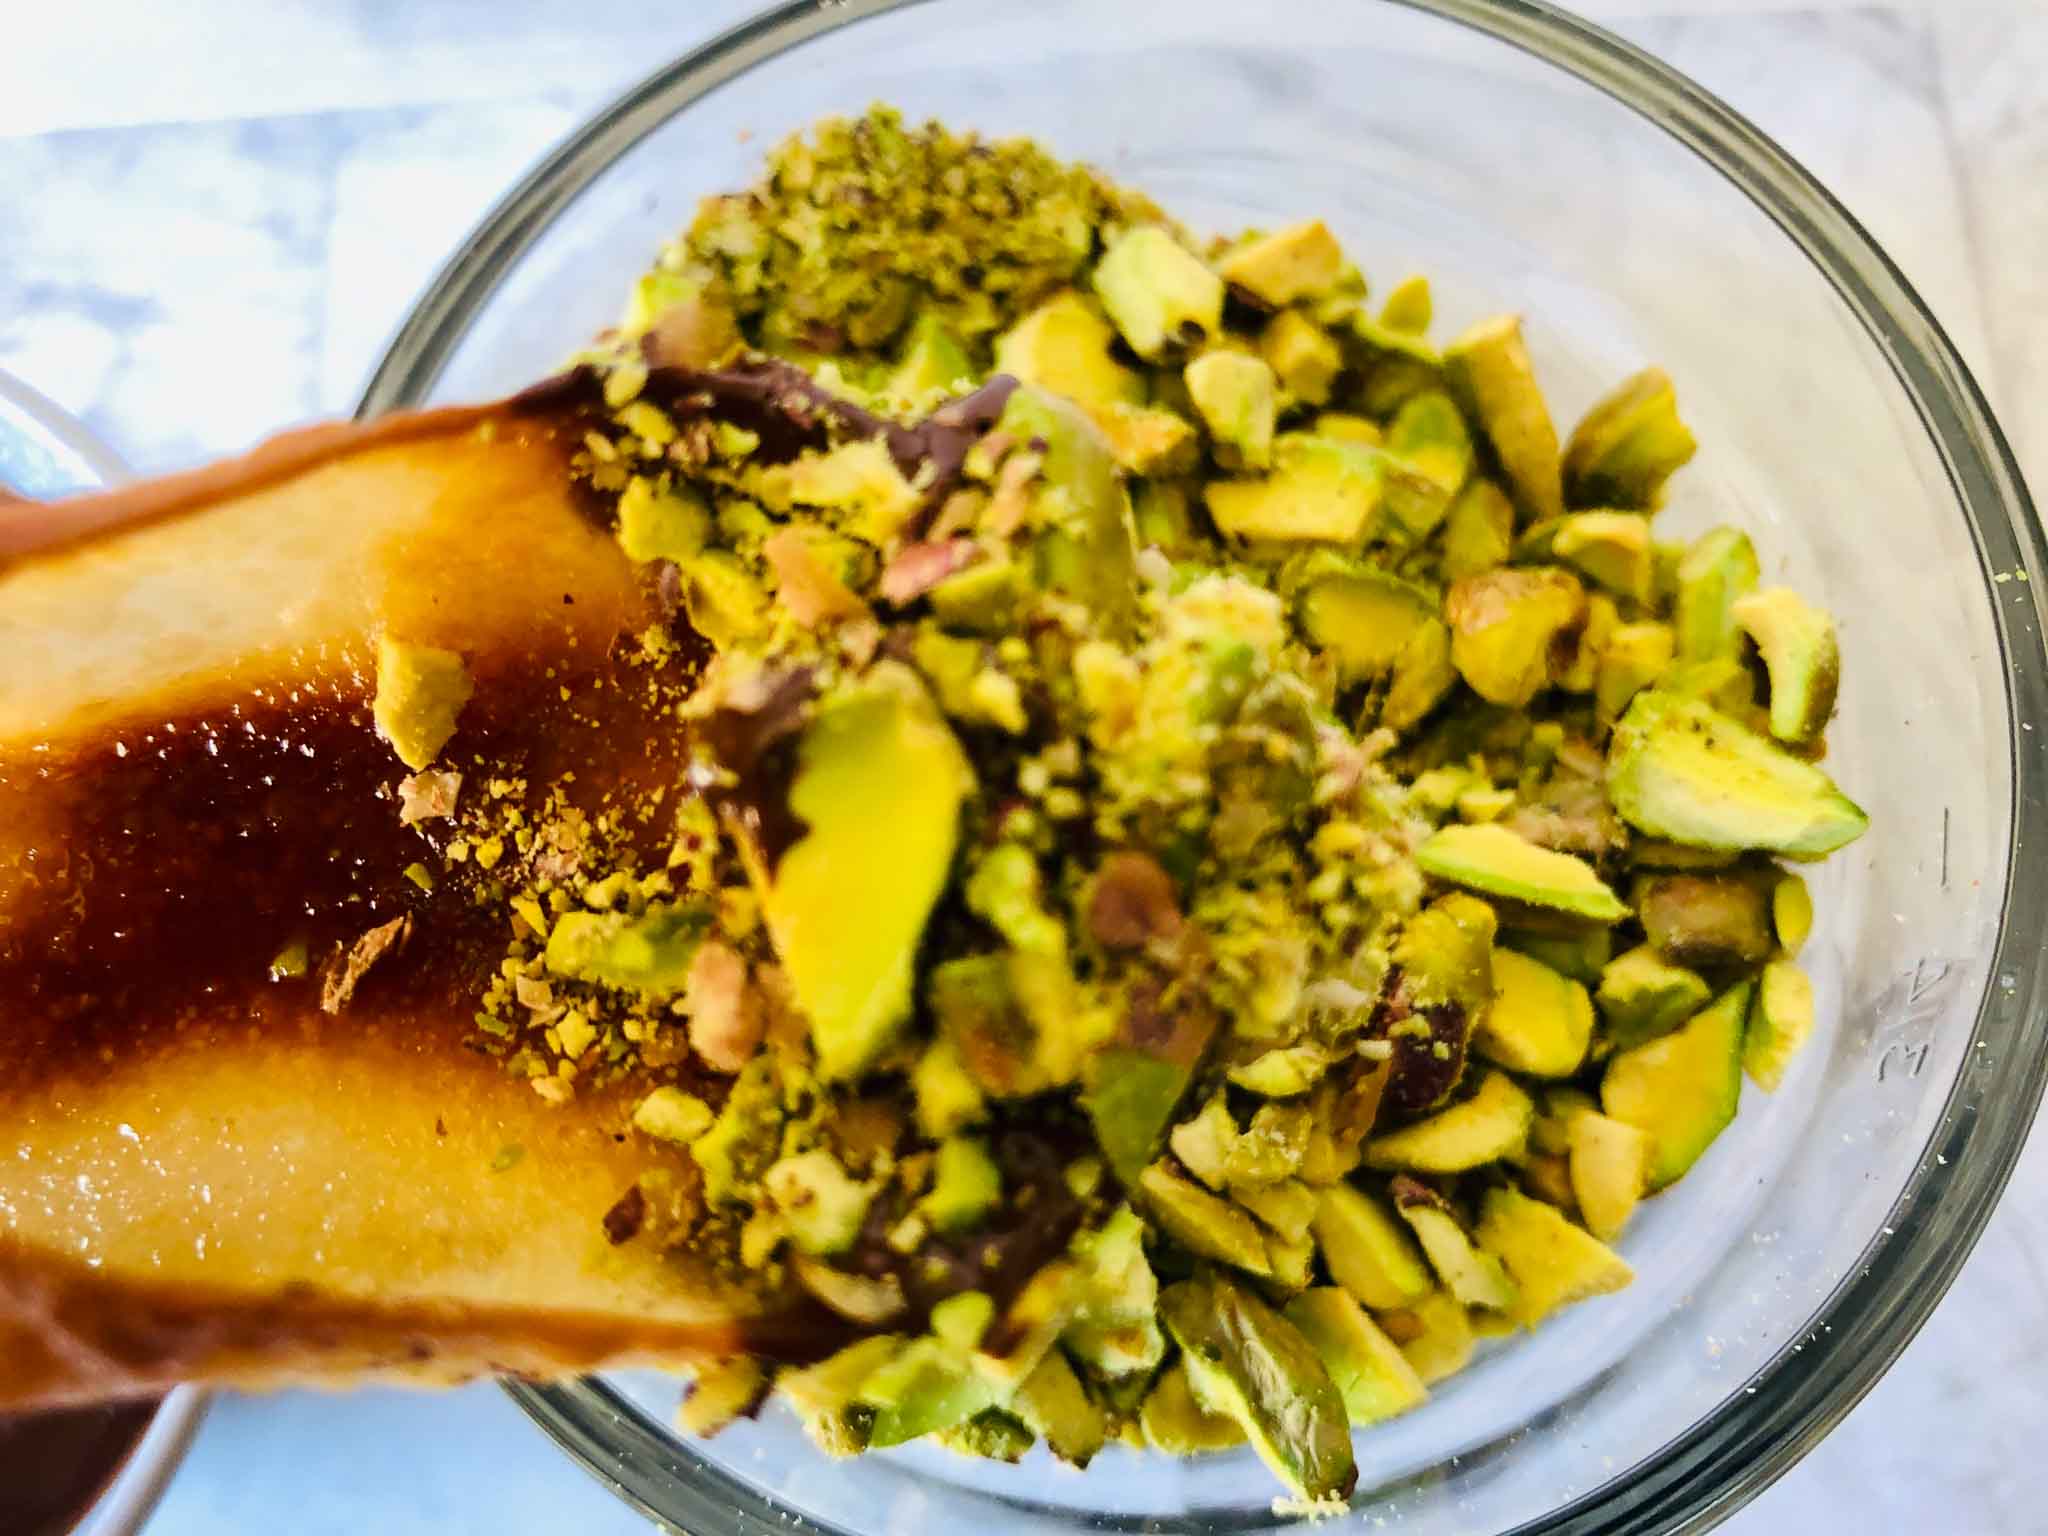
Crushed pistachios: ⅔ cup, crushed fairly fine so they adhere to the chocolate-dipped ends. You can buy pre-crushed or pulse whole pistachios in a food processor for a few seconds.
Powdered sugar: ¼ cup for dusting at serving — not mixed into anything, just a finishing touch right before you put them on the table.
How Do You Make These Mini Canollis
Make the filling first (it needs 2 hours to chill)
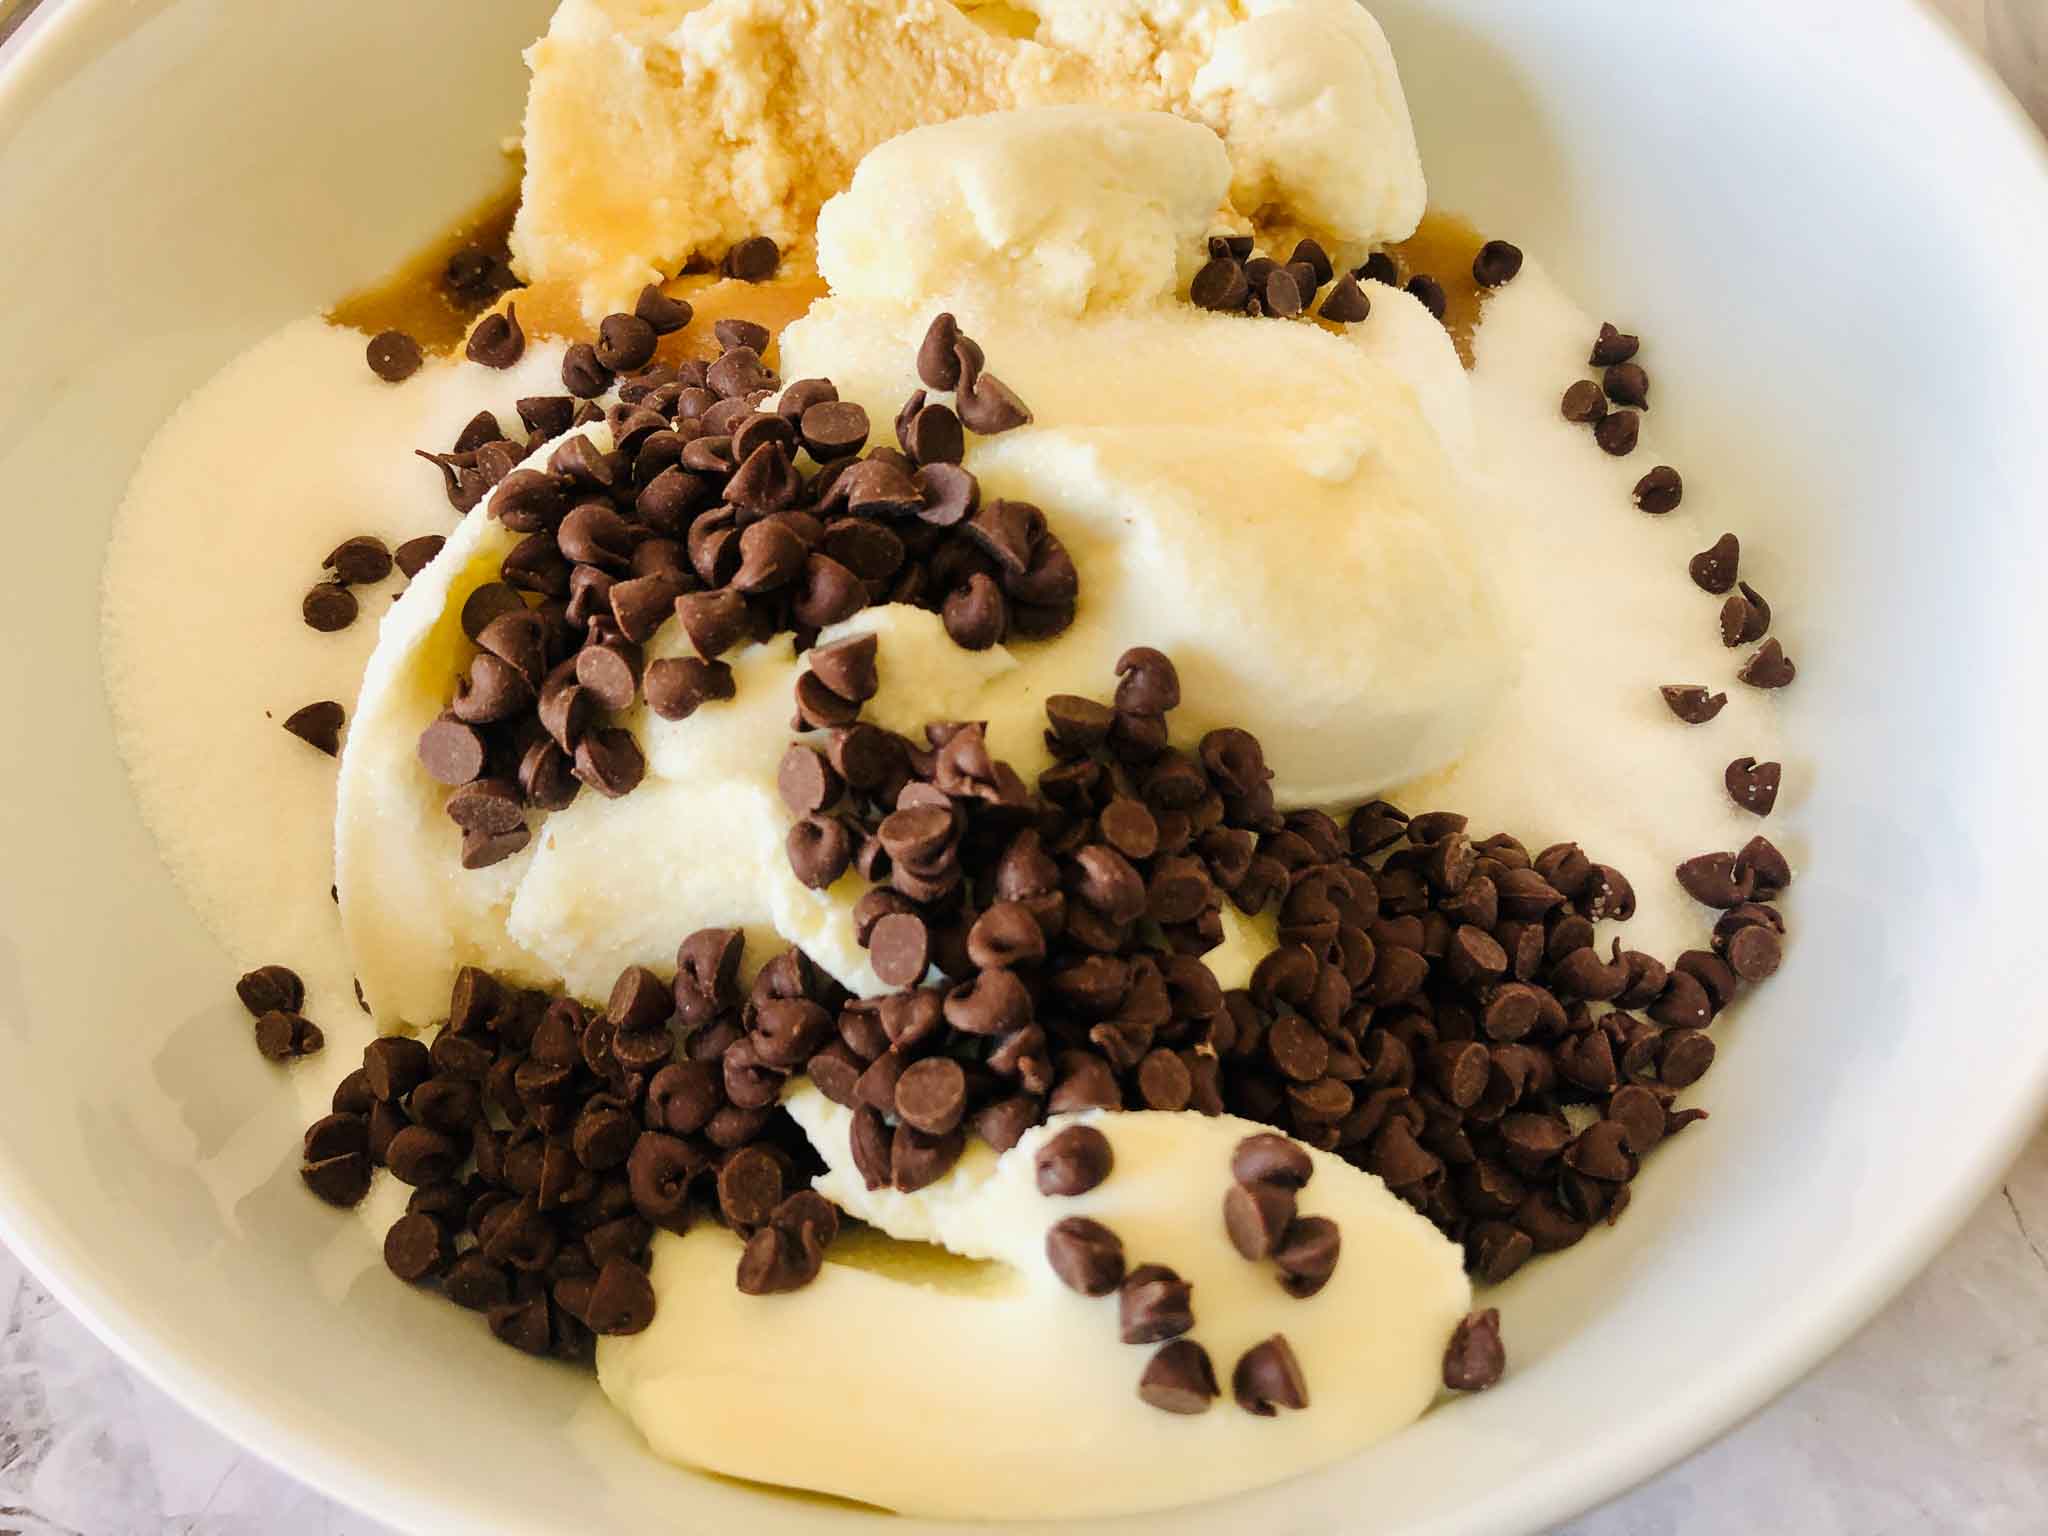
In a large bowl, beat the softened cream cheese with a hand mixer until completely smooth — no lumps. Add the ricotta and beat again until fully combined. Add the sugar and vanilla and mix until incorporated. Fold in 1 cup of mini chocolate chips by hand. Cover and refrigerate for at least 2 hours. The chill firms the filling so it pipes cleanly and holds its shape in the shells.
Make the foil cylinders
Roll pieces of aluminum foil into cylinders approximately ¾–1 inch in diameter and 3–4 inches long. Tight, firm rolls work better than loose ones — the shell will take the shape of whatever you use.
Make the shells
Preheat oven to 450°F. Line a baking sheet with parchment paper. Melt the butter, stir in the sugar, then add vanilla. Let it cool for 2 minutes. Lay a wonton wrapper flat, brush one side completely with the butter mixture. Wrap it around a foil cylinder diagonally, overlapping slightly — the butter acts as the glue. Brush the outside of the wrapped wonton again to seal the overlap and coat the outside. Place seam-side down on the prepared baking sheet. Repeat with remaining wrappers.
Bake at 450°F for 5 minutes until golden brown and crisp. Watch them — at this temperature they can go from golden to too dark quickly. Remove from oven and let cool completely on the cylinders before sliding them off. Do not try to remove them while warm.
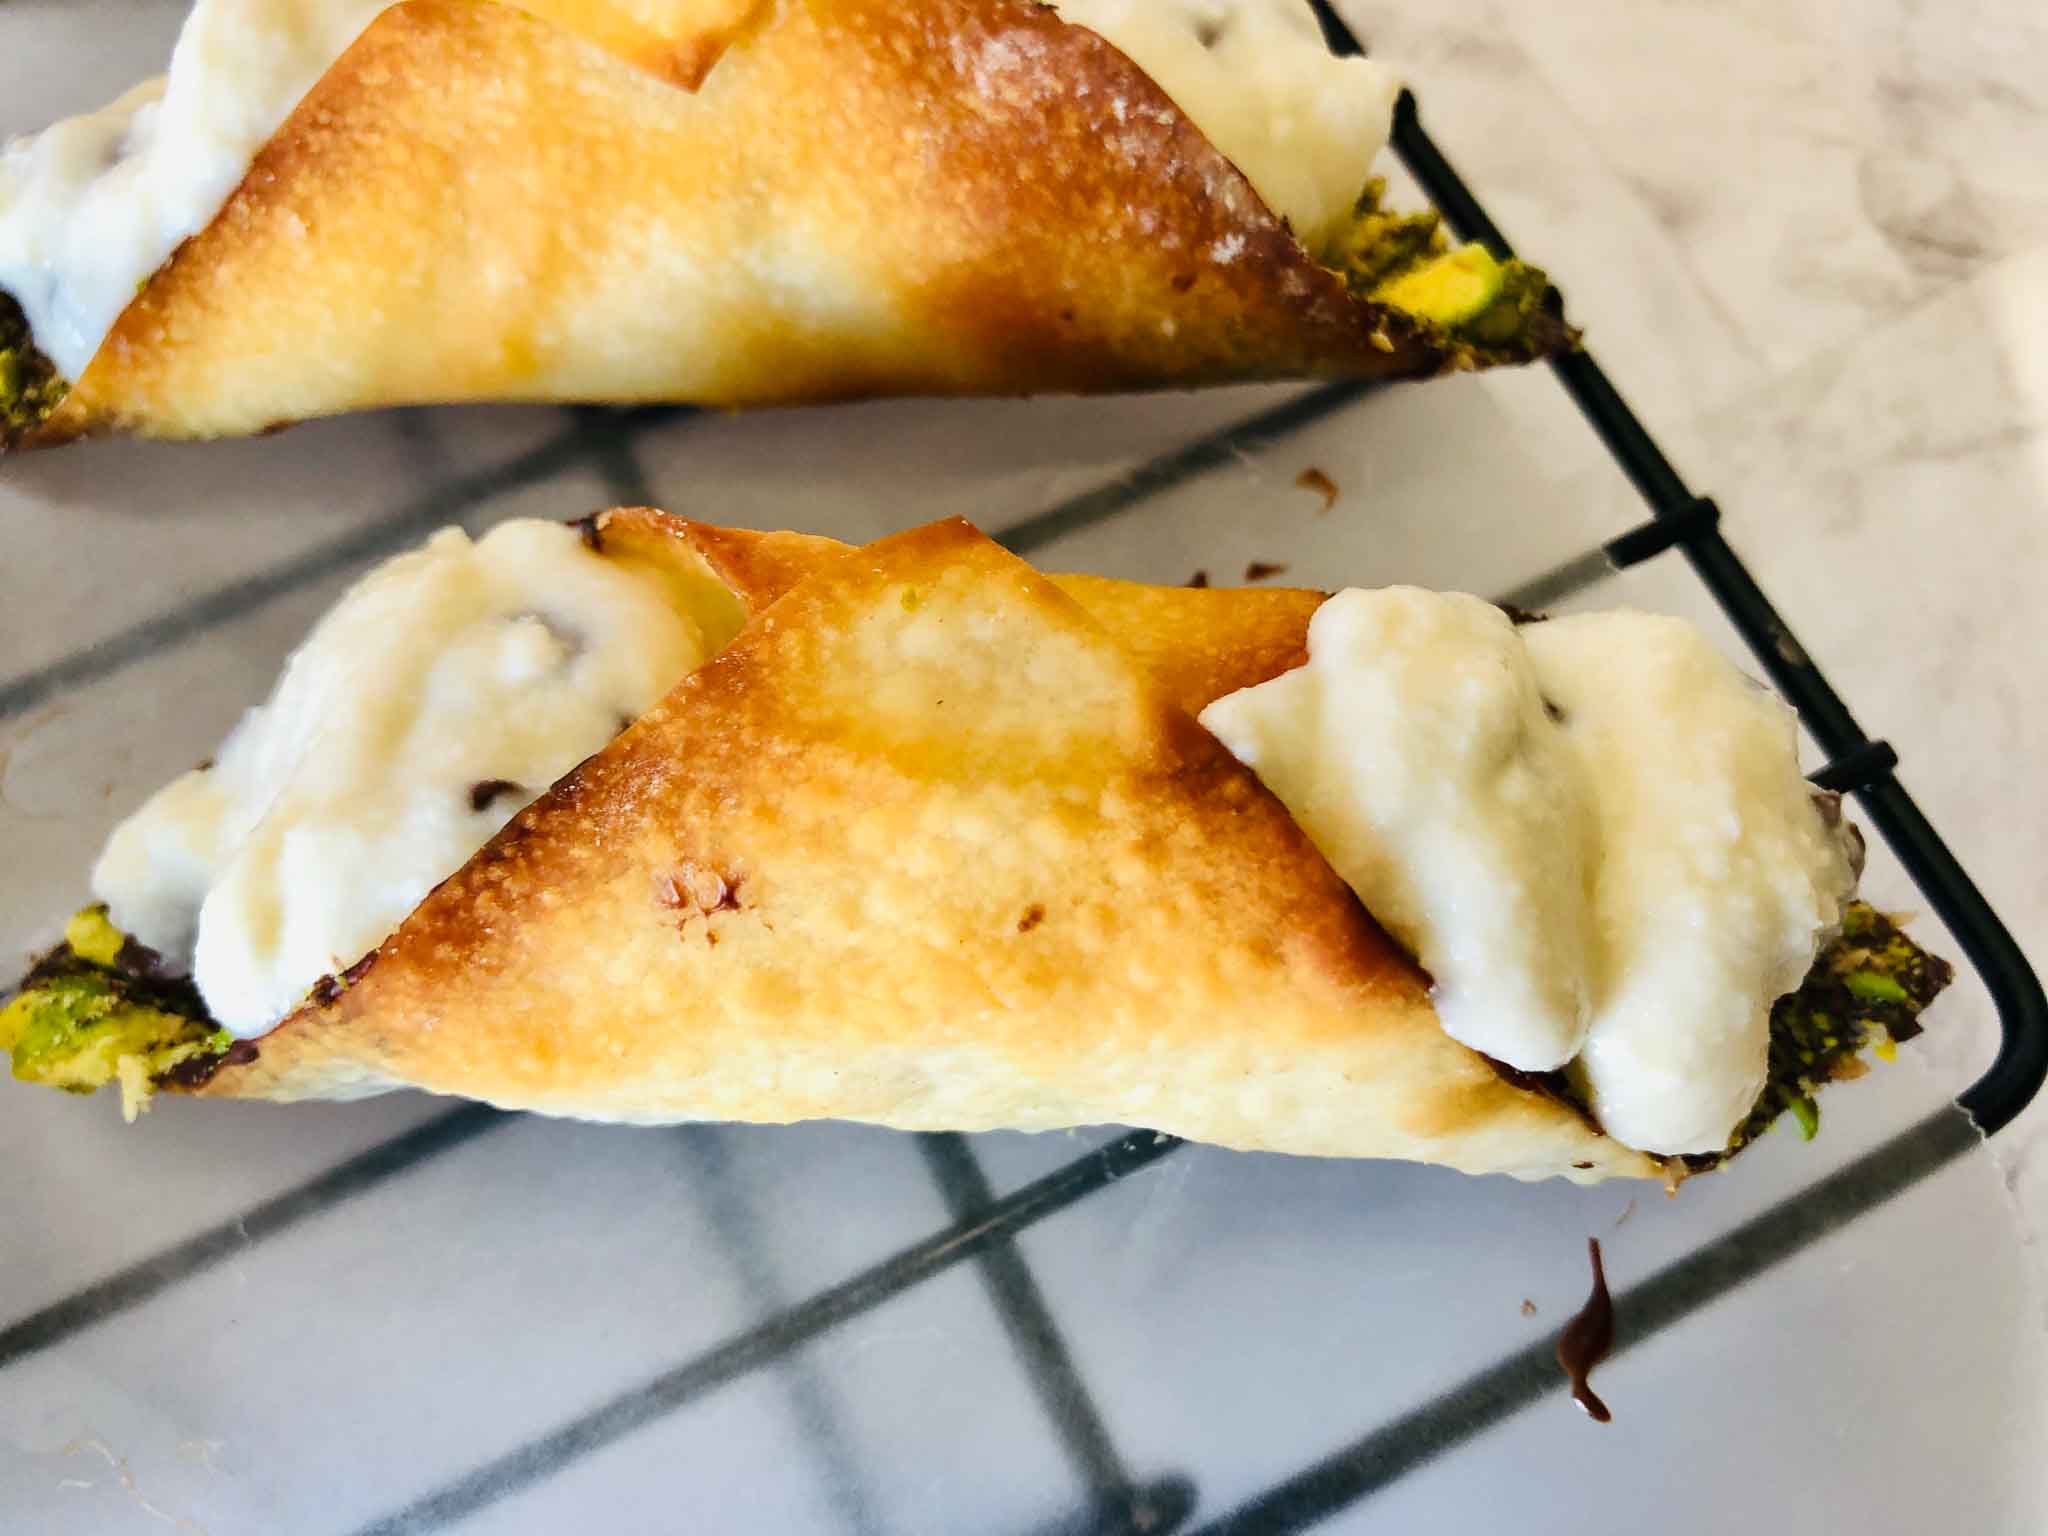
Dip the ends
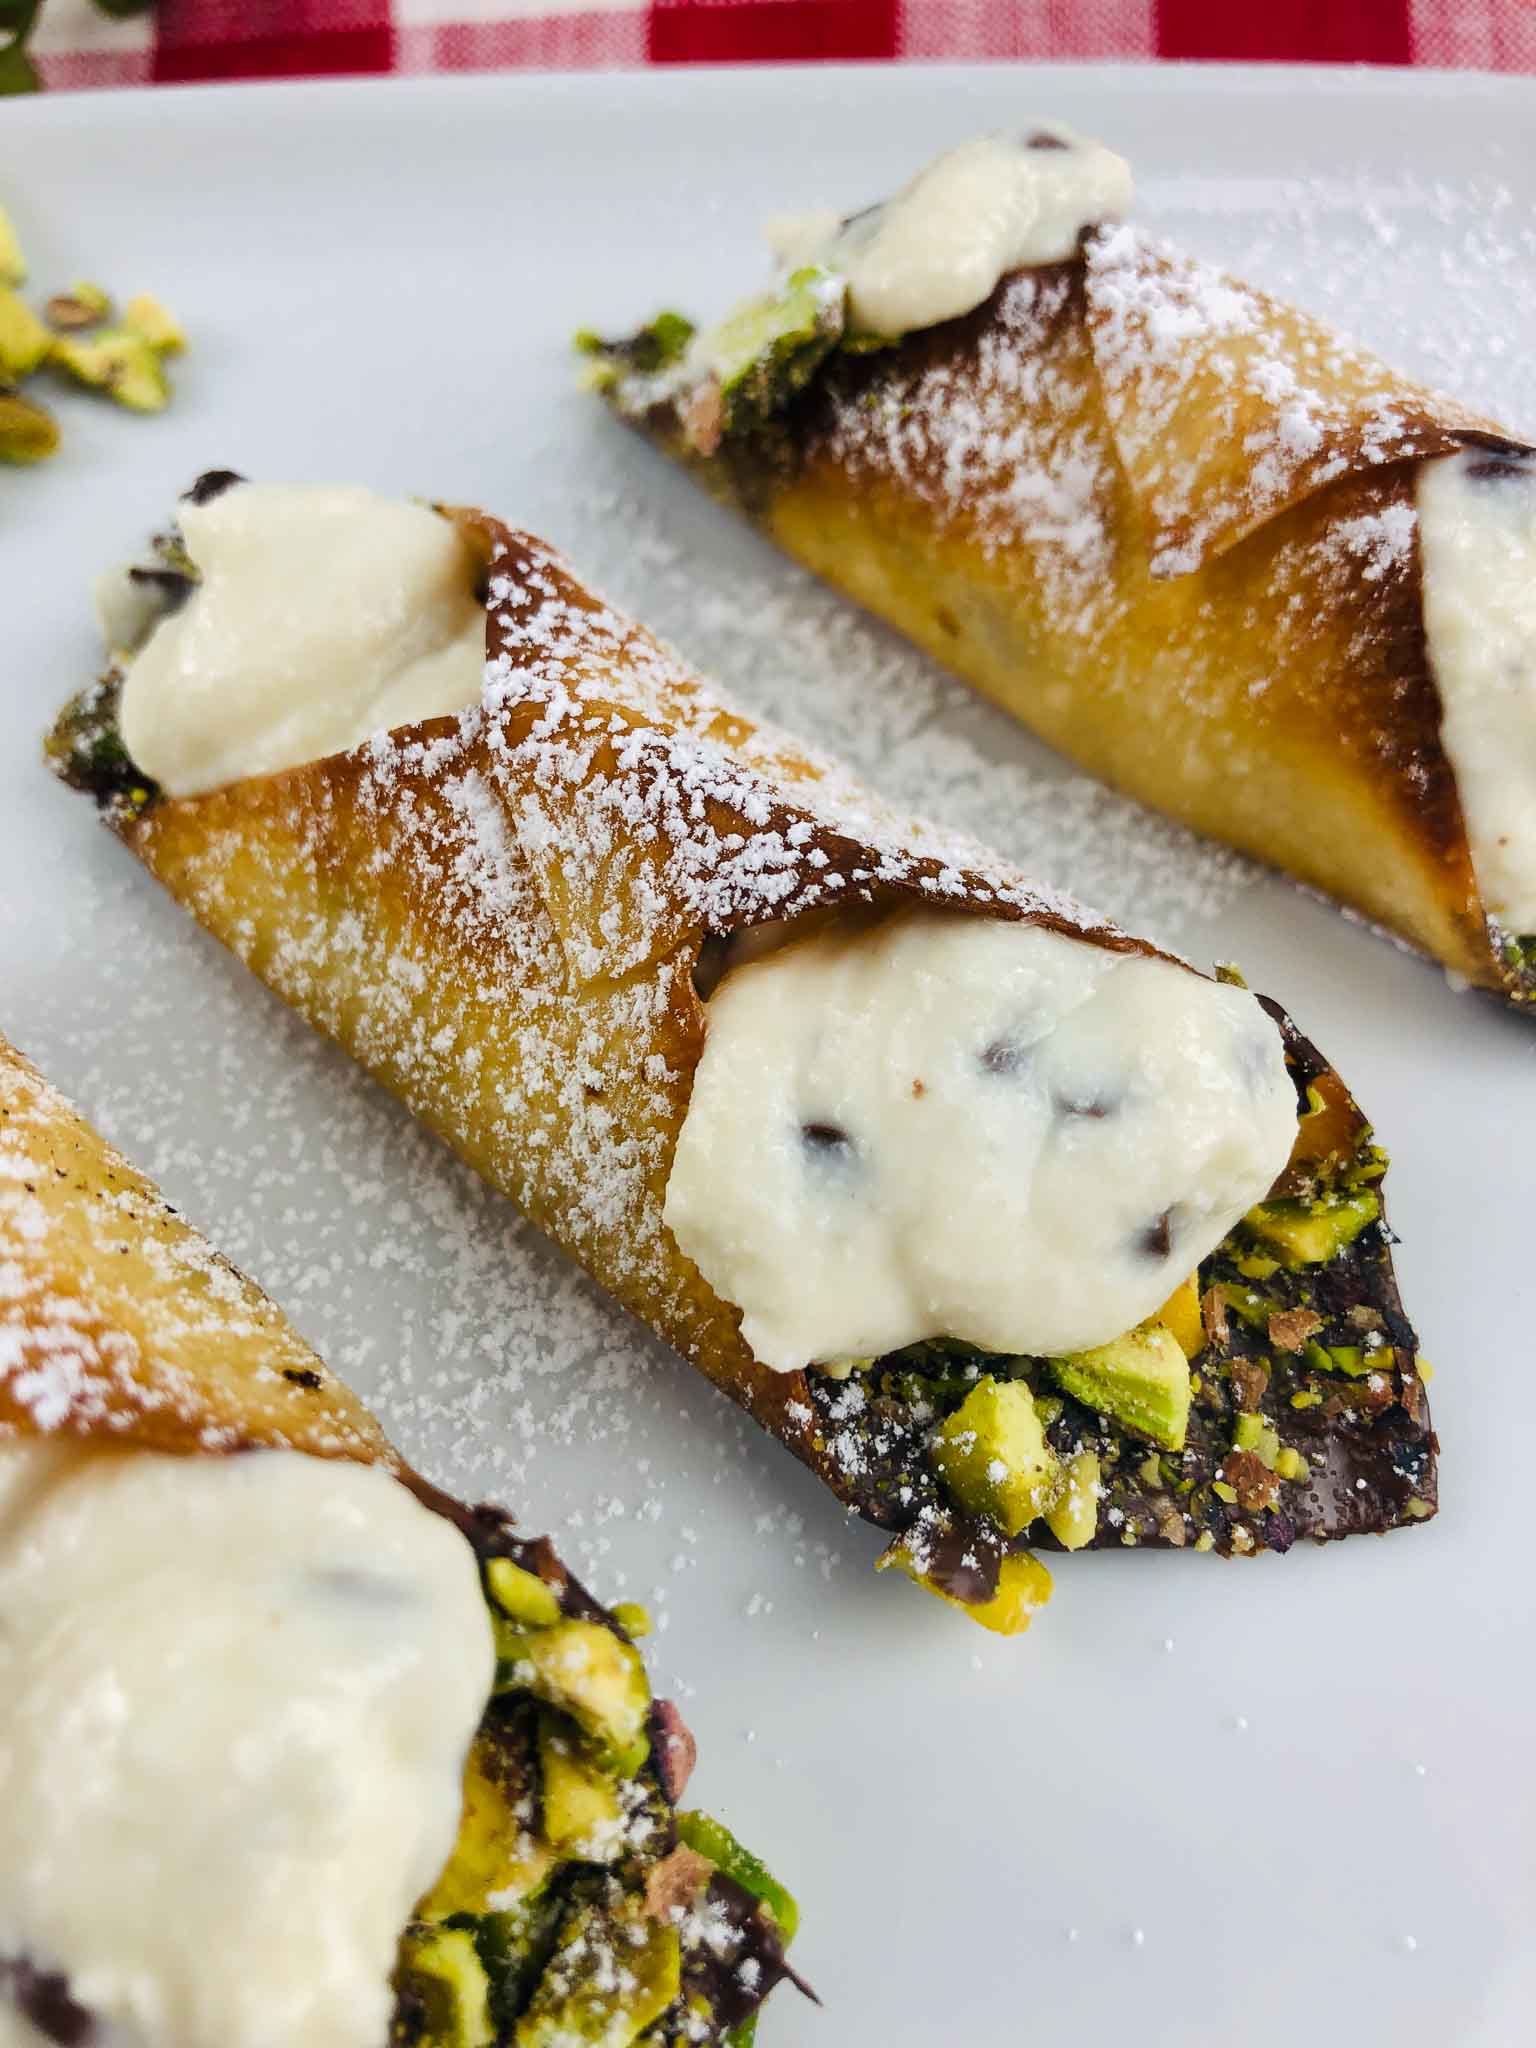
Melt 1 cup of mini chocolate chips in a microwave-safe bowl in 30-second intervals, stirring between each, until smooth. Dip each end of the cooled shells into the melted chocolate, then immediately into the crushed pistachios. Place on parchment to set. You can speed this up in the refrigerator for 10 minutes.
Fill and serve
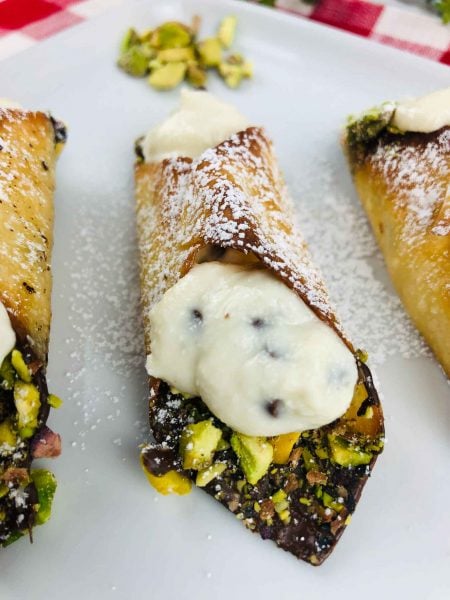
Transfer the chilled filling to a pastry bag fitted with a round tip, or a zip-top bag with a corner snipped. Pipe filling into both ends of each shell, meeting in the middle. Dust with powdered sugar immediately before serving.
Important: Fill the shells right before serving. Once filled, the shells will begin to soften from the moisture in the filling. They’re best eaten within 30 minutes of filling.
WHAT MAKES THIS RECIPE WORK
The technique here is the key: wonton wrappers baked instead of fried. Traditional cannoli shells are made from pastry dough that gets fried around metal cannoli tubes until crisp. That process requires hot oil, a thermometer, the right tubes, and confidence with frying. The wonton wrapper approach skips all of that. The wrappers already have the right thin, flexible texture to wrap around a cylinder, and at 450°F for five minutes they bake up crispy and golden with a satisfying crunch.
The filling is a cream cheese and ricotta blend rather than straight ricotta. All-ricotta cannoli filling can be grainy and loose if the ricotta isn’t well-drained; the cream cheese adds body and stability so the filling holds its shape when piped and doesn’t make the shells soggy. The two-hour chill is not optional — it firms the filling to the right consistency for piping. Skip it and you’ll end up with filling that slides out.
TIPS
Don’t skip the 2-hour filling chill. This is the step most people will be tempted to shortcut. The filling will be too loose to pipe cleanly at room temperature, and it will make the shells soggy faster. Plan ahead — make the filling in the morning if you’re serving these at dinner.
Wrap the wontons snugly. Loose wrapping means the shell won’t hold its tube shape after baking. The butter mixture is the adhesive — brush generously and press the seam firmly.
Watch the oven at 450°F. Five minutes is the target but ovens vary. Start checking at 4 minutes. You want golden brown, not dark brown.
Remove from cylinders only once fully cool. Warm shells are fragile and will crack if you try to slide them off too early. Give them at least 10 minutes.
Fill right before serving. These are not a make-ahead dessert once assembled. The shells and filling can both be made ahead separately, but combine them only when you’re ready to serve.
Ricotta that looks wet should be drained. Turn it out onto paper towels or strain through a fine mesh sieve for 20–30 minutes before mixing. This prevents a watery filling.
No — that’s what makes this version so accessible. The shells are made from wonton wrappers wrapped around homemade foil cylinders and baked, not fried. No special equipment needed beyond basic baking supplies and a pastry bag.
Yes — both components can be made separately in advance. The filling keeps refrigerated for up to 3 days. The baked, unfilled shells can be stored in an airtight container at room temperature for up to 2 days. Combine them only right before serving, as the filling will soften the shells quickly.
The cream cheese and ricotta filling needs time in the refrigerator to firm up. At room temperature it’s too soft to pipe cleanly and will run out of the shells. Two hours is the minimum; overnight works even better.
Yes. Finely chopped almonds, crushed hazelnuts, or even mini chocolate chips all work well for the end coating. The pistachios are traditional but the recipe is flexible.
Cream cheese adds body and stability to the filling. All-ricotta filling can be grainy and loose, especially if the ricotta has high moisture content. The cream cheese blend is more forgiving and holds its shape better after piping.
Technically yes — frying at 350°F for about 2 minutes would give you a more traditional crunch. But the whole point of this recipe is that you don’t need to. The baked version is significantly easier and the result is still delicious.
Filled cannolis are best eaten within 30 minutes of assembly. The filling will begin to soften the shells after that. If you need to hold them longer, keep shells and filling separate and assemble to order.
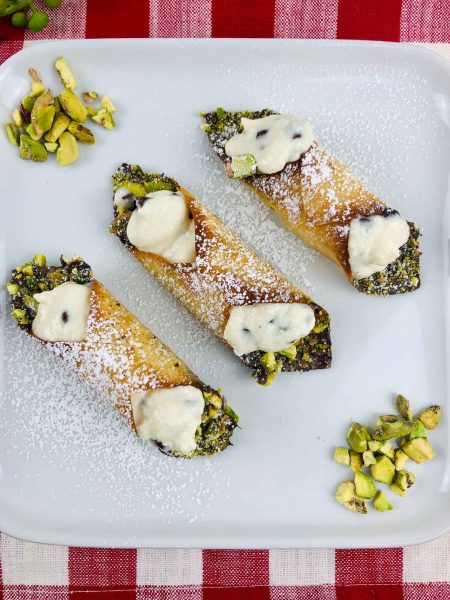
These mini cannolis are the kind of dessert that looks like you went to a lot of trouble when you really didn’t. Wonton wrappers, a foil cylinder, five minutes in the oven, and a filling that comes together in one bowl. The hardest part is remembering to start the filling two hours before you want to serve them.
Make them for a dinner party, a holiday spread, or just because your family deserves something that feels a little special on a Tuesday. The shells and filling both keep well separately, so once you’ve made these once you’ll always have an easy answer when someone asks what’s for dessert.
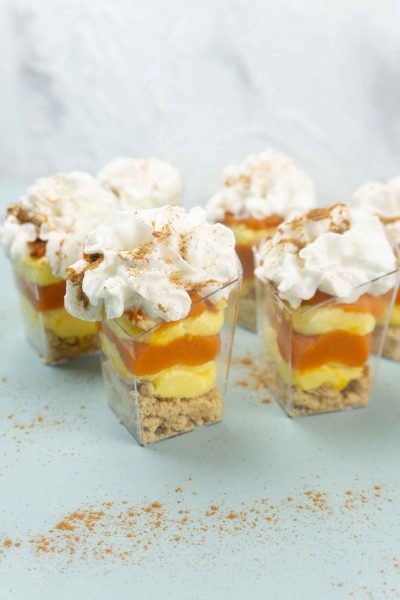
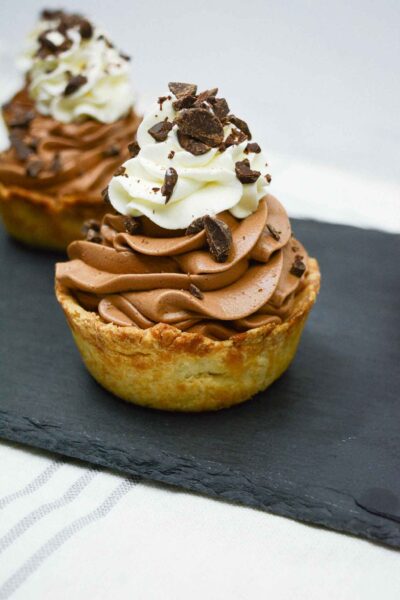
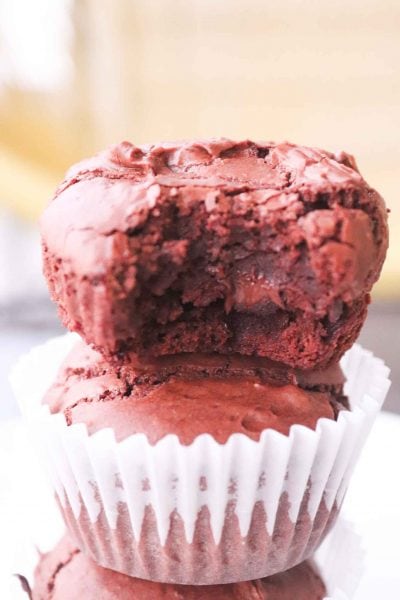
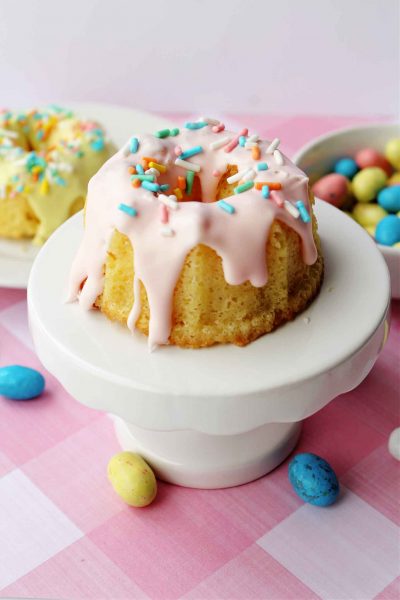
Here are some more fun mini desserts to try:
Easy Homemade Mini Cannoli For Dessert Tonight
These amazing mini cannolis are made with pistachios and a delicious filling!
Ingredients
- Shells:
- 1 stick butter
- 2 tablespoons sugar
- 1 teaspoon vanilla
- 1 package wonton wrappers
- ⅔ cup pistachios, crushed
- 1 cup mini chocolate chips
- ¼ cup powdered sugar
- Filling:
- 8 oz cream cheese, softened
- 15 oz ricotta cheese
- ½ cup sugar
- 2 teaspoons vanilla
- 1 cup mini chocolate chips
Instructions
- Preheat oven to 450 degrees and line a baking sheet with parchment paper
Shells:
- Melt butter and sugar then add vanilla
- Brush wontons on one side and wrap around cylinder made of foil or foil covered rolling pin
- Brush again to hold closed
- Bake 5 minutes, remove from cylinder immediately and cool
- Melt chocolate chips and dip the ends of the ends of the shells in chocolate then crushed pistachios
Filling:
- Mix all filling ingredients until well combined
- Chill in refrigerator for 2 hours
- Carefully pipe into shells
- Sprinkle w/ powdered sugar, serve, and enjoy!
Nutrition Information
Yield
10Serving Size
1Amount Per Serving Calories 498Total Fat 35gSaturated Fat 19gTrans Fat 0gUnsaturated Fat 13gCholesterol 60mgSodium 230mgCarbohydrates 44gFiber 3gSugar 36gProtein 10g
If you enjoyed this recipe be sure to check out my Instagram Page for the latest posts!

Before you go, Grab Your Free Printable Recipe Kit!
Keep track of all your favorite recipes and ingredients with this free printable book!
Hi! I’m Nellie. I am an entrepreneur, a busy mama of 3 and a wife to my high school sweetheart. I have been sharing content for over 12 years about how to cook easy recipes, workout tips and free printables that make life a little bit easier. I have been featured in places like Yahoo, Buzzfeed, What To Expect, Mediavine, Niche Pursuits, HuffPost, BabyCenter, Mom 2.0, Mommy Nearest, Parade, Care.com, and more!
Get comfortable and be sure to come hang out with me on social. Don’t forget to grab your free fitness journal before you go!