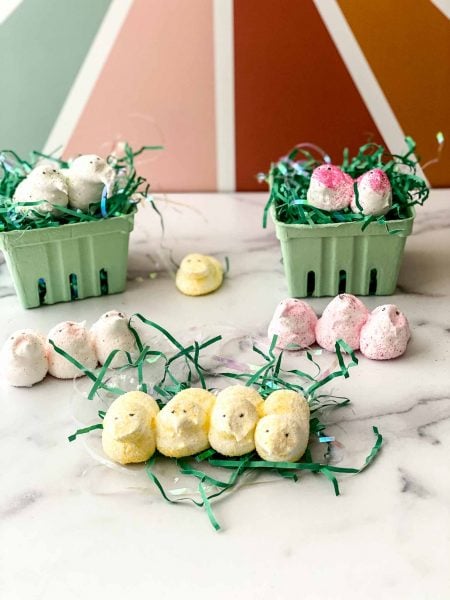
Homemade Marshmallow Peeps Perfect For Easter
Here is an easy and fun recipe so that you can make homemade marshmallow peeps at home yourself! These treats are sure to please!
The jury is still out in my house to how they feel about the classic Easter fun treat of peeps! My kids and my husband LOVE them, me? not so much.
I personally love the Easter season because I share all of the funny anti peeps memes while my children and husband are so excited that they can finally buy them in stores again.
Don’t Forget To Join The Easter Basket!
10 Days of Delicious Easter Themed Recipes, Printable Games and more delivered right to your inbox!

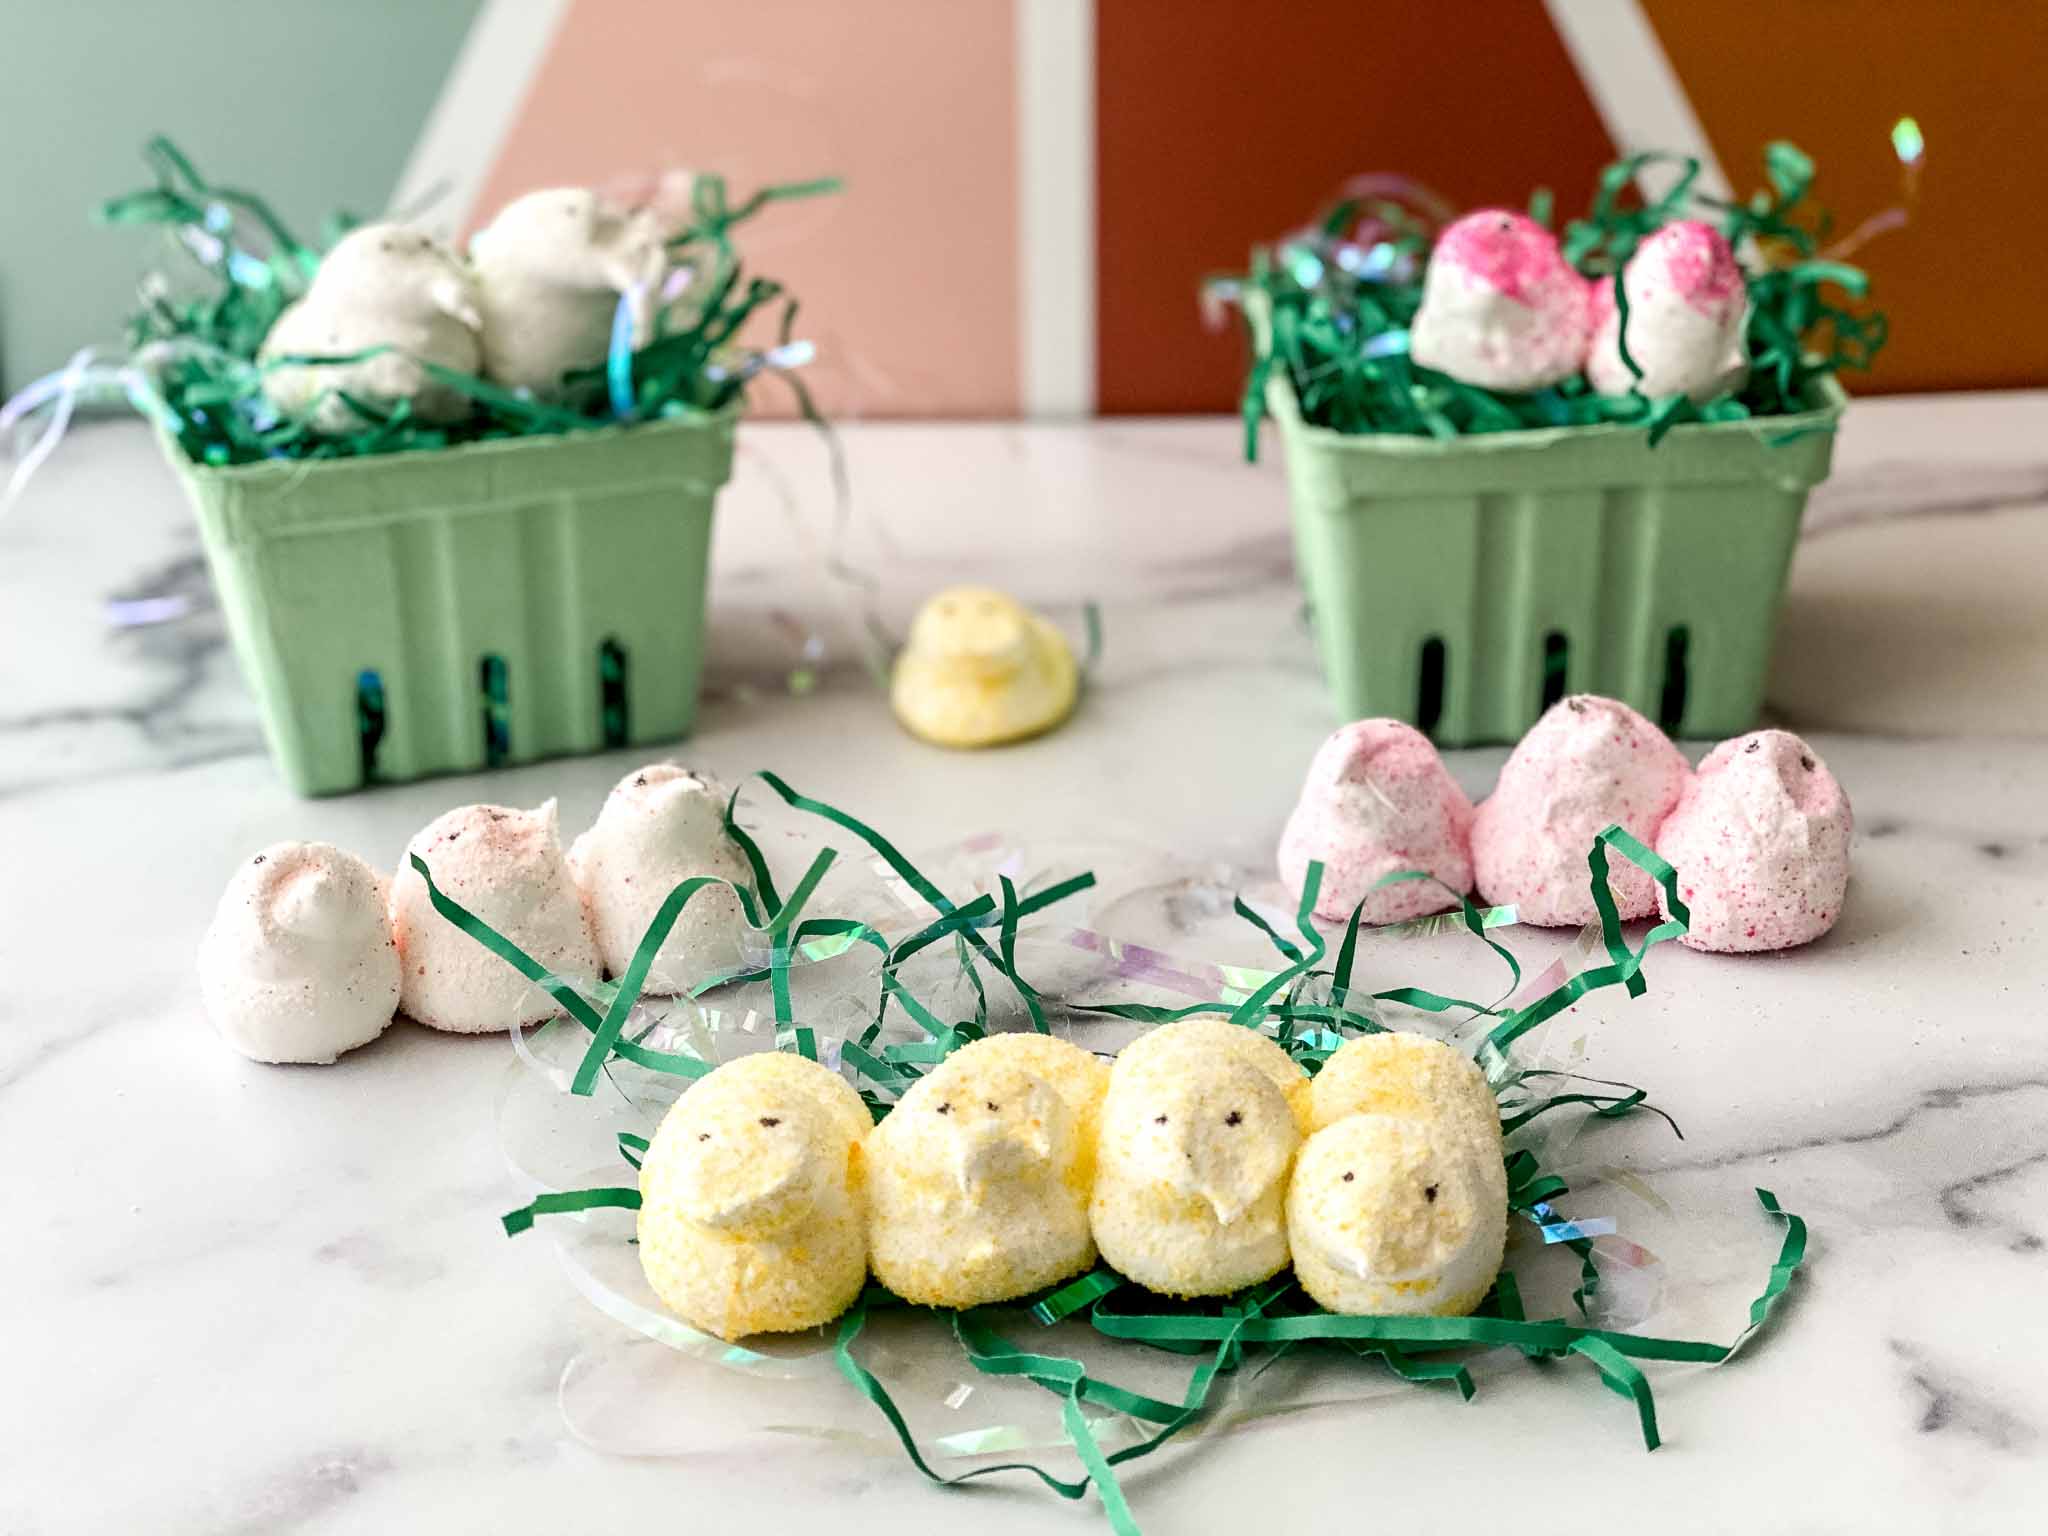
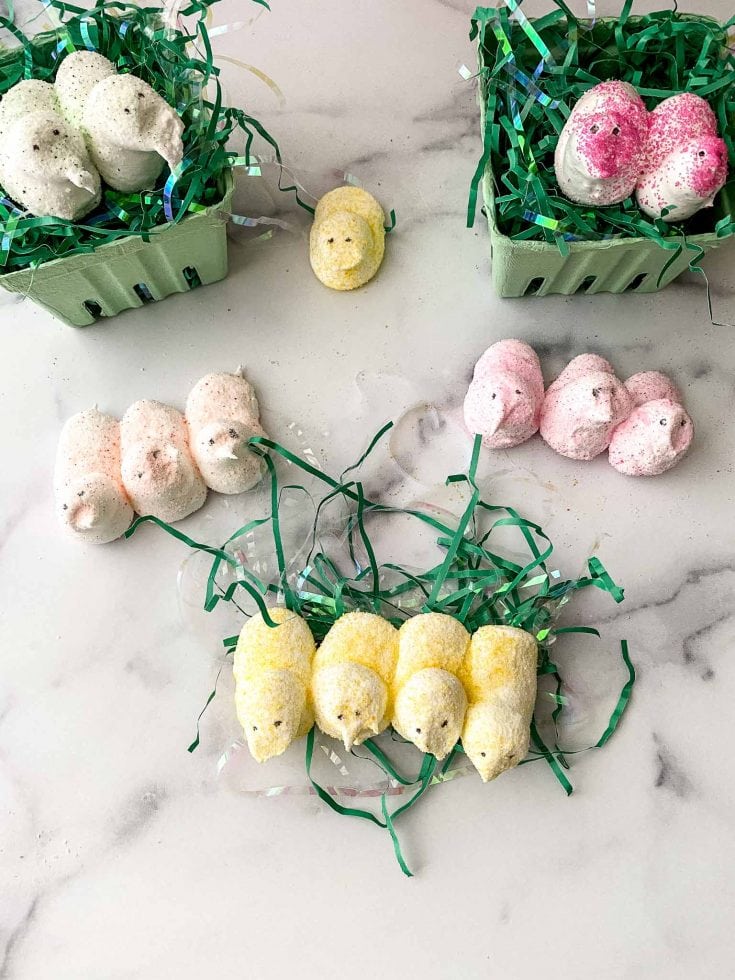
Welcome to the whimsical world of homemade peeps, where sugar, gelatin, and a dash of creativity come together to create the most adorable Easter treats.
These little chicks, soft and squishy to the touch, not only add a pop of color to your Easter basket but also bring the joy of crafting something truly special with your own hands. Let’s hop into the kitchen and embark on a delightful journey to make our very own marshmallow peeps, shall we?
Frequently Asked Questions
Do I really need a candy thermometer? Yes, my culinary adventurer! A candy thermometer is your trusty sidekick in ensuring the sugar reaches the perfect soft ball stage, critical for achieving that dreamy marshmallow texture.
Can I use store-bought marshmallows instead? While the shortcut is tempting, crafting your marshmallow peeps from scratch offers a charm and flavor that store-bought marshmallows can’t match. Plus, it’s a fun activity to share with family!
How can I customize my peeps? Ah, the beauty of homemade lies in customization! Experiment with different food coloring for a rainbow of peeps, or add a teaspoon of citrus zest or vanilla extract for an extra flavor burst.
Ingredients
- Unflavored gelatin
- Water
- Granulated sugar
- Vanilla extract
- Colored sanding sugar
- Light corn syrup (optional)
Where to Serve
These homemade marshmallow peeps are the stars of any Easter celebration. Nestle them in your Easter baskets, display them proudly on your brunch table, or wrap them up as charming, edible gifts for friends and family.
Storage
Keep your peeps as fresh as a spring morning by storing them in an airtight container at room temperature. They’re best enjoyed within a week, keeping their softness and squish just right for snacking.
Tips for Making This Recipe with Kids
- Gelatin Magic: Let the kids watch as the gelatin mixture transforms in the bowl of your stand mixer, blooming and then mixing with the hot sugar mixture to become marshmallow.
- Coloring Fun: Assign the role of color master to the little ones, letting them pick the hues of your peeps.
- Piping Party: Fill a piping bag and let them pipe out the peeps on a parchment paper-lined baking sheet. For an easy peasy alternative, use a ziplock bag with a corner snipped off!
Why This Recipe Works
This homemade peeps recipe is a testament to the joy of making something from scratch. The process is surprisingly straightforward, with just a handful of simple ingredients transforming into something magical.
The marshmallow mixture, whipped to soft peaks, becomes the perfect canvas for your Easter creativity, allowing for different shapes, colors, and flavors. Not only does this activity create delicious treats, but it also makes memories that last far beyond the last bite.
Crafting your own marshmallow peeps means you control the ingredients, tailoring the sweetness and flavors to your liking. Whether you’re aiming for classic yellow peeps or a more adventurous boozy peep for the adults, this recipe adapts to your whims. This is a delightful addition to any Easter dessert spread.
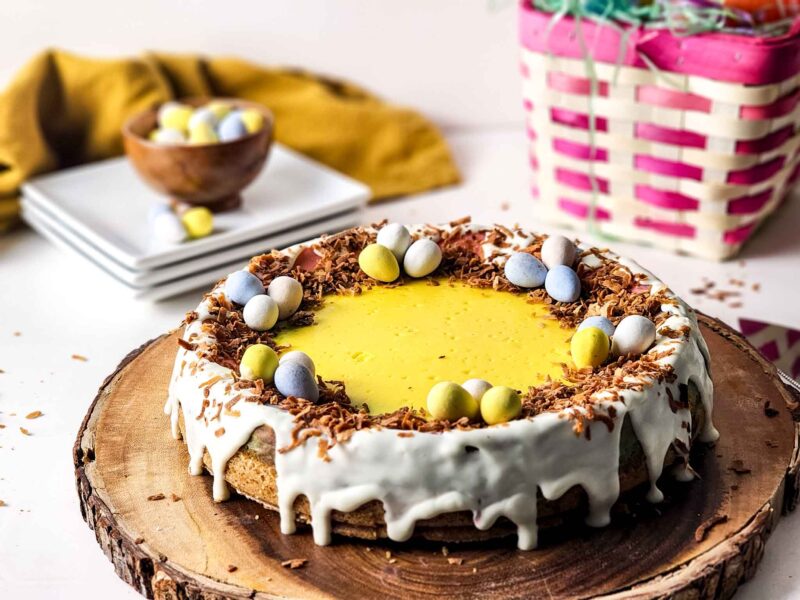
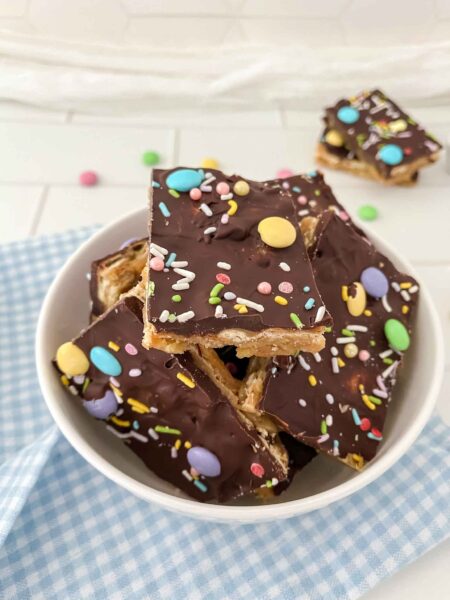
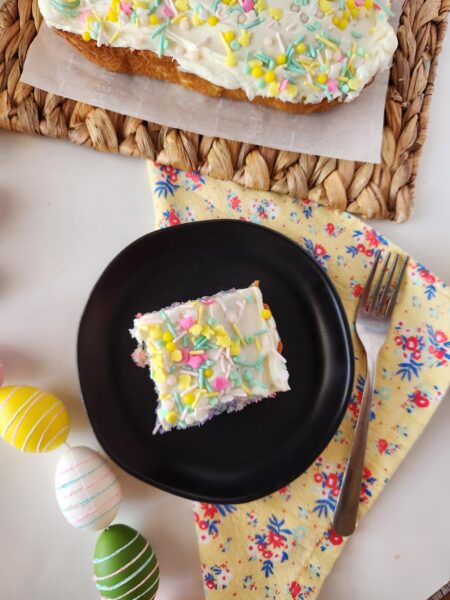
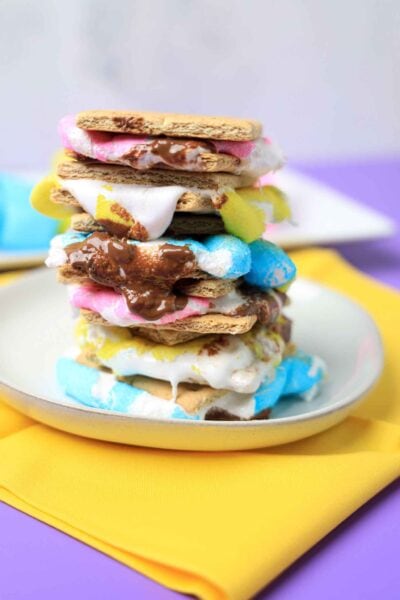
Here are some more amazing Easter treats to try:

Homemade Marshmallow Peeps For Easter
These fun homemade marshmallow peeps are perfect for Easter Baskets and so much more!
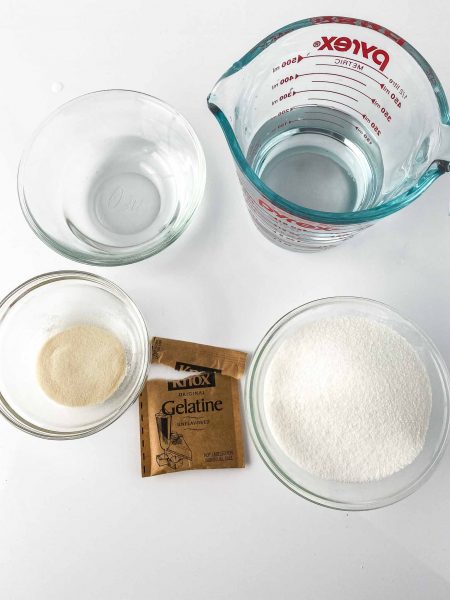
Ingredients
- 1 Package (2 tsp) unflavored gelatin
- 1/3 cup water
- 1 cup granulated sugar
- 1⁄2 cup water
- 1 tsp vanilla
- Colored Sanding Sugar
Instructions
- Sprinkle 2 tsp unflavored gelatin in 1/3 cup water and let sit to dissolve in mixing bowl. *Do not dump all the gelatin in one space, sprinkle it across the top of the water.
- Place one cup of sugar in a heavy bottom pot.
- Pour 1⁄2 cup water over the sugar, making sure its all saturated.
- Heat the sugar to 230 degrees:
- Place on Medium high heat, do not swirl the sugar around in the pan. As the sugar’s temperature raises it will begin to form bubbles. The bubbles will pop very quickly as the temperature rises. To help the edges from caramelizing use a pastry brush to brush water around the inside of the pan. Once the bubbles begin to slow down they will look like slow popping bubbles. Place the silicon pastry brush in the center of the pot and immediately into a bowl of ice water. When it reaches what is considered “soft ball” stage (a literal ball of sugar will appear when its placed in the ice water) it’s ready to be added to the mixing bowl.
- Using a whisk attachment on your stand mixer turn it on low breaking up the gelatin. Slowly pour the heated sugar into the bowl while it’s mixing. Once it’s all inside, increase the speed to medium and let mix for 4-5 mins. The mixture will turn white and begin to look like icing.
- Add vanilla.
- Turn the mixer on high and let it whip for another 8-10 mins. The marshmallows with triple in size and hold a stiff peak. If it does not hold a peak, let it continue to mix until it does. This step is critical.
- Prepare your icing bag, and sugar station.
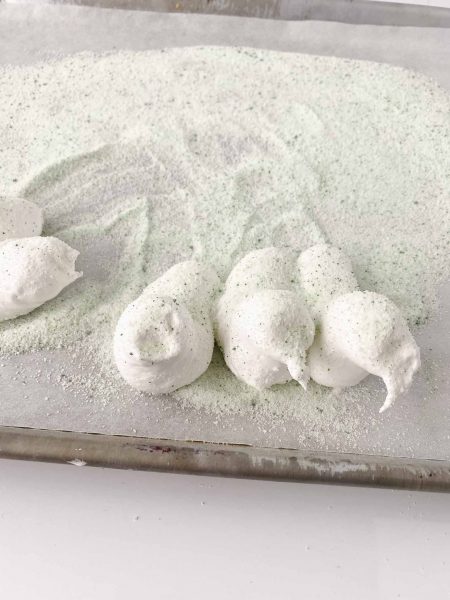
- To set up the sugar station, line a baking sheet with parchment paper. Pour sanding sugar on the bottom so the marshmallows do not stick.
- Add large round tip to piping bag and cut off the tip of the bag, fitting the tip snugly inside of the plastic piping bag. Add Marshmallows to piping bag
- *Chef’s Note: Use a tall cup and open the top over the side, spoon in marshmallow mixture and pull the sides straight up*
- Pipe a thick line of marshmallow fluff in a line towards you. Slightly raise it and go back the opposite direction half way down the line. Bring it forward pull off to complete the neck and head.
- *If your marshmallows are sticking to the nozzle of the piping bag, run your fingers through the sanding sugar and use the coated fingers to help release the marshmallows.
- Pipe the peeps next to one another. Cover with sanding sugar and allow time to set.
- Use melted chocolate or black candy sprinkles to add the eyes. If using chocolate wait until you are ready to serve before adding the eyes or it else it may run and spread.
Nutrition Information
Yield
12Serving Size
1Amount Per Serving Calories 69Total Fat 0gSaturated Fat 0gTrans Fat 0gUnsaturated Fat 0gCholesterol 0mgSodium 2mgCarbohydrates 17gFiber 0gSugar 17gProtein 1g

Before you go, Grab Your Free Printable Recipe Kit!
Keep track of all your favorite recipes and ingredients with this free printable book!
Hi! I’m Nellie. I am an entrepreneur, a busy mama of 3 and a wife to my high school sweetheart. I have been sharing content for over 12 years about how to cook easy recipes, workout tips and free printables that make life a little bit easier. I have been featured in places like Yahoo, Buzzfeed, What To Expect, Mediavine, Niche Pursuits, HuffPost, BabyCenter, Mom 2.0, Mommy Nearest, Parade, Care.com, and more!
Get comfortable and be sure to come hang out with me on social. Don’t forget to grab your free fitness journal before you go!