
Easy Bacon, Egg, and Cheese Breakfast Galette (Savory Tart)
If you are looking for an impressive, bakery-worthy brunch dish that doesn’t require hours in the kitchen, this Bacon, Egg, and Cheese Breakfast Galette is about to become your new favorite recipe.
A galette is simply a rustic, free-form tart made without a pie dish. You roll out the dough, pile your savory fillings in the center, fold up the edges, and bake!
As a busy mom who loves hosting family brunches, I love that this recipe combines classic breakfast flavors—crispy bacon, sharp melted cheese, and tender baked eggs—wrapped in a golden, flaky crust. It looks like something from a cozy bistro, but takes less than 15 minutes of prep work!

Why You’ll Love This Savory Galette Recipe
Ideal for Brunch Hosting: It slices easily into rustic wedges and pairs perfectly with a side salad or fresh fruit bowl.
No Pie Dish Required: Because galettes are baked flat on a rimmed baking sheet, you don’t need special pans or precise crimping skills.
Store-Bought or Homemade Crust: You can make your favorite butter pie crust from scratch, or save time with a quality pre-made refrigerated pie dough.
Ingredients
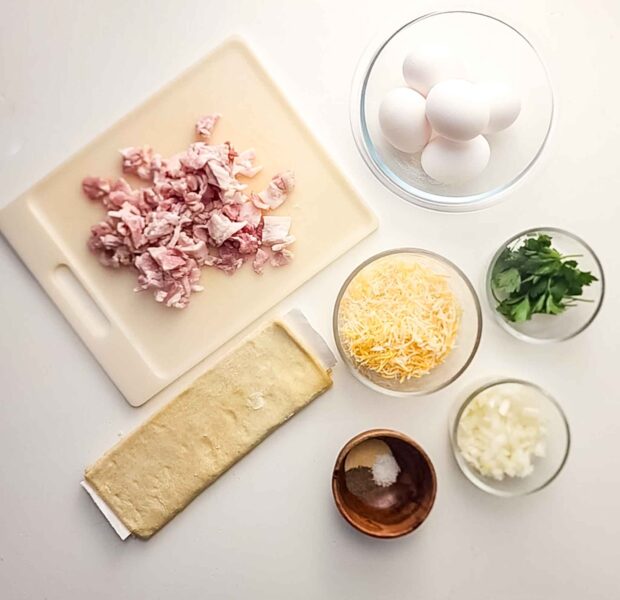

Galette Ingredients:
Bacon
Small onion or red onion
Puff pastry
Shredded Mexican or cheddar cheese
Eggs
Salt and black pepper
Garlic powder
Parsley
Optional: gruyere cheese, red peppers, roasted veggies
What You Need for a Bacon, Egg, and Cheese Galette
Pie Crust: 1 sheet of refrigerated pie dough (thawed to room temperature so it doesn’t crack when unrolling).
Thick-Cut Bacon: Cooked until crispy and chopped into bite-sized pieces.
Shredded Cheese: Sharp Cheddar, Gruyère, or Monterey Jack melt beautifully and add a rich, savory bite.
Fresh Eggs: You’ll use whole eggs for the center filling, plus one egg for a quick egg wash on the crust.
Fresh Herbs: Chives, green onions, or fresh thyme for a pop of color and freshness right before serving.

Step 1: Get your oven & dough ready.
Preheat your oven to 400°F (200°C) and line a large baking sheet with parchment paper. Unroll your thawed pie dough right onto the center of the parchment. If it cracks a little around the edges, don’t stress at all—just pinch the dough back together with your fingers!
Step 2: Crisp up that bacon.
Sizzle your bacon in a skillet over medium heat until it’s nice and crisp. Transfer the strips to a paper-towel-lined plate to cool down, then chop them into bite-sized pieces. (Pro tip: Save that leftover bacon grease in a jar for weekend frying, but keep it out of the galette so your bottom crust stays crisp!)
Step 3: Build your “cheese barrier.”
Sprinkle your shredded sharp cheddar or Gruyère right into the center of the dough, leaving a generous 2-inch border of bare dough around the outside. This cheese layer isn’t just delicious—it creates an edible shield that stops the eggs from making the bottom crust soggy!
Step 4: Load it up and fold it in.
Scatter your crispy chopped bacon over the melted cheese base. Next, gently fold the bare edges of the dough up and over the outer rim of the filling, overlapping the pleats as you work your way around. The center of your filling will still be exposed like a cute, rustic window.
Step 5: Add the eggs & give it a golden brush.
Carefully crack your fresh whole eggs directly into that open center over the bacon and cheese. Whisk one extra egg in a small bowl with a splash of water, and use a pastry brush to coat the folded dough edges. This egg wash is the secret to getting that shiny, bakery-style golden crust!
Step 6: Bake to golden perfection.
Pop your baking sheet into the oven—ideally on the bottom-third rack so the base bakes through completely. Bake for 20 to 25 minutes, or until the pastry is golden-brown and the egg whites are completely set.
Step 7: Garnish and slice!
Let the galette rest for 3 to 5 minutes so the cheese settles. Top with freshly chopped chives and a crack of black pepper.
FAQs
Absolutely! If you’re short on time or it’s your first foray into the world of galettes, pre-made pie crusts can be a great way to get started. Just remember, the flakier the crust, the better the final product.
Feel free to get creative! Roasted veggies, red peppers, and even a sprinkle of gruyere cheese can add great flavor. Think of your galette dough as a canvas for your breakfast masterpiece.
Yes! Bake your galette and then store it in the fridge. It’s perfect for the following day. Just reheat on a large baking sheet in the oven until it’s warm and crispy again.
Where to Serve
This breakfast galette is versatile. Serve it up on a large baking sheet at brunch parties, alongside a bloody mary or a cup of hot coffee. It’s a fantastic centerpiece for holiday mornings or a laid-back Sunday breakfast.

How to Avoid a Soggy Galette Crust
The biggest challenge with savory egg tarts is preventing moisture from making the bottom crust soft. Here are my top kitchen tricks for a golden, flaky bottom every time:
Create a “Cheese Barrier”: Always layer your shredded cheese down before adding liquid ingredients or breaking your eggs. As the cheese melts, it creates a delicious moisture barrier between the filling and the dough.
Pre-Cook the Bacon: Never put raw bacon inside a galette. The rendered grease will settle at the bottom and ruin the crispness of your pastry. Always cook and drain your bacon first!
Bake on the Bottom Third Rack: Baking your sheet pan on the lower rack of your oven ensures the bottom crust gets direct heat and bakes through completely.
Why This Recipe Works
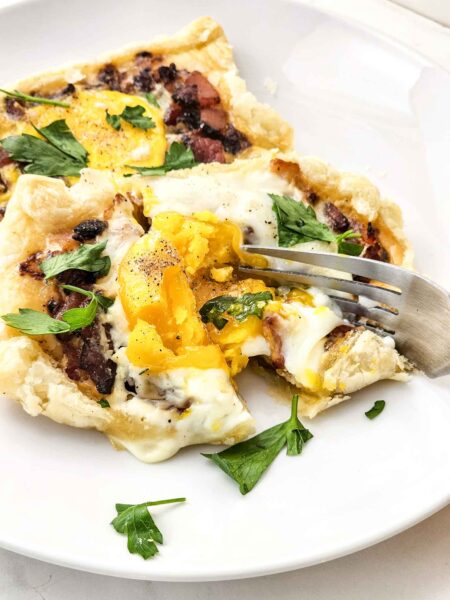
This bacon, egg, and cheese breakfast galette hits all the right notes for a few reasons:
Buttery, flaky crust: Using cold butter and puff pastry ensures a crust that’s both tender and crisp, providing the perfect foundation.
Versatility: This galette recipe allows for endless customization. Want it spicier? Add hot sauce. Craving veggies? Throw in some caramelized onions and roasted red peppers.
Easy to make: Whether you’re using a rolling pin and homemade galette dough or opting for pre-made pie crusts, this recipe is accessible for cooks of all levels.
Deliciously balanced: The combination of crispy bacon, golden-brown cheese, and jammy eggs offers a balance of textures and flavors that are hard to beat.
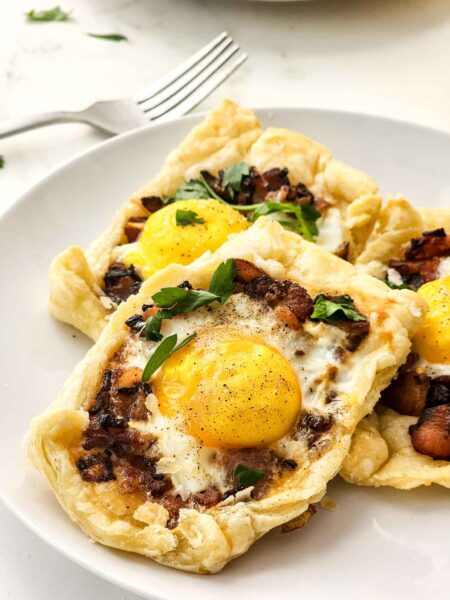
So, there you have it—the perfect breakfast galette recipe that’s sure to impress. Whether it’s your first time making a galette or you’re a seasoned pro, remember, it’s all about having fun in the kitchen and enjoying the little things. Don’t forget to share your creations with me via email or drop a comment below. Happy cooking!
Here are some more amazing breakfast recipes to try:





Bacon Egg and Cheese Galette
This bacon, egg, and cheese breakfast galette combines crispy bacon, caramelized onions, and a baked egg in a flaky, buttery crust for a gourmet start to your day. It's the perfect blend of savory flavors and textures, making mornings truly special.
Ingredients
- 5 pieces of bacon, chopped
- 1 small onion, chopped
- 1 sheet of puff pastry
- 1 cup shredded mexican or cheddar cheese
- 5 eggs
- ½ teaspoon salt
- ¼ teaspoon pepper
- ½ teaspoon garlic powder
- Parsley
Instructions
- Preheat the oven to 390 degrees Fahrenheit. Prepare a baking sheet with parchment paper. Set aside.
- Place the onions and bacon bits into a saucepan with a little oil on the stove over medium heat.
- Let these cook, stirring every few minutes, until browned. This will take 6-8 minutes. Remove from the heat when done and let cool.
- Unravel the puff pastry and cut into 6 pieces. Place on the parchment paper about 2 inches apart from each other.
- Once the bacon mixture has slightly cooled, place a tablespoonful onto each puff pastry slice. Spread the bacon to create a well in the center.
- Place some shredded cheese inside each well. Fold the edges of each puff pastry to create a border so the egg doesn’t come out when cracked inside.
- Lastly, crack each egg into the center of each pastry on top of the cheese. Mix the salt, pepper and garlic powder and sprinkle over each egg.
- Bake in the oven for 10 minutes or until lightly browned and the egg is cooked to your liking. (Some like sunny side up or cooked hard)
- Remove from the oven and sprinkle with some chopped parsley for garnish.
- Enjoy!
Nutrition Information
Yield
5Serving Size
1Amount Per Serving Calories 263Total Fat 19gSaturated Fat 8gTrans Fat 0gUnsaturated Fat 10gCholesterol 222mgSodium 651mgCarbohydrates 5gFiber 0gSugar 1gProtein 16g
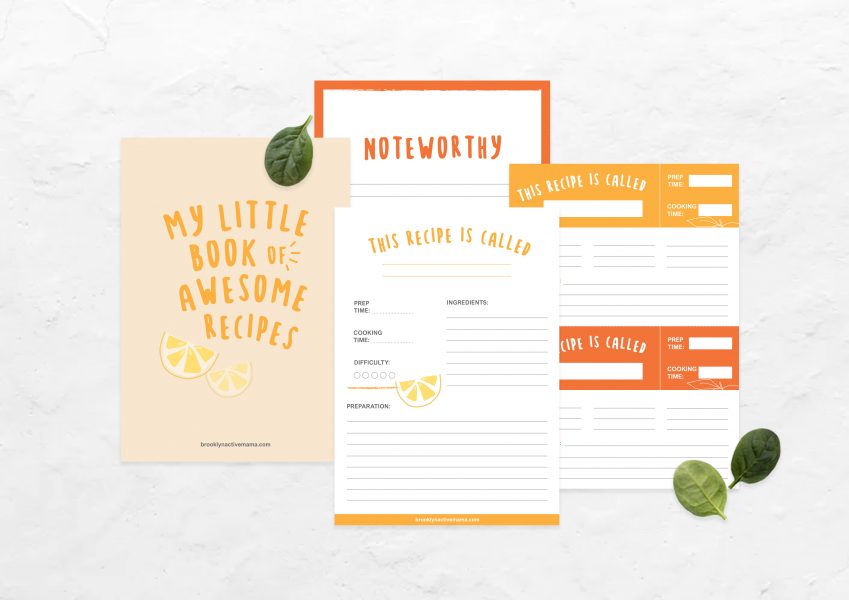
Before you go, Grab Your Free Printable Recipe Kit!
Keep track of all your favorite recipes and ingredients with this free printable book!

Hi! I’m Nellie. I am an entrepreneur, a busy mama of 3 and a wife to my high school sweetheart. I have been sharing content for over 12 years about how to cook easy recipes, workout tips and free printables that make life a little bit easier. I have been featured in places like Yahoo, Buzzfeed, What To Expect, Mediavine, Niche Pursuits, HuffPost, BabyCenter, Mom 2.0, Mommy Nearest, Parade, Care.com, and more!
Get comfortable and be sure to come hang out with me on social. Don’t forget to grab your free fitness journal before you go!
