Easy Strawberry Crumb Bars Recipe
Looking for a crazy good strawberry sweets recipe? Check out these incredible strawberry bars made with fresh strawberries and a delicious shortbread crust!
If you’re anything like me, you have bought delicious strawberry bars at the store, but they get old very fast. I got the idea to make my own Strawberry Bars at home because I wanted a healthier alternative and I thought for sure they would taste better. Follow along as I teach you how to make these bars!
I’ll be honest, these disappeared FAST! I absolutely loved them so much and I won’t even blame my hungry family, it was me. When I think about the perfect fruity, no so sweet dessert, these are always my go to. I know everyone says that strawberries are a summer baking fruit (and they are!) but man I will bake these anytime, anywhere. You literally cannot just have one. Okay I will stop going on about these but once you make them you will totally understand my obsession.
These bars are perfect for packing lunches with. They’re the ideal sweet treat to enjoy just after you eat your lunch. They aren’t too sweet though! If you’re going out for the day and need something to pack in a picnic, these Strawberry Bars would be an excellent treat.
INGREDIENTS:
- 1/2 cup white sugar
- 1/2 teaspoon baking powder
- 1-1/2 cups all-purpose flour
- 1/4 teaspoon salt
- 1/2 cup very cold butter, (8 Tablespoons or 1 stick of butter)
- 1 egg, beaten
- 1 teaspoon vanilla
- 2 cups fresh strawberries, chopped
- 1/3 cup white sugar
- 2 teaspoons cornstarch
INGREDIENT NOTES
Butter — very cold, and this matters: Cold butter is the entire reason the crust and crumb topping have that flaky, sandy texture instead of baking into one solid dense layer. When cold butter gets cut into flour, it creates small pockets that steam in the oven and produce that crumbly, layered result. If your butter warms up — from your hands, from the room, from sitting too long — the texture suffers. Cut it into small cubes and put it back in the freezer for 10 minutes if it softens while you work.
Flour: Standard all-purpose flour. Nothing fancy needed here.
Egg: One beaten egg gets added to the dough to bind it just enough to hold together when pressed but still crumble when scattered on top. Don’t skip it — without the egg the base layer won’t press into a cohesive crust.
Vanilla: Goes into the dough, not the filling. It’s a small amount but it rounds out the flavor of the crust in a way that plain flour-butter-sugar dough doesn’t have on its own.
Fresh strawberries: Fresh is significantly better than frozen here — frozen strawberries release too much water even after draining, which can make the filling soupy and prevent it from setting cleanly. Use fresh, ripe strawberries and chop them to a rough ½-inch dice so they bake down evenly.
Cornstarch: Two teaspoons is all you need. It absorbs the juice the strawberries release during baking and thickens it into a jammy filling rather than a watery puddle. Don’t skip it and don’t increase it — more cornstarch produces a gummy, starchy texture.
Sugar: The filling uses ⅓ cup. If your strawberries are particularly tart or out of season, increase to ½ cup. If they’re peak summer sweet, ⅓ cup is right.
Here is how you make strawberry shortbread bars:
Start with your dry ingredients — flour, sugar, baking powder, and salt — stirred together in a large bowl. Then comes the cold butter. You’re going to cut it into the flour mixture using a pastry cutter, a fork, or your fingertips until the pieces are pea-sized and the mixture looks like coarse crumbs. Work quickly here. The goal is to keep the butter cold, which means minimal handling. If the butter starts to feel soft or greasy, put the whole bowl in the fridge for 10 minutes before continuing. A food processor works great for this step — just pulse until you get pea-sized crumbs, don’t overprocess.
Once you have your crumbly mixture, beat the egg in a small bowl and add it to the dough along with the vanilla. Stir until combined — the dough will still be crumbly and that’s exactly right. It shouldn’t form a smooth ball. It should look like wet sand that just barely holds together when you press it.
Set that bowl aside and make your strawberry filling. In a separate bowl, toss the chopped strawberries with the sugar and cornstarch until everything is coated. Simple as that — no cooking the filling first.
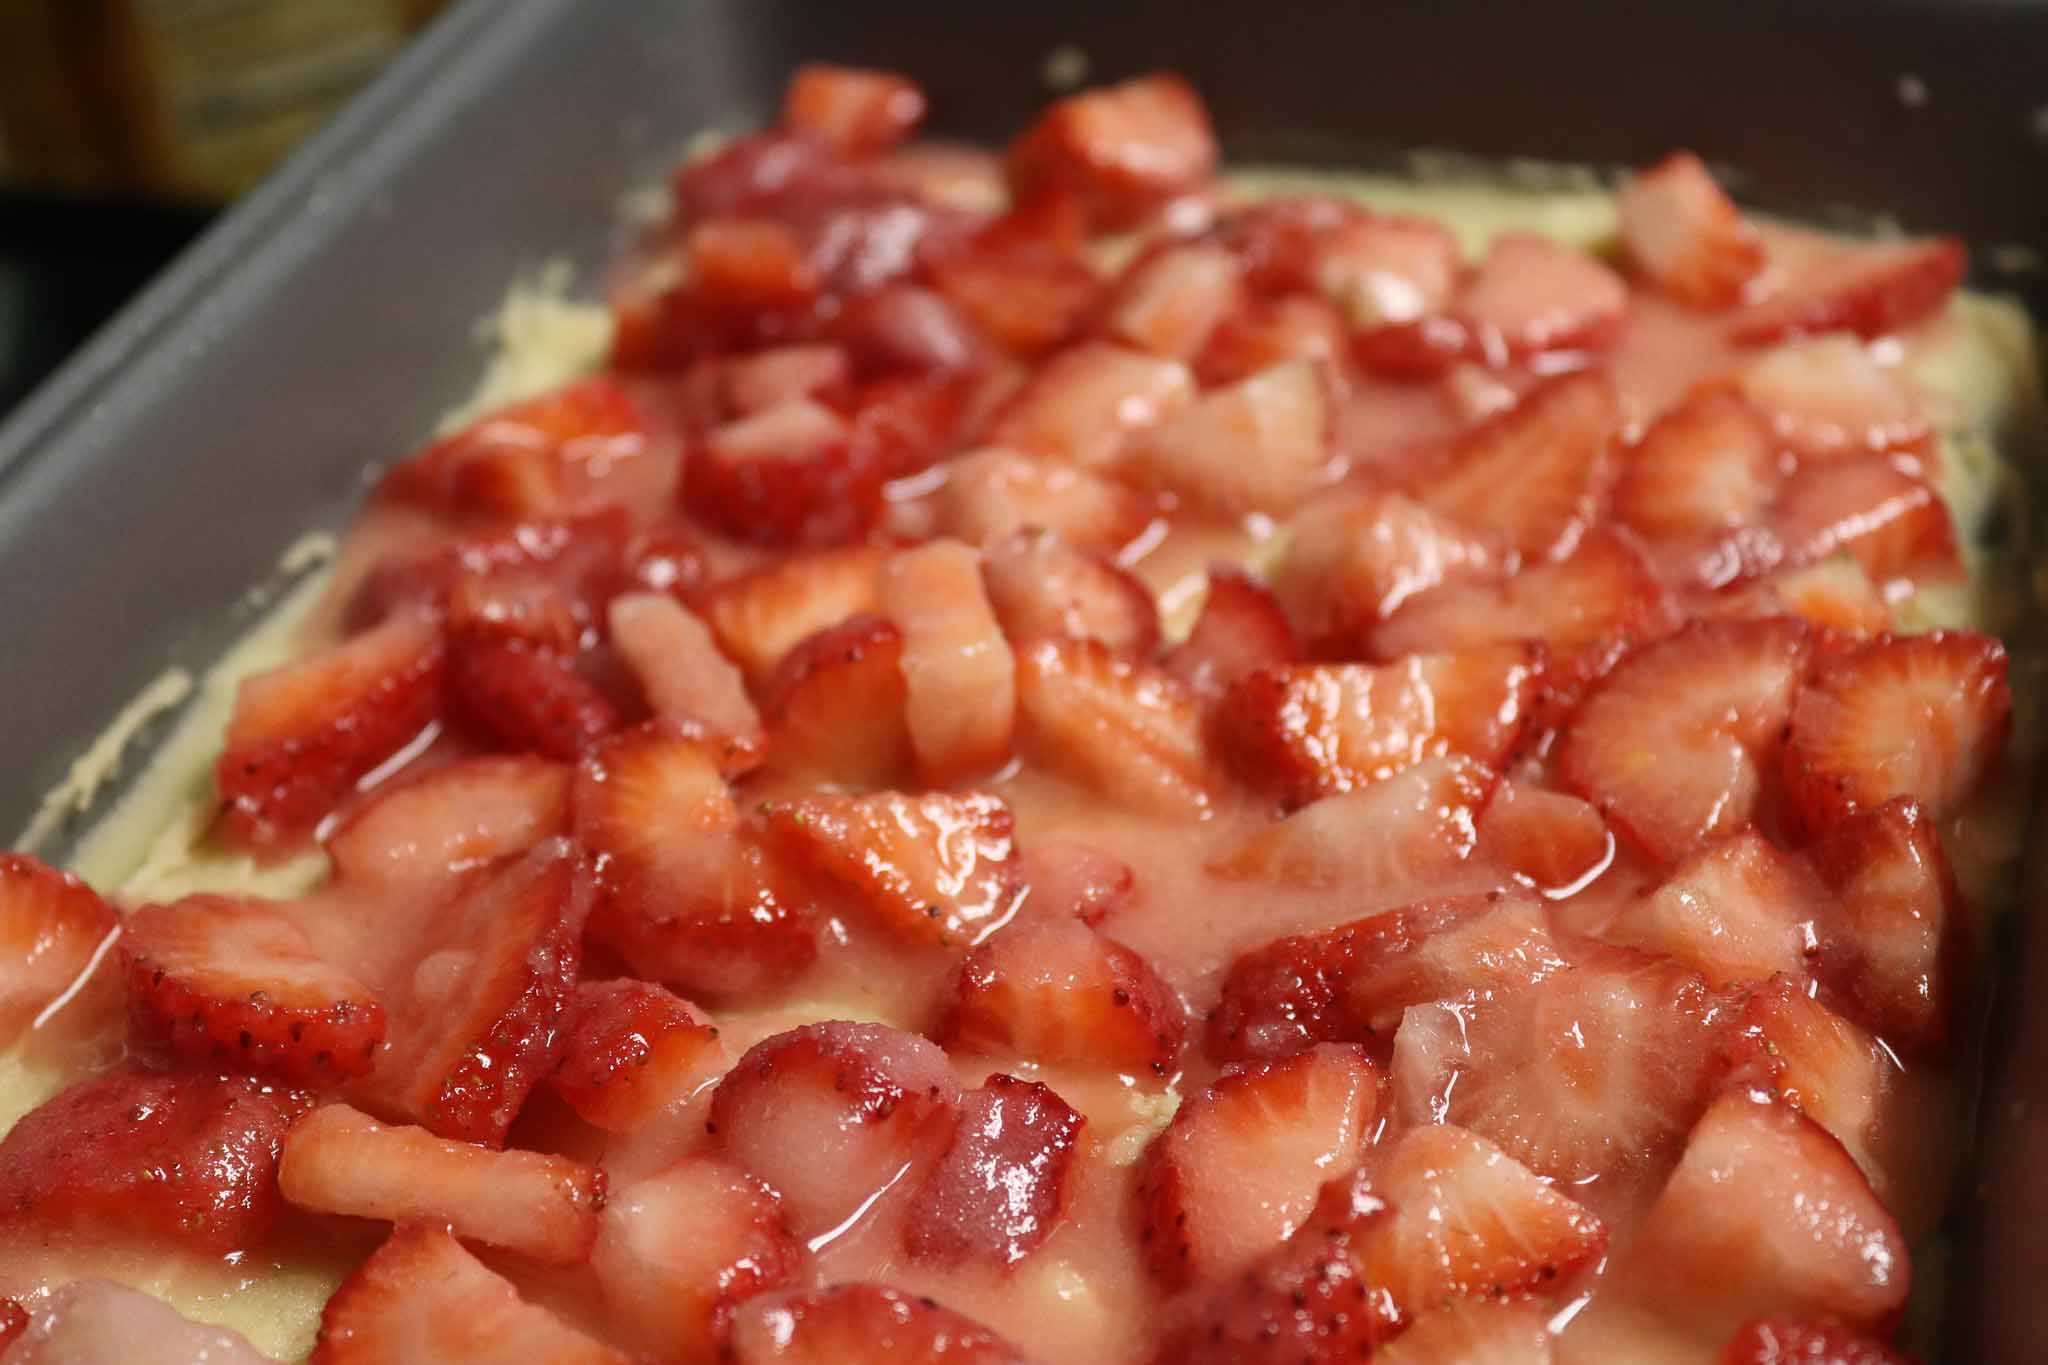
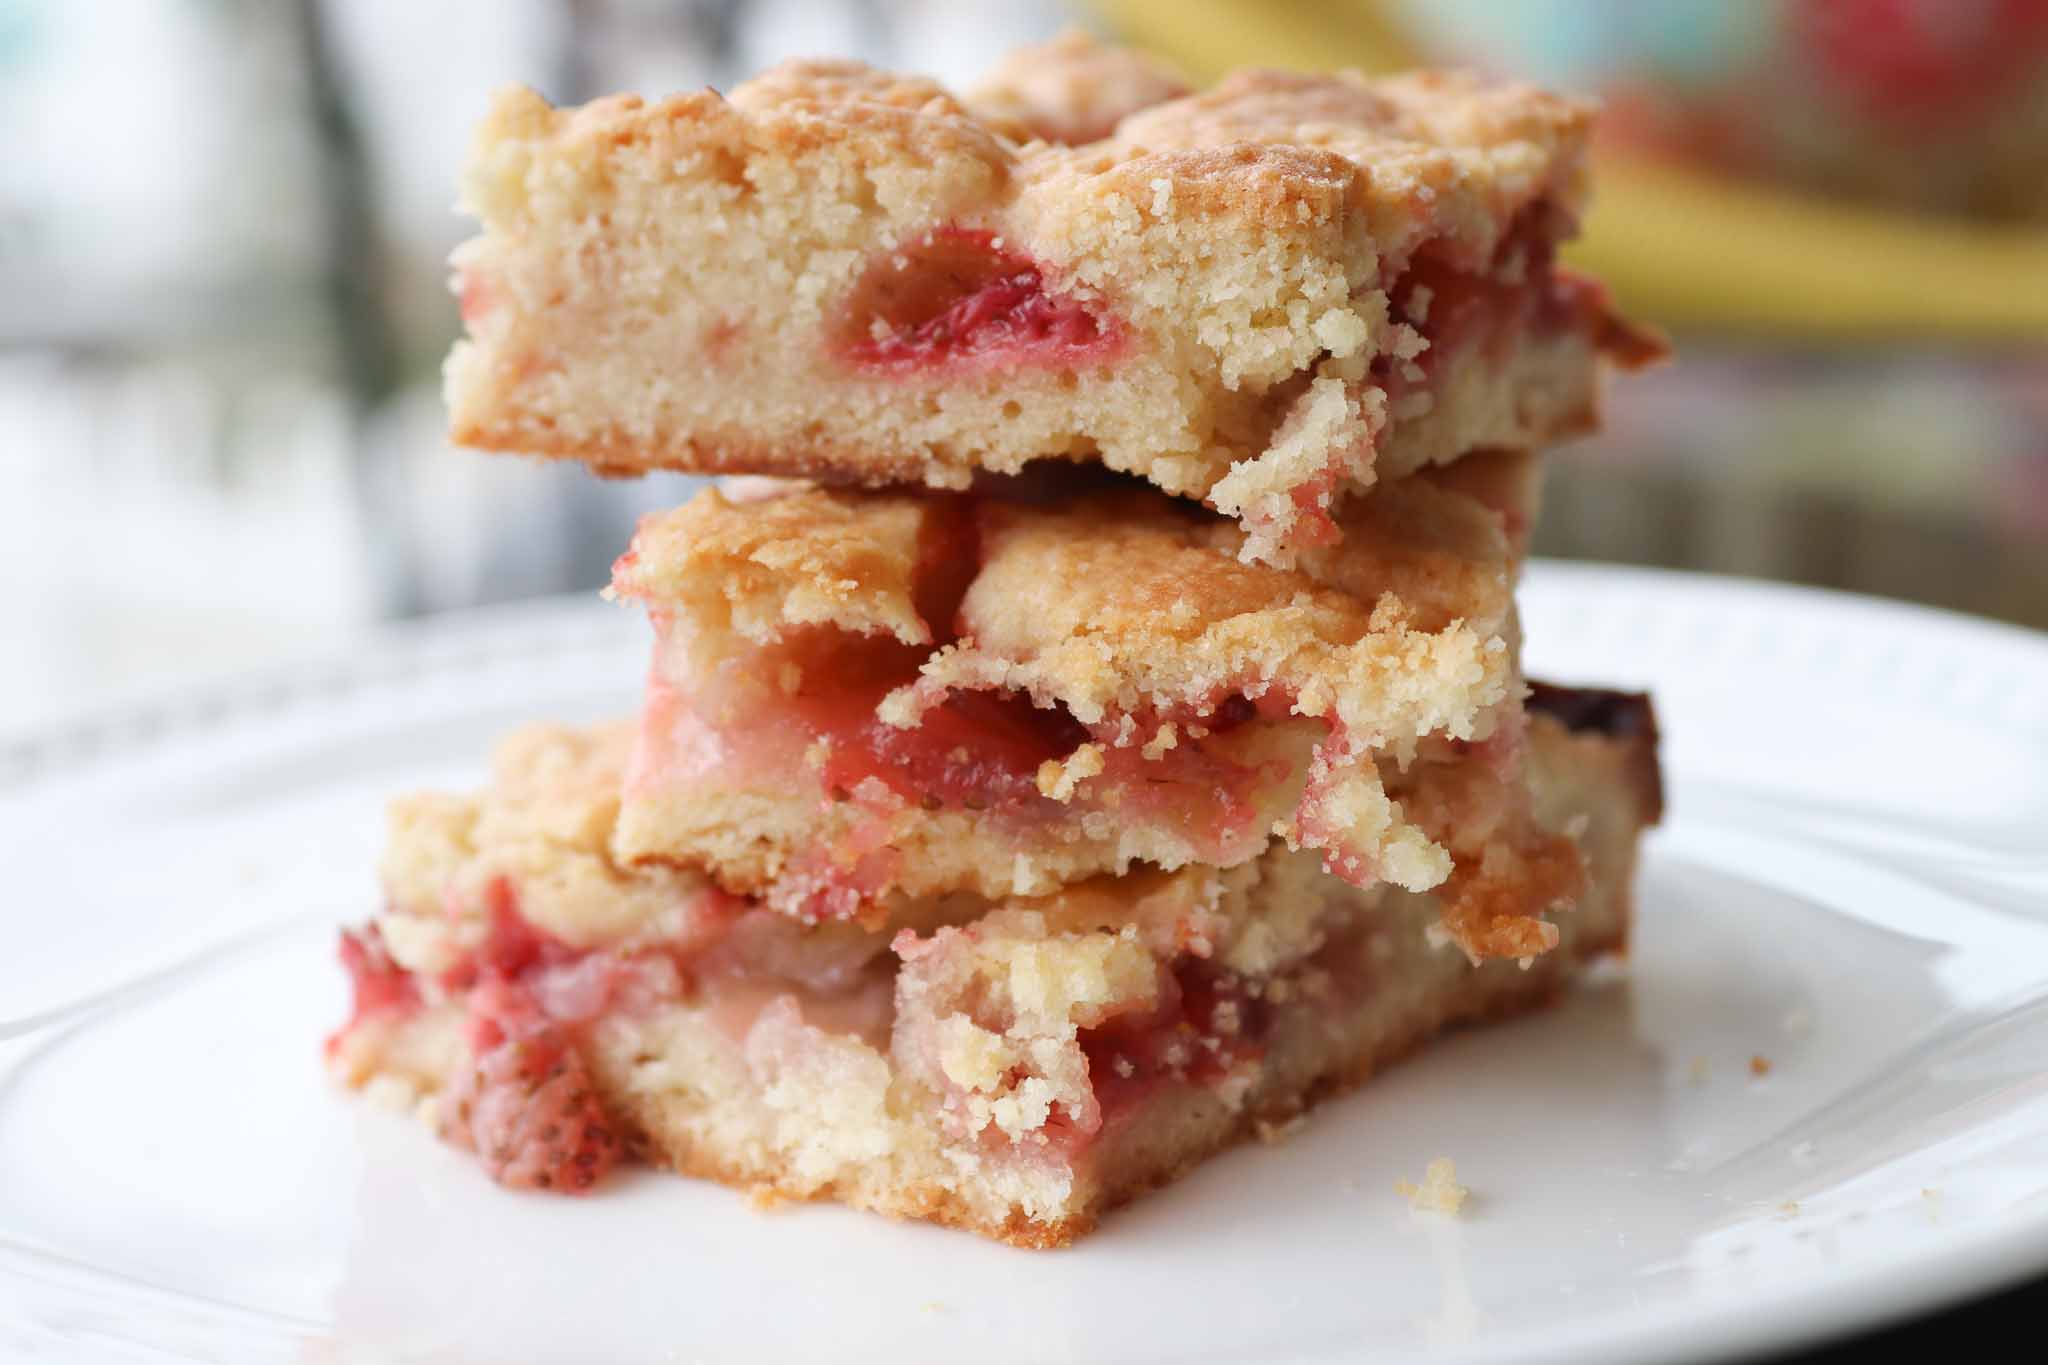
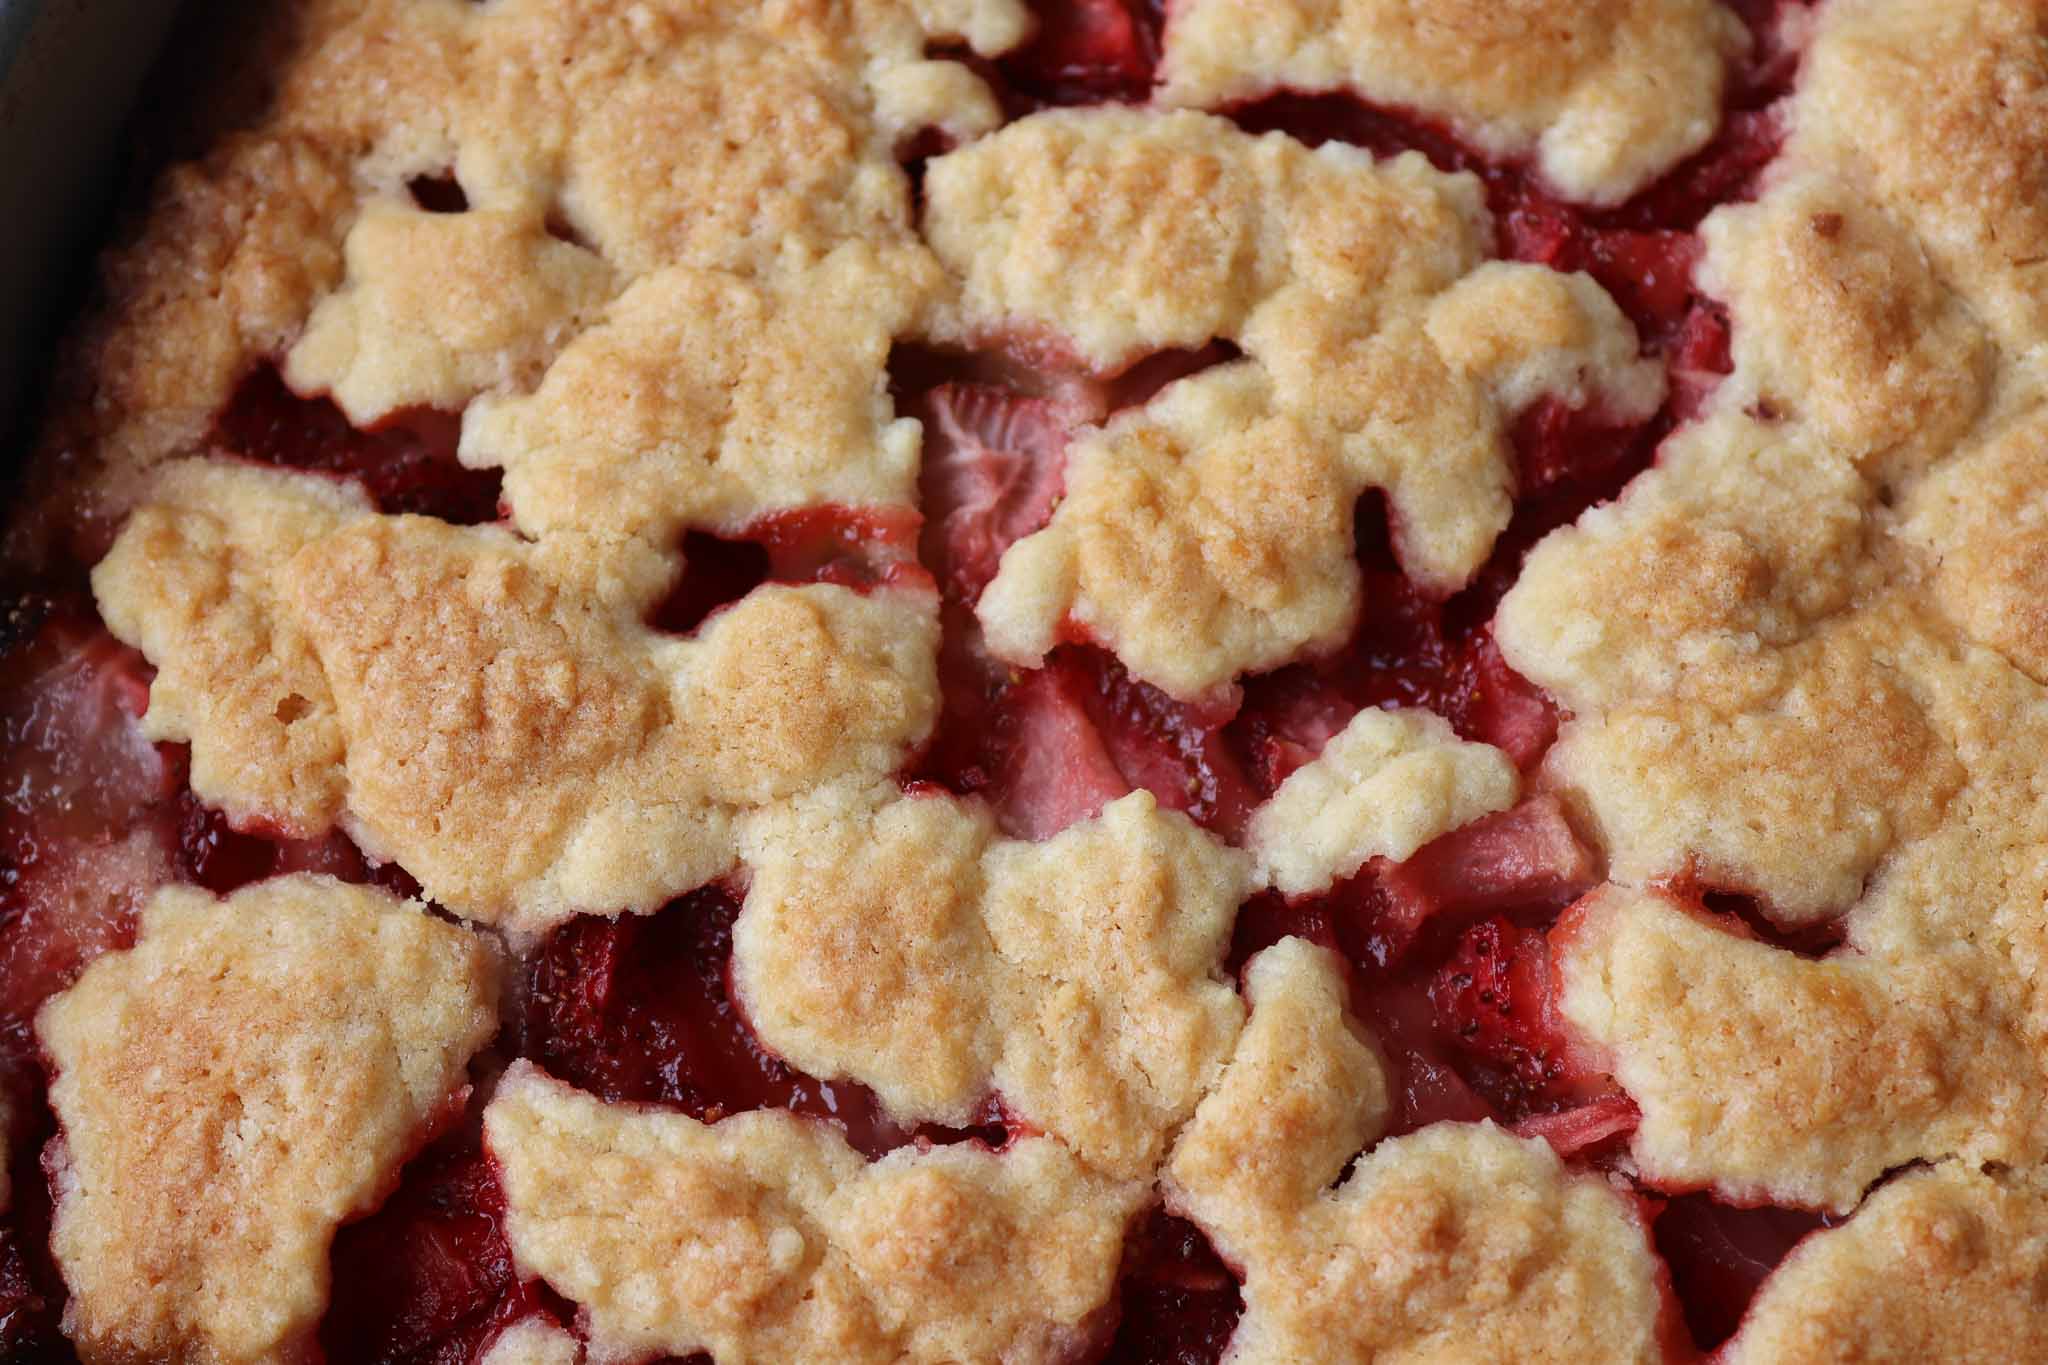
Now assemble. Press half the dough evenly into the bottom of your parchment-lined 8×8 pan — use your fingers or the bottom of a measuring cup to get it flat and even. Spoon the strawberry mixture over the top in an even layer. Then take the remaining dough and crumble it over the strawberries. You don’t need to press it down — you want it loose and textured, not packed.
Bake at 375°F for 40–45 minutes until the top is lightly golden and the filling is bubbling around the edges. The bubbling is important — it means the cornstarch has activated and the filling is setting. If you pull it before it bubbles, the filling will be loose when you cut it.
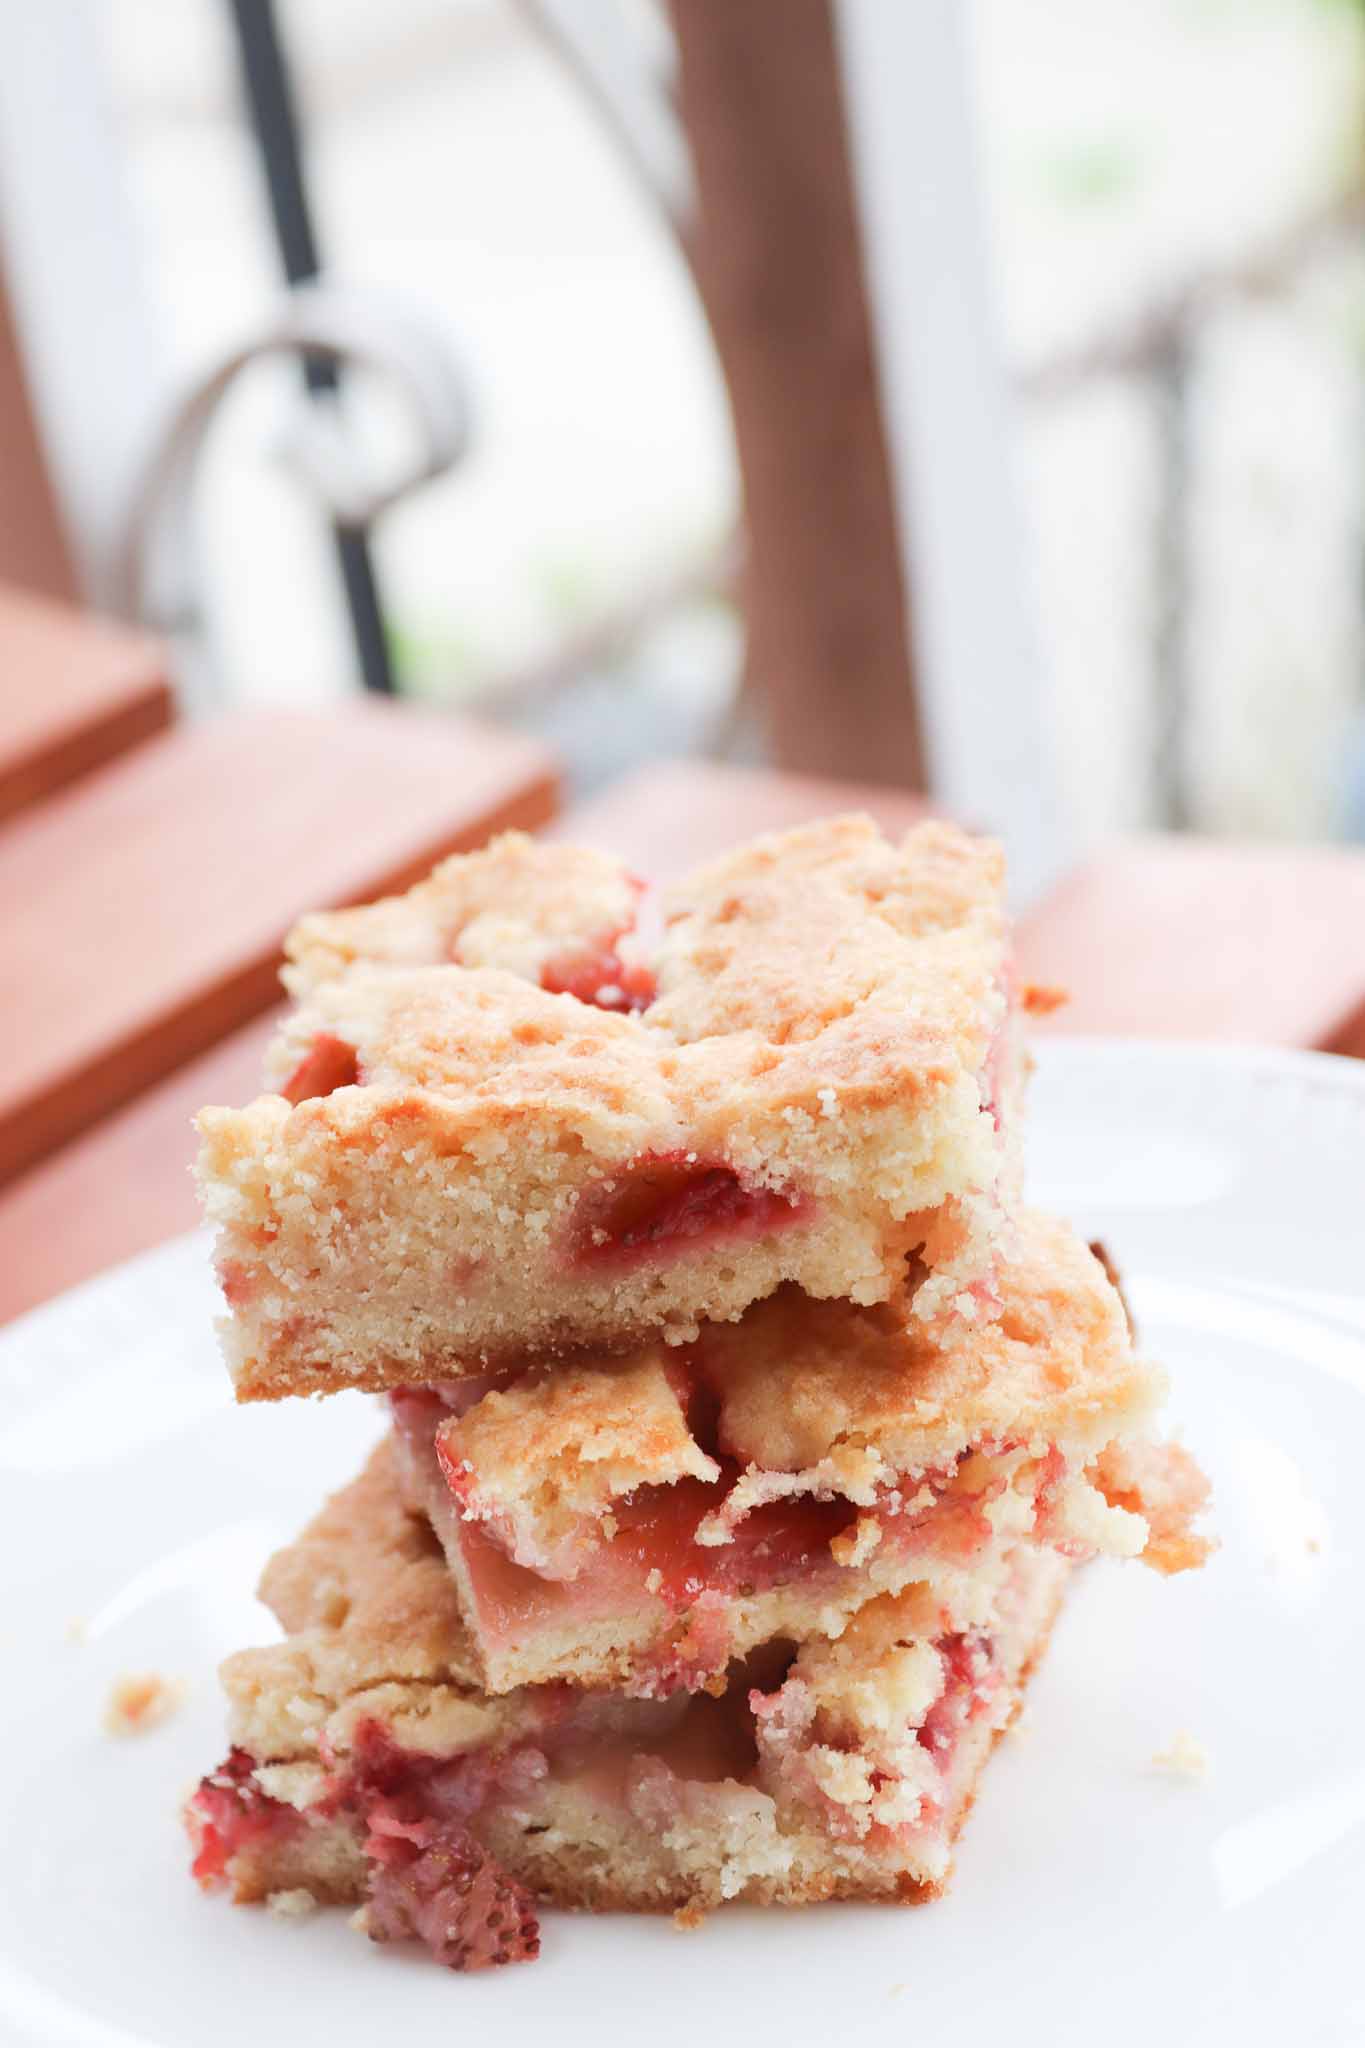
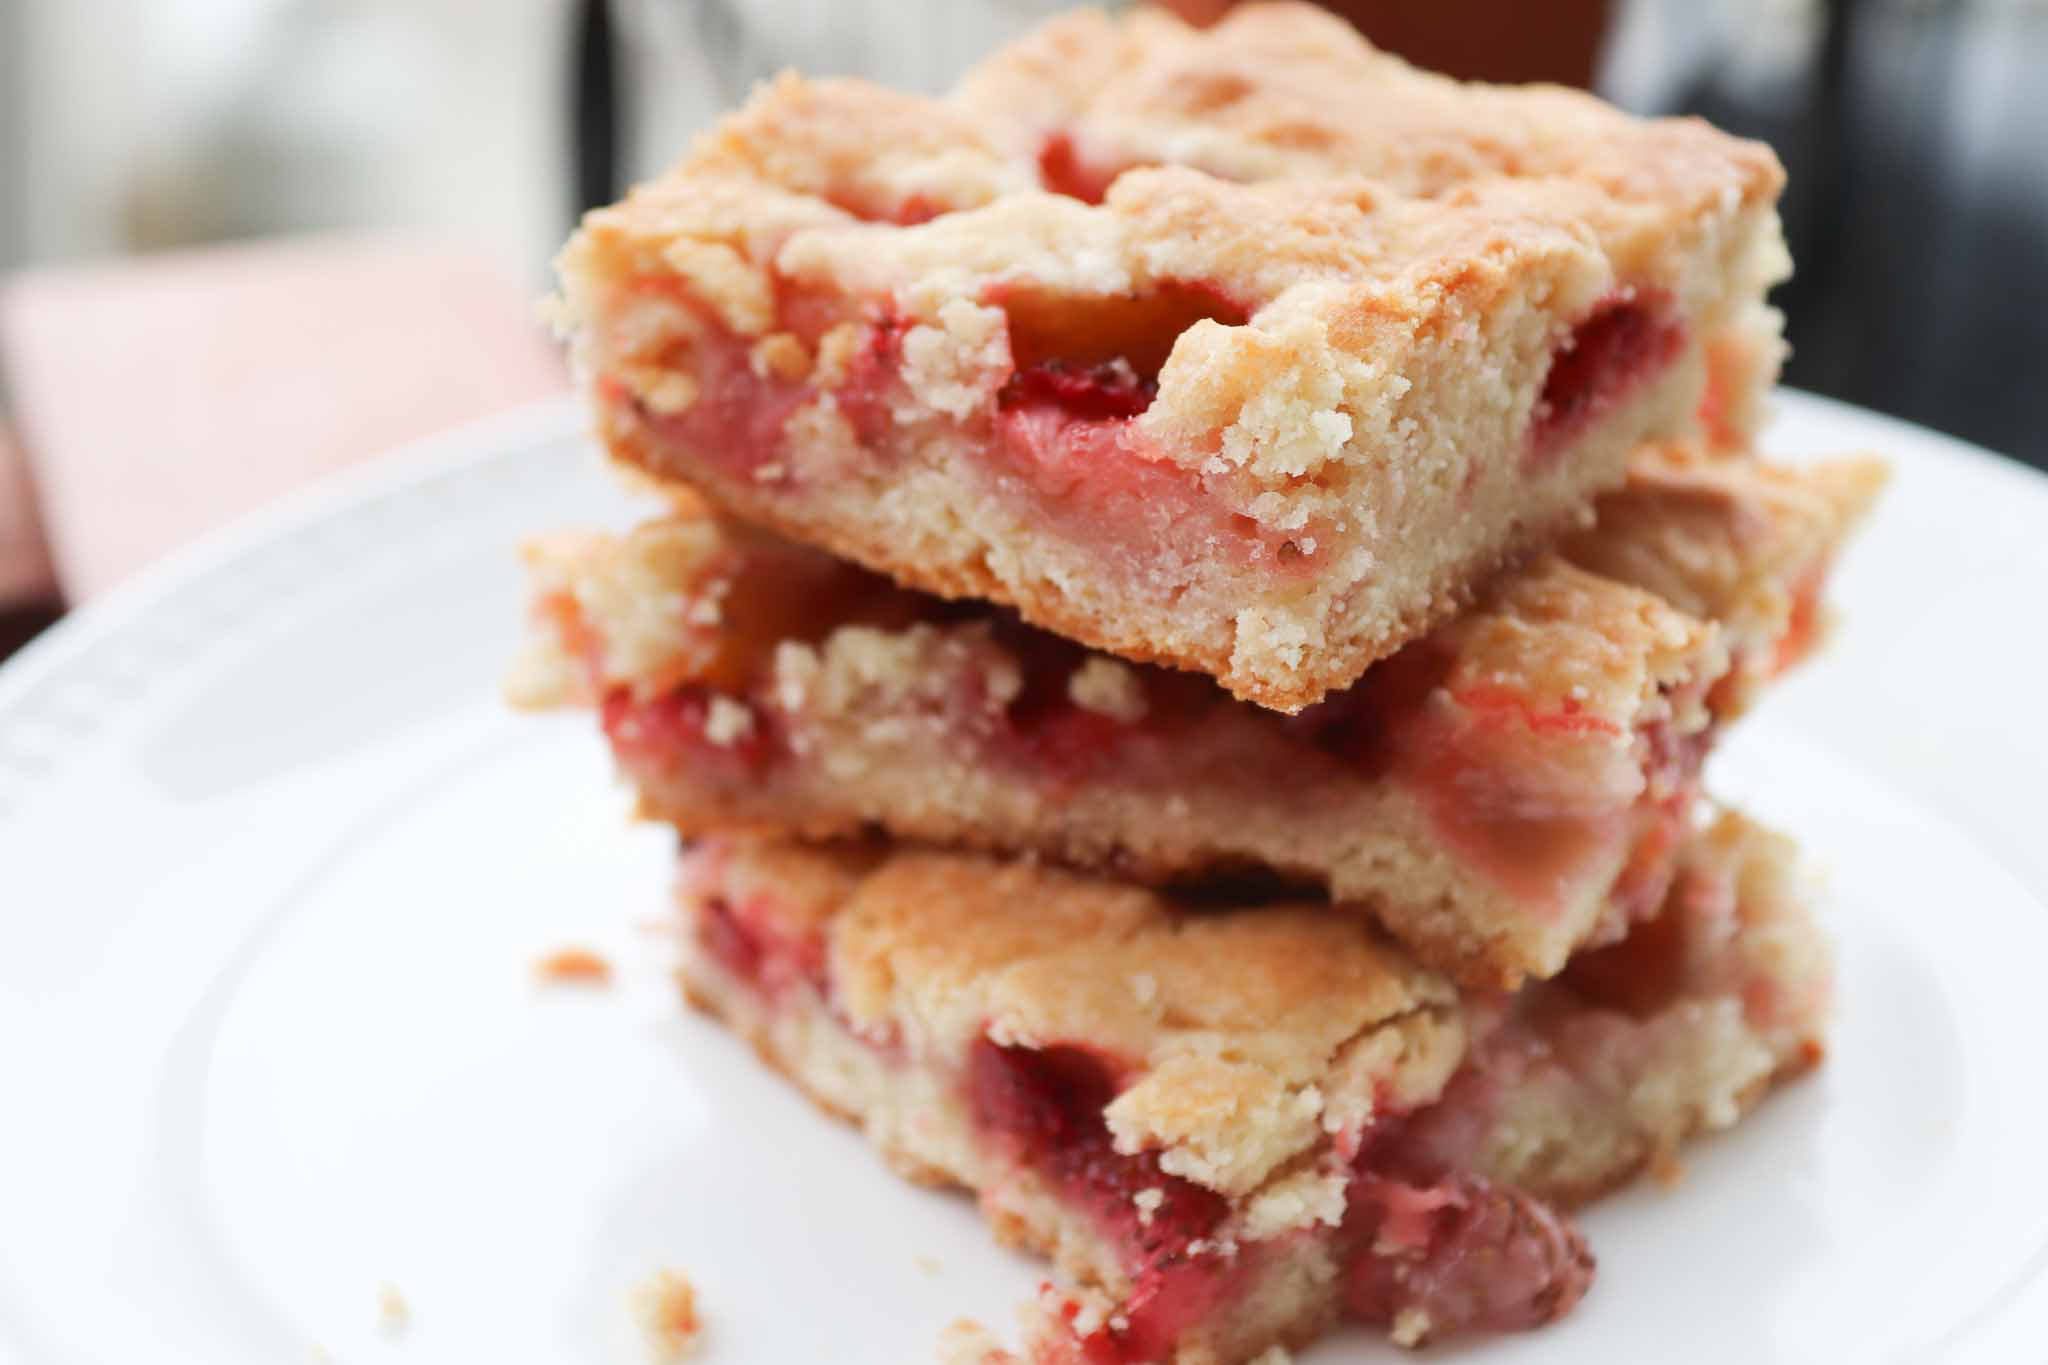
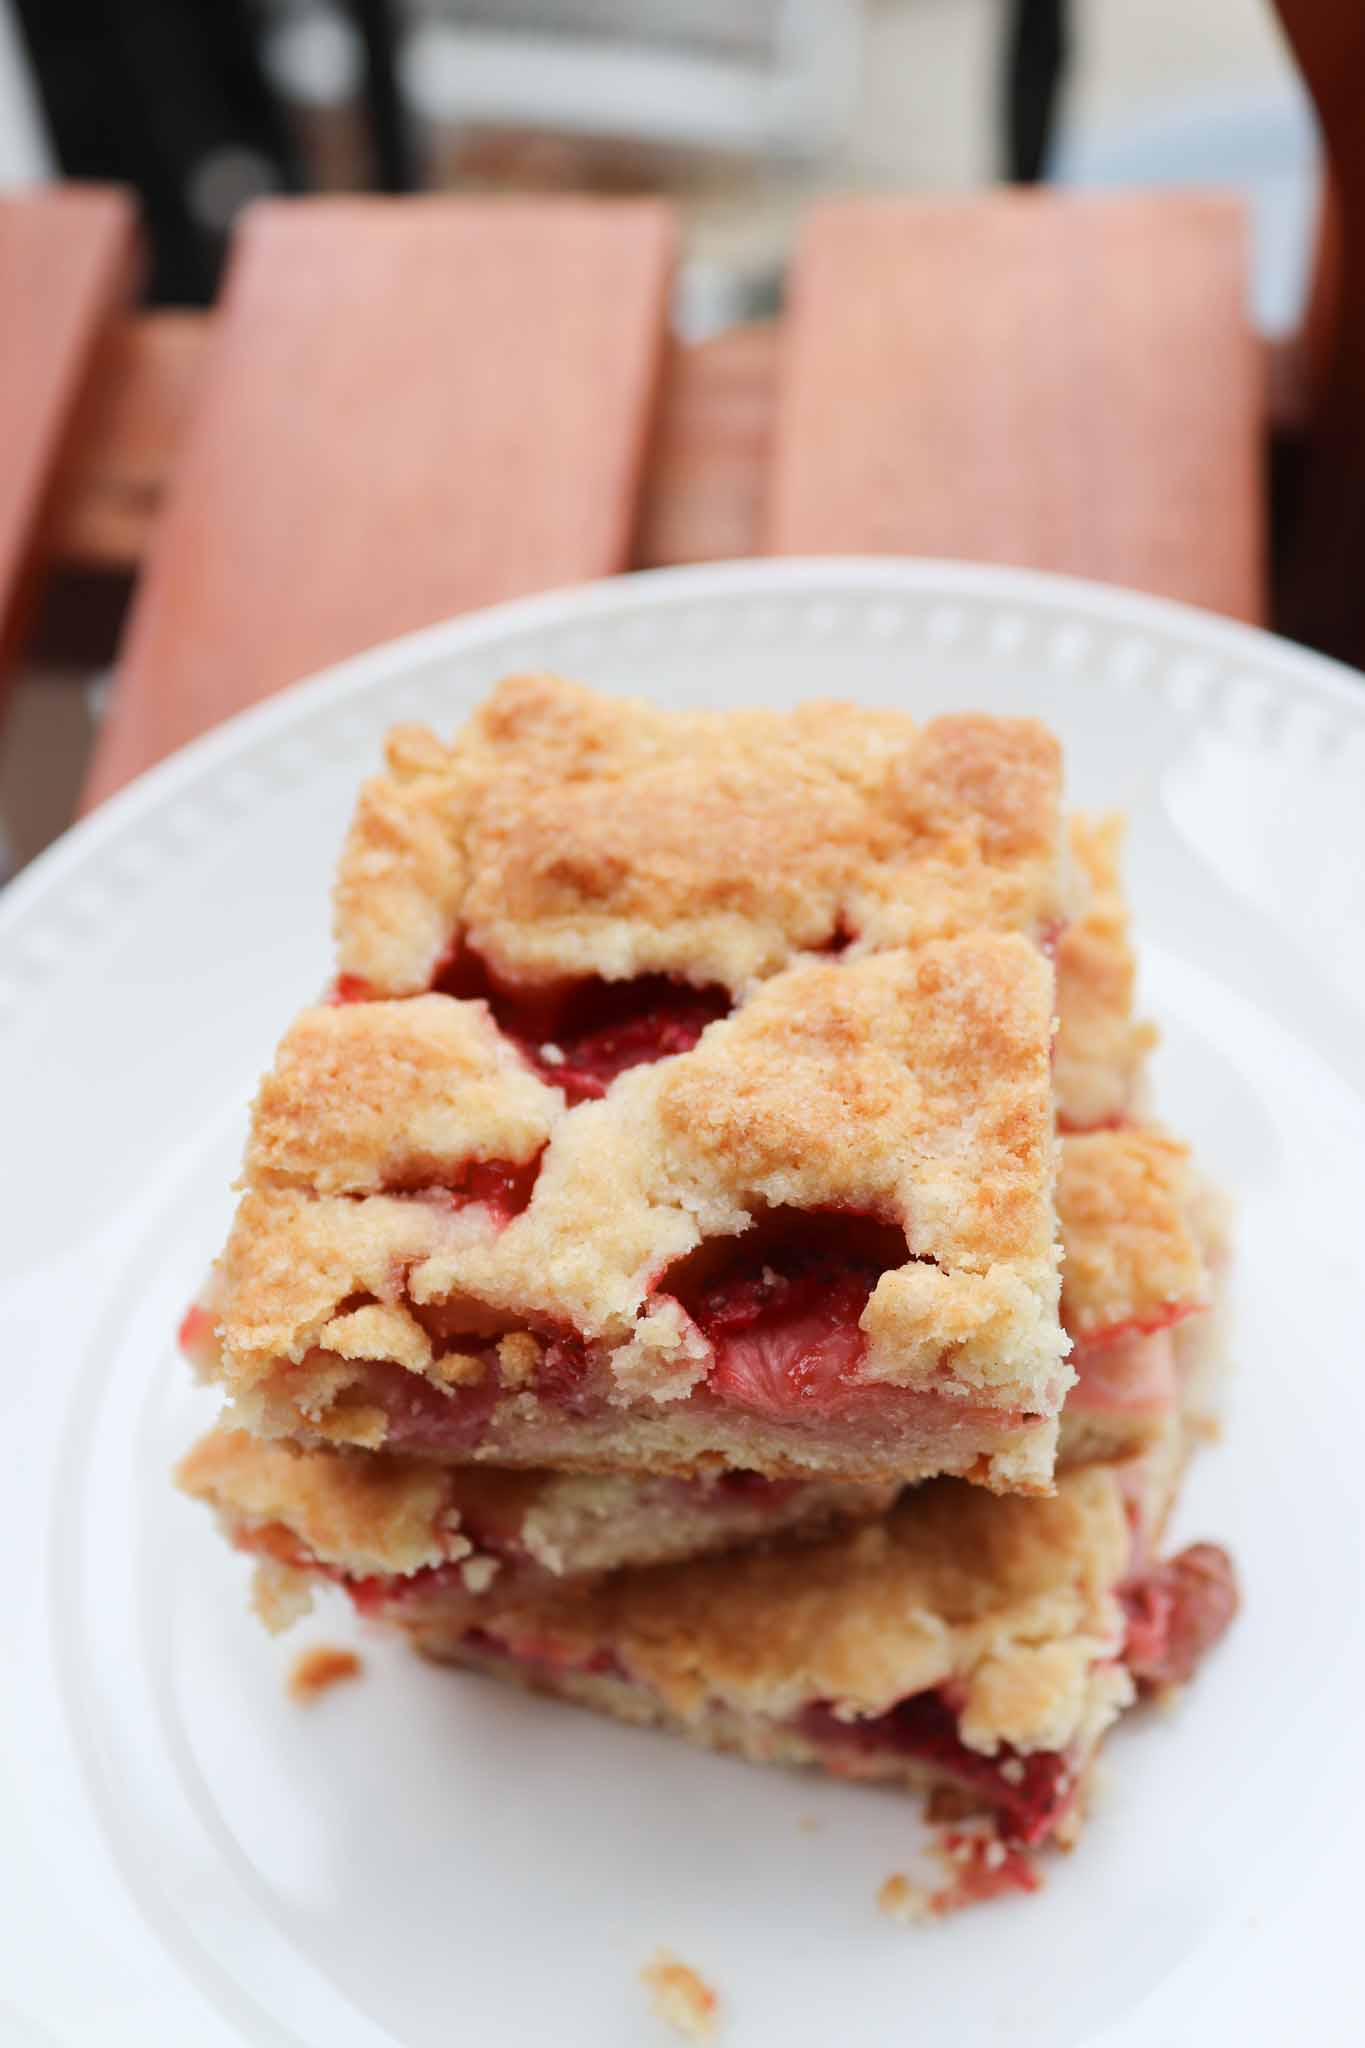
This is where patience comes in. Cool the bars completely before cutting — ideally refrigerate them for an hour or two first. The filling is held together by the thickened cornstarch, which needs to fully set as it cools. Cut them warm and you’ll get delicious strawberry rubble instead of clean bars. Totally still worth eating, but not what you’re going for.
THE DOUBLE-DUTY DOUGH
The reason this recipe is easier than it looks is that you’re only making one bowl of dough for the entire thing. That same crumbly butter-flour mixture is both the base crust you press into the pan and the crumb topping you scatter over the strawberries. One bowl, two jobs, done. No separate crumble recipe. No second set of ingredients. You make it once, divide it in half, and layer it around the filling. That’s the move that makes this so straightforward.
Frequently Asked Questions (FAQs)
Fresh works significantly better here. Frozen strawberries release a lot of water even after draining, which can make the filling soupy and prevent it from setting into clean bars. If frozen is all you have, thaw completely, drain well, and pat dry — but expect a looser filling.
Almost always one of two things: the butter was too warm when making the dough (warm butter = dense, crumbly crust that doesn’t hold), or the bars weren’t cooled long enough before cutting. The cornstarch filling needs to fully set as it cools. Give them at least an hour in the fridge, ideally more, before slicing.
Yes, but double the recipe. The ingredient amounts listed are for an 8×8 pan. A 9×13 with the original amounts will give you a very thin layer of crust and filling. Double everything and bake for the same time, checking at 38–40 minutes.
Yes — these are actually better the next day. Make them the night before, cool completely, refrigerate overnight, and cut in the morning. The filling sets firmer and the bars hold together more cleanly.
Store in an airtight container in the refrigerator for up to 5 days. The bars can also be frozen: wrap individually in plastic wrap and freeze in a bag for up to 3 months. Thaw in the fridge overnight or at room temperature for about 30 minutes.
You can spread a thin layer of jam as a quick shortcut, but the texture and flavor are noticeably different. Fresh strawberries bake down into a jammy filling with actual fruit texture — jam produces a thinner, sweeter layer that can get syrupy. If you use jam, skip the sugar and cornstarch and just spread about ¾ cup of jam directly on the crust.

Switch It Up With These Fun Versions
Strawberry lemon: Add 1 teaspoon of lemon zest to the strawberry filling. The citrus cuts through the sweetness and makes the strawberry flavor more vivid. One of the best and easiest upgrades.
Mixed berry: Replace up to half the strawberries with blueberries, raspberries, or blackberries. Mixed berry crumb bars have slightly more complexity in flavor — each berry brings something different as they bake down together.
Strawberry cheesecake bars: Spread a thin layer of sweetened cream cheese (4 oz softened cream cheese + 2 tablespoons sugar + ½ teaspoon vanilla, stirred smooth) over the bottom crust before adding the strawberry filling. It bakes into a creamy layer between the crust and the fruit.
Brown butter version: Brown the butter in a small saucepan before measuring and chilling it back to solid in the freezer. The brown butter adds a nutty, caramel depth to both the crust and crumb that makes these taste distinctly more complex. Takes about 15 extra minutes of hands-off cooling but it’s worth it.
Gluten-free: Substitute a 1:1 gluten-free flour blend for the all-purpose flour. The texture will be slightly more delicate but the method stays exactly the same.
TIPS
Keep the butter cold at every stage. If the kitchen is warm, cut the butter into cubes and freeze for 10 minutes before starting. Put the bowl back in the fridge if the dough starts feeling soft before you’re done. Cold butter = crumbly texture. Warm butter = dense, cakey result.
Use the parchment overhang to lift. The recipe says to let the parchment hang over the sides of the pan — this is your handle. Once the bars are fully cooled, lift the entire slab out, set it on a cutting board, and cut cleanly with a sharp knife. No wrestling with the pan.
Wait for the bubbling before pulling from the oven. The filling should be actively bubbling at the edges — that’s the visual signal that the cornstarch has cooked and the filling will set properly. Top golden, filling bubbling: done.
Refrigerate before cutting. The bars look done when they come out of the oven but the filling is still liquid at that point. An hour in the fridge is the minimum. Overnight is ideal if you’re making them ahead.
Taste your strawberries. The sugar amount in the filling assumes ripe, sweet strawberries. If yours are pale and tart, add an extra tablespoon or two of sugar to the filling before assembling. It makes a real difference in the final bars.
These are a make-ahead dessert in the best possible way — they’re better the next day, they travel well, and they hold up in the fridge all week. Make them on a Saturday, refrigerate overnight, and you have something to pull out for the whole week that gets better every time someone cuts into it. If you’re on a fruit bar kick, my Blueberry Pie Bars with Shortbread Crust use the same technique with blueberries — same easy method, different fruit, equally good.
Here are some more fun strawberry dessert recipes to try


Enjoy!

Easy Strawberry Bars
Looking for a crazy good strawberry sweets recipe? Check out these incredible strawberry bars made with fresh strawberries and a delicious shortbread crust!
Ingredients
- 1/2 cup white sugar
- 1/2 teaspoon baking powder
- 1-1/2 cups all-purpose flour
- 1/4 teaspoon salt
- 1/2 cup very cold butter, (8 Tablespoons or 1 stick of butter)
- 1 egg, beaten
- 1 teaspoon vanilla
- 2 cups fresh strawberries, chopped
- 1/3 cup white sugar
- 2 teaspoons cornstarch
Instructions
- Preheat the oven to 375 degrees F.
- Place parchment paper on the bottom of the 8x8 pan that hangs over the side of the pan. (This is to make it easier to remove the Strawberry Crumb Bars after cooking.)
- In a medium bowl, stir together 1/2 cup white sugar, flour, baking powder and salt.
- Using a fork or a pastry cutter, cut the butter into the flour mixture. (VERY IMPORTANT: Make sure the butter is very cold.) Work with the dough until the pieces are very small. Dough will be crumbly. You can also pulse in a food processor to until you get pea sized crumbs.
- In a separate measuring cup or small bowl, beat an egg with a fork. Add the egg and vanilla to the flour mixture, and combine until you have a crumbly mixture.
- Pat half of the dough evenly into the bottom of the prepared pan.
- In another bowl, stir together 1/3 cup sugar and cornstarch. Stir in the strawberries.
- Spoon the strawberry mixture evenly over the bottom crust.
- Crumble the remaining dough over the strawberry filling layer.
- Bake in a preheated oven for 45 minutes, or until top is slightly golden brown. (My oven runs hot and baked in about 38 minutes.)
- Cool completely before cutting into squares. I recommend refrigerating until ready to serve.
Notes
1. It is very important that your butter be very cold. Also, when working with the crumb crust, be careful not to over work it because you don't want your hands to warm up the crust. You want the crust to be very cold.
2. The sweetness of the strawberries used is important. If your strawberries are not very sweet, you can increase the amount of sugar used in step 7 to about 1/2 a cup.
Nutrition Information
Yield
20Serving Size
1Amount Per Serving Calories 99Total Fat 5gSaturated Fat 3gUnsaturated Fat 2gCholesterol 13mgSodium 84mgCarbohydrates 13gFiber 1gSugar 12gProtein 0g

Before you go, Grab Your Free Printable Recipe Kit!
Keep track of all your favorite recipes and ingredients with this free printable book!
Hi! I’m Nellie. I am an entrepreneur, a busy mama of 3 and a wife to my high school sweetheart. I have been sharing content for over 12 years about how to cook easy recipes, workout tips and free printables that make life a little bit easier. I have been featured in places like Yahoo, Buzzfeed, What To Expect, Mediavine, Niche Pursuits, HuffPost, BabyCenter, Mom 2.0, Mommy Nearest, Parade, Care.com, and more!
Get comfortable and be sure to come hang out with me on social. Don’t forget to grab your free fitness journal before you go!