
Amazing Red Velvet Cream Cheese Cookies
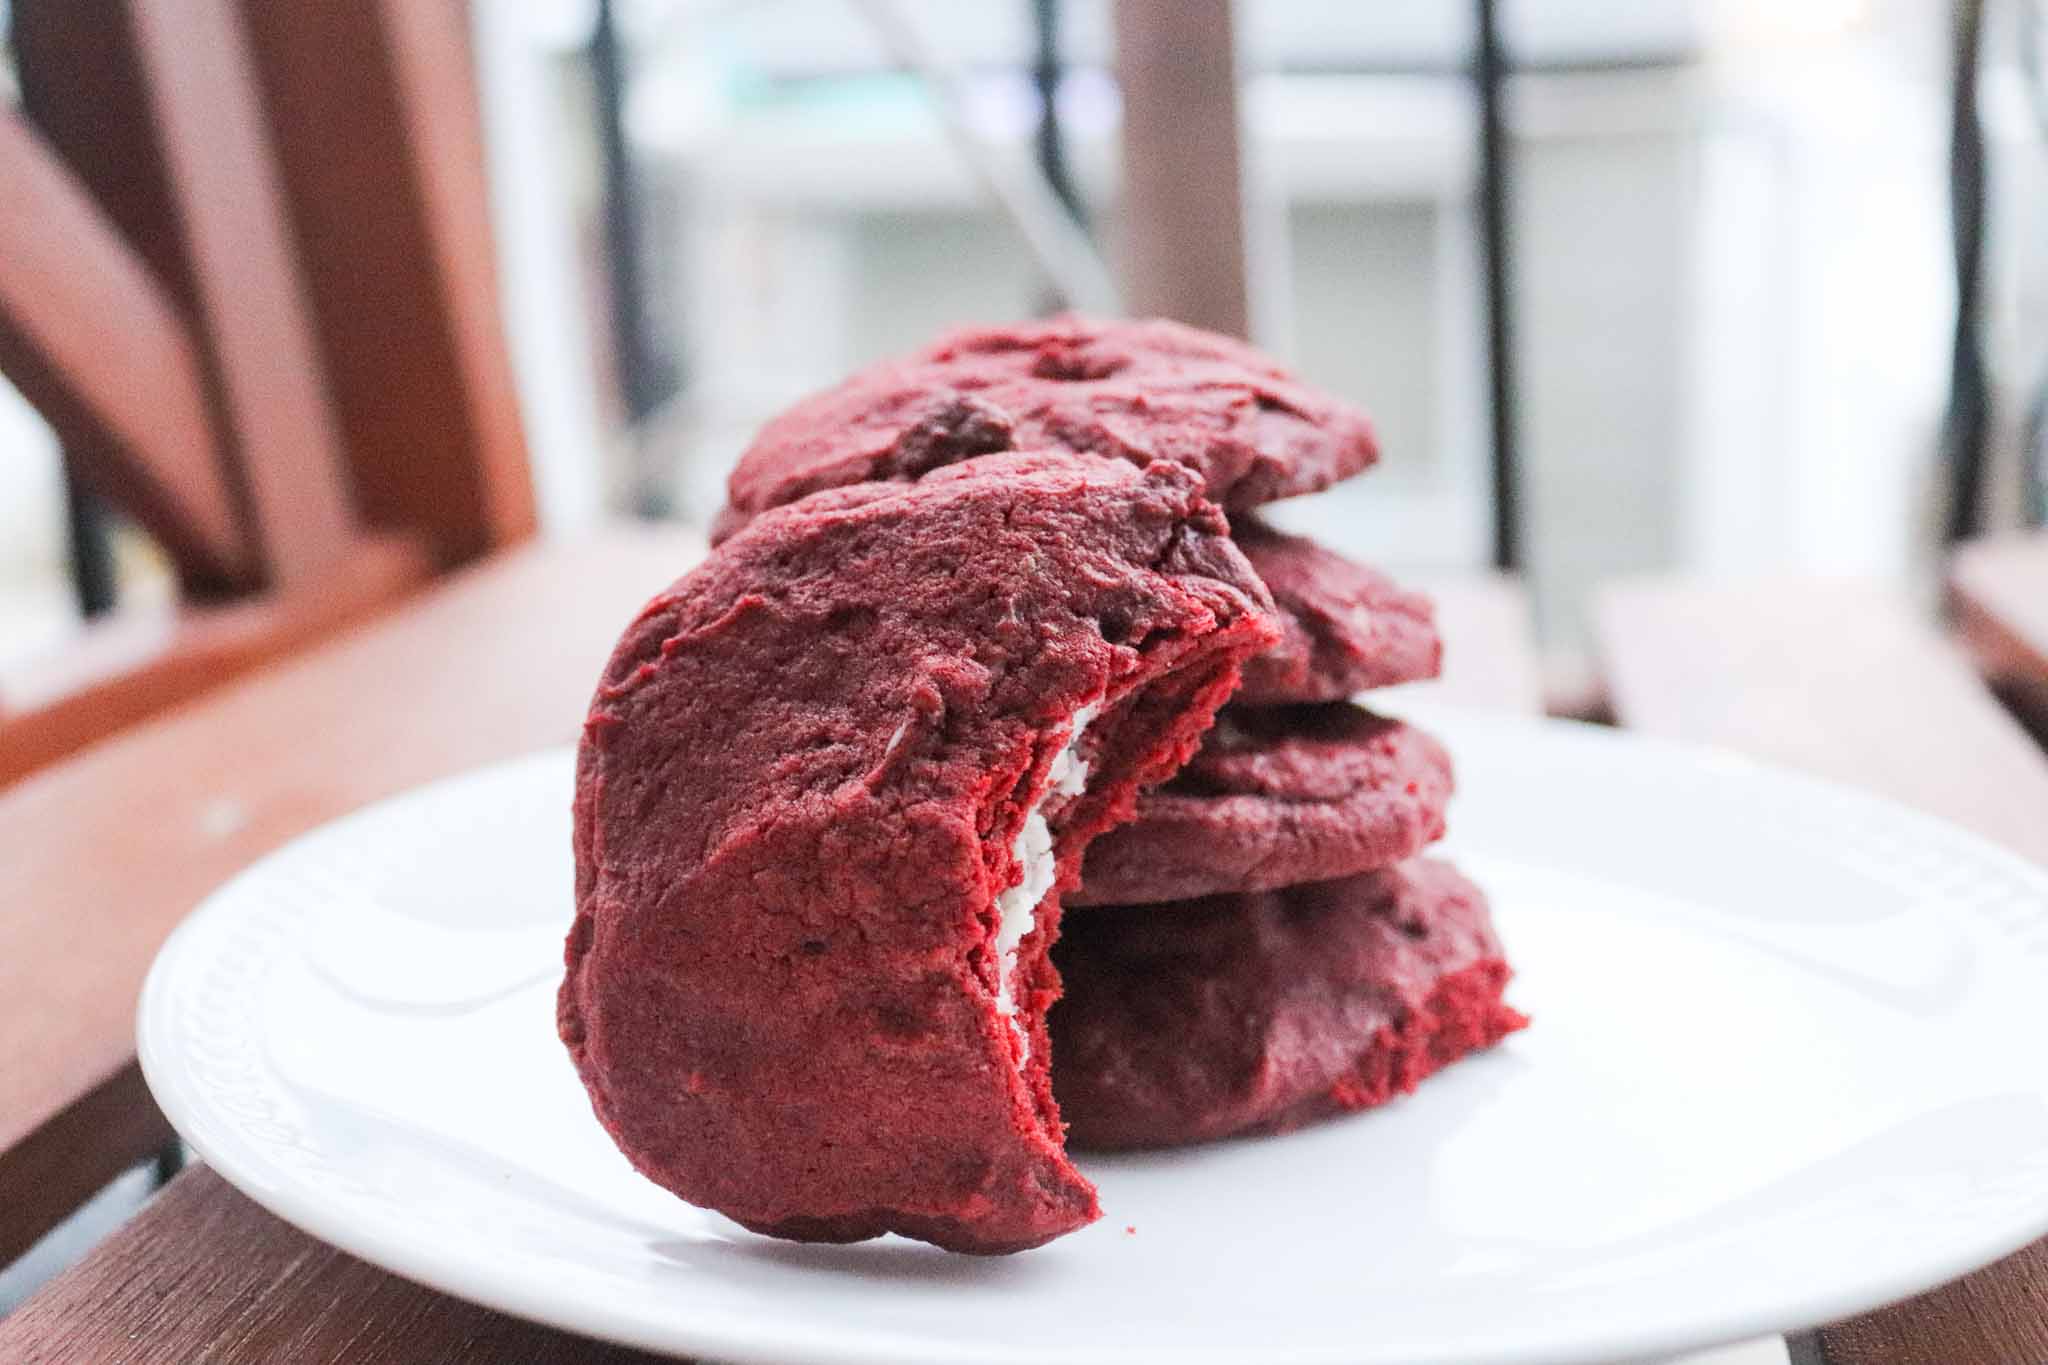
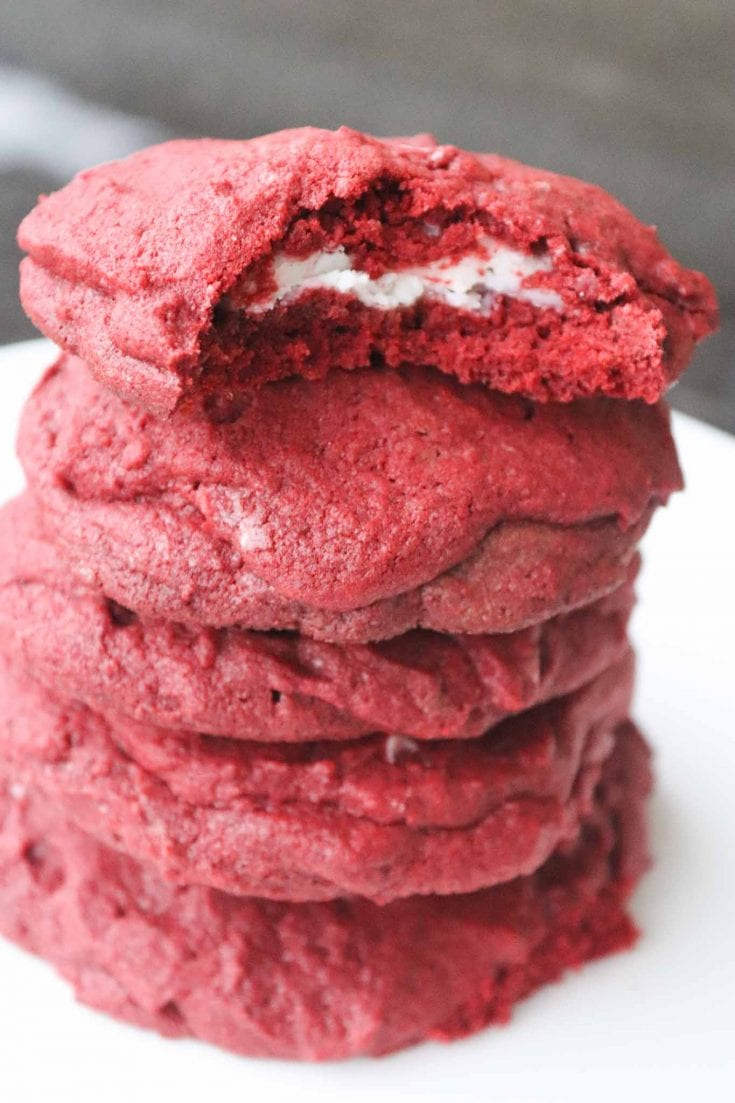
Looking for some delicious cookies with a fun surprise inside? These Red Velvet Cream Cheese cookies are sure to please! A Homemade red velvet cookie with a tasty cheesecake filling that is great for any occasion!
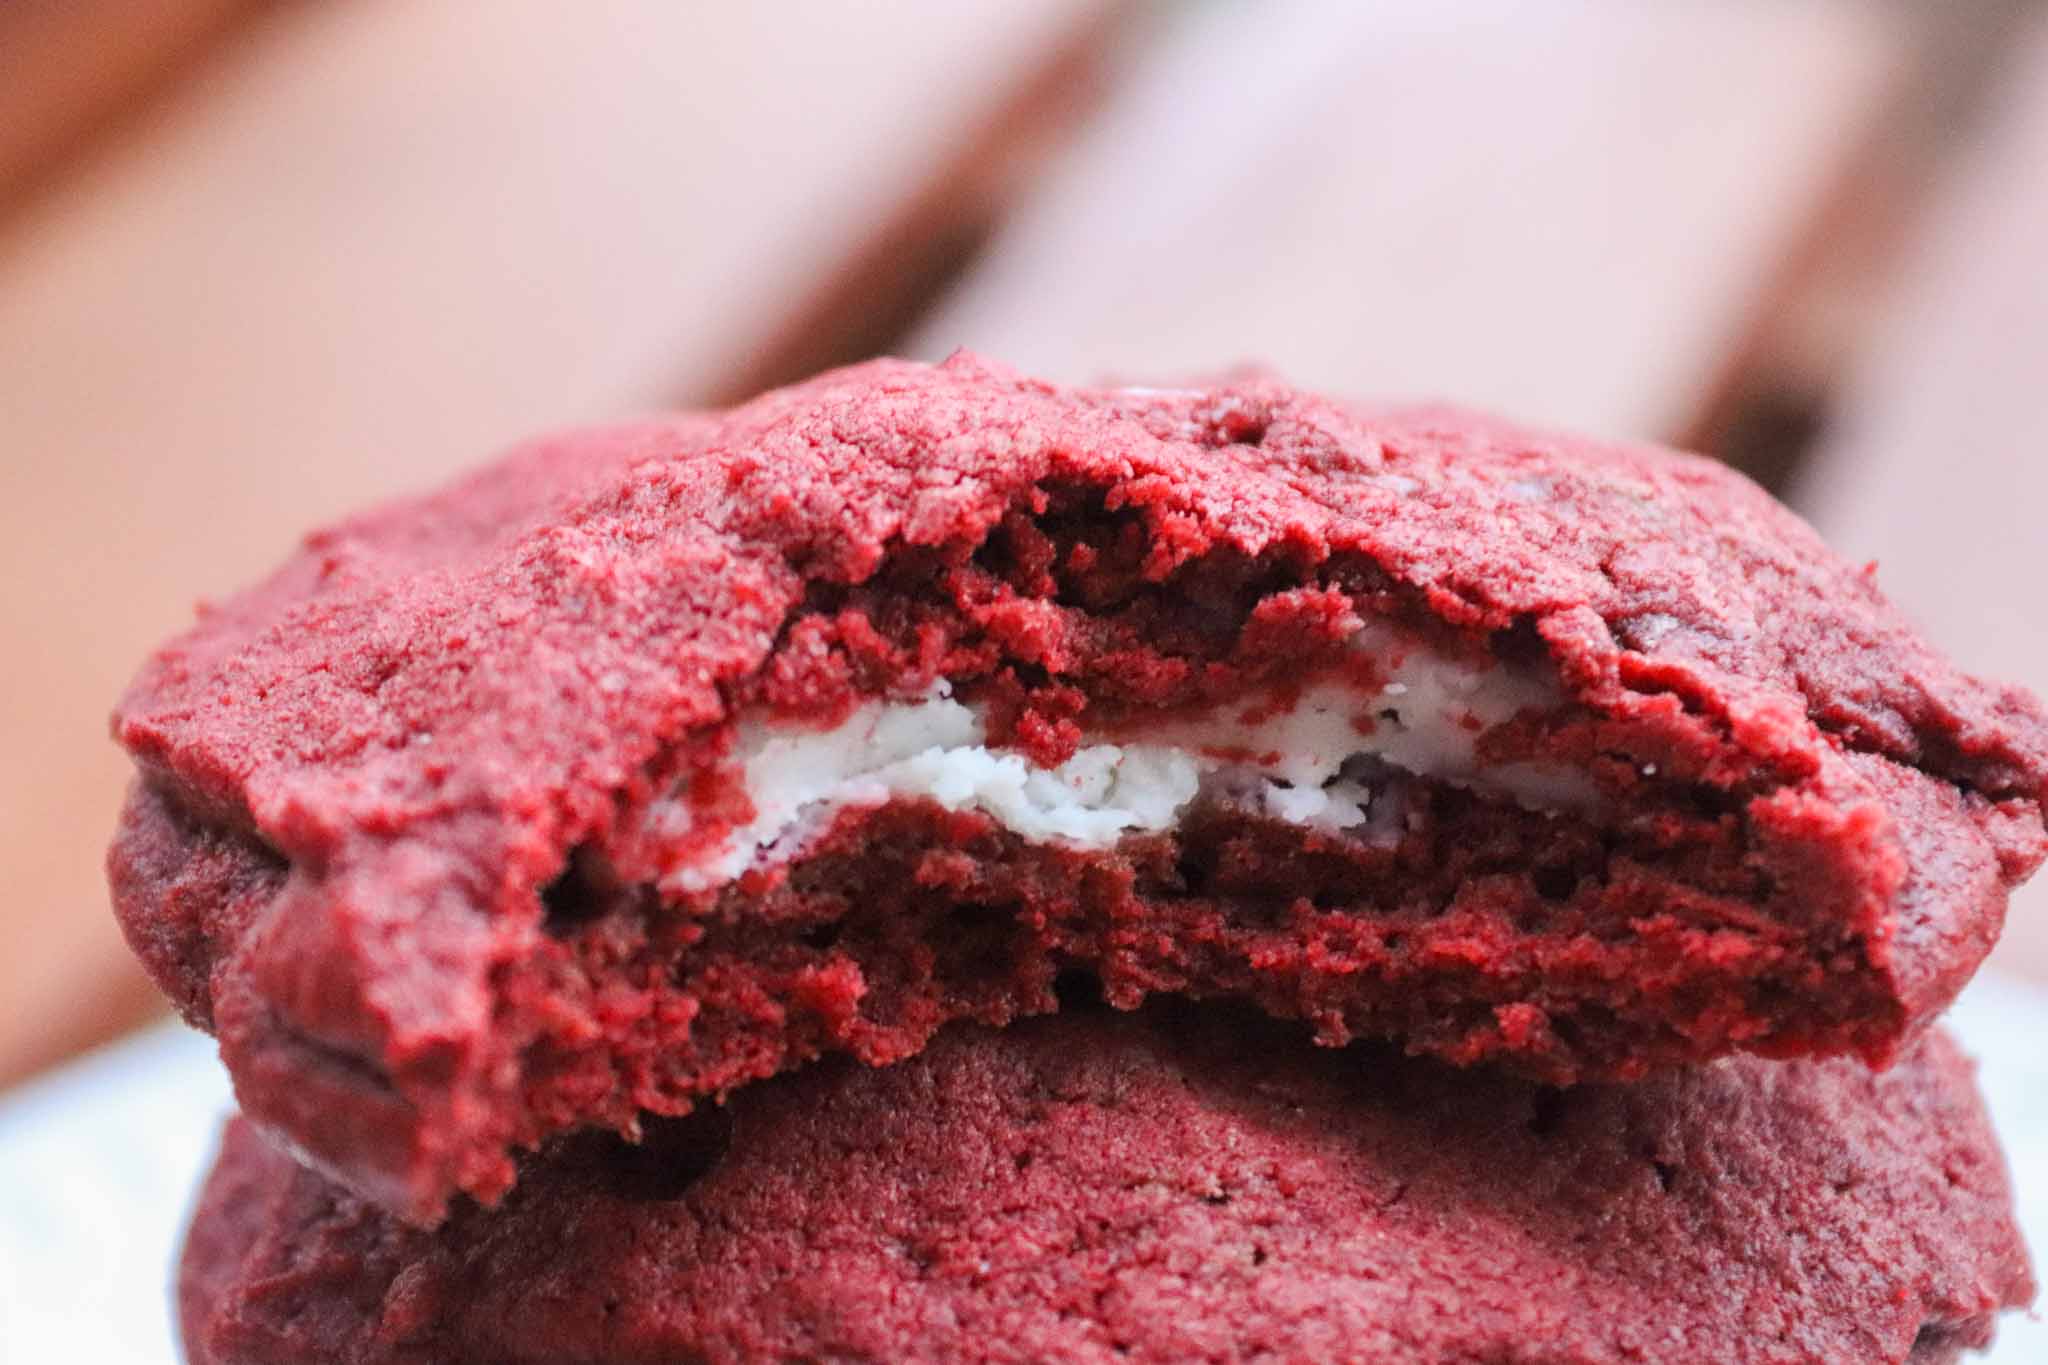
Believe it or not I am not a big cookie person. Like I LOVE them, they are one of my favorite treats, but I don’t make them very often. But these? THESE? I could make daily.
What are Red Velvet Cream Cheese Cookies?
Red velvet and cream cheese, two flavors that were just meant to be together. These Red Velvet Cream Cheese Cookies are a dream come true for any red velvet lover. The cookie has a hint of chocolate from the cocoa powder and a striking red color, while the tangy cream cheese filling offers the perfect contrast. These cookies are chewy, flavorful, and oh-so-decadent, making them a perfect treat for Valentine’s Day or the holiday season.
What ingredients do you need for these cookies?
FOR CREAM CHEESE FILLING:
- 8 ounces cream cheese (softened)
- 1/2 cup powdered sugar
- 1/8 teaspoon kosher salt
FOR RED VELVET COOKIE DOUGH:
- 1/2 cup unsalted butter (softened)
- 1 cup granulated sugar
- 1 large egg
- 1 teaspoon vanilla extract
- 1 1/4 cups all-purpose flour
- 1/4 cup unsweetened cocoa powder
- 1/2 teaspoon baking powder
- Gel red food coloring
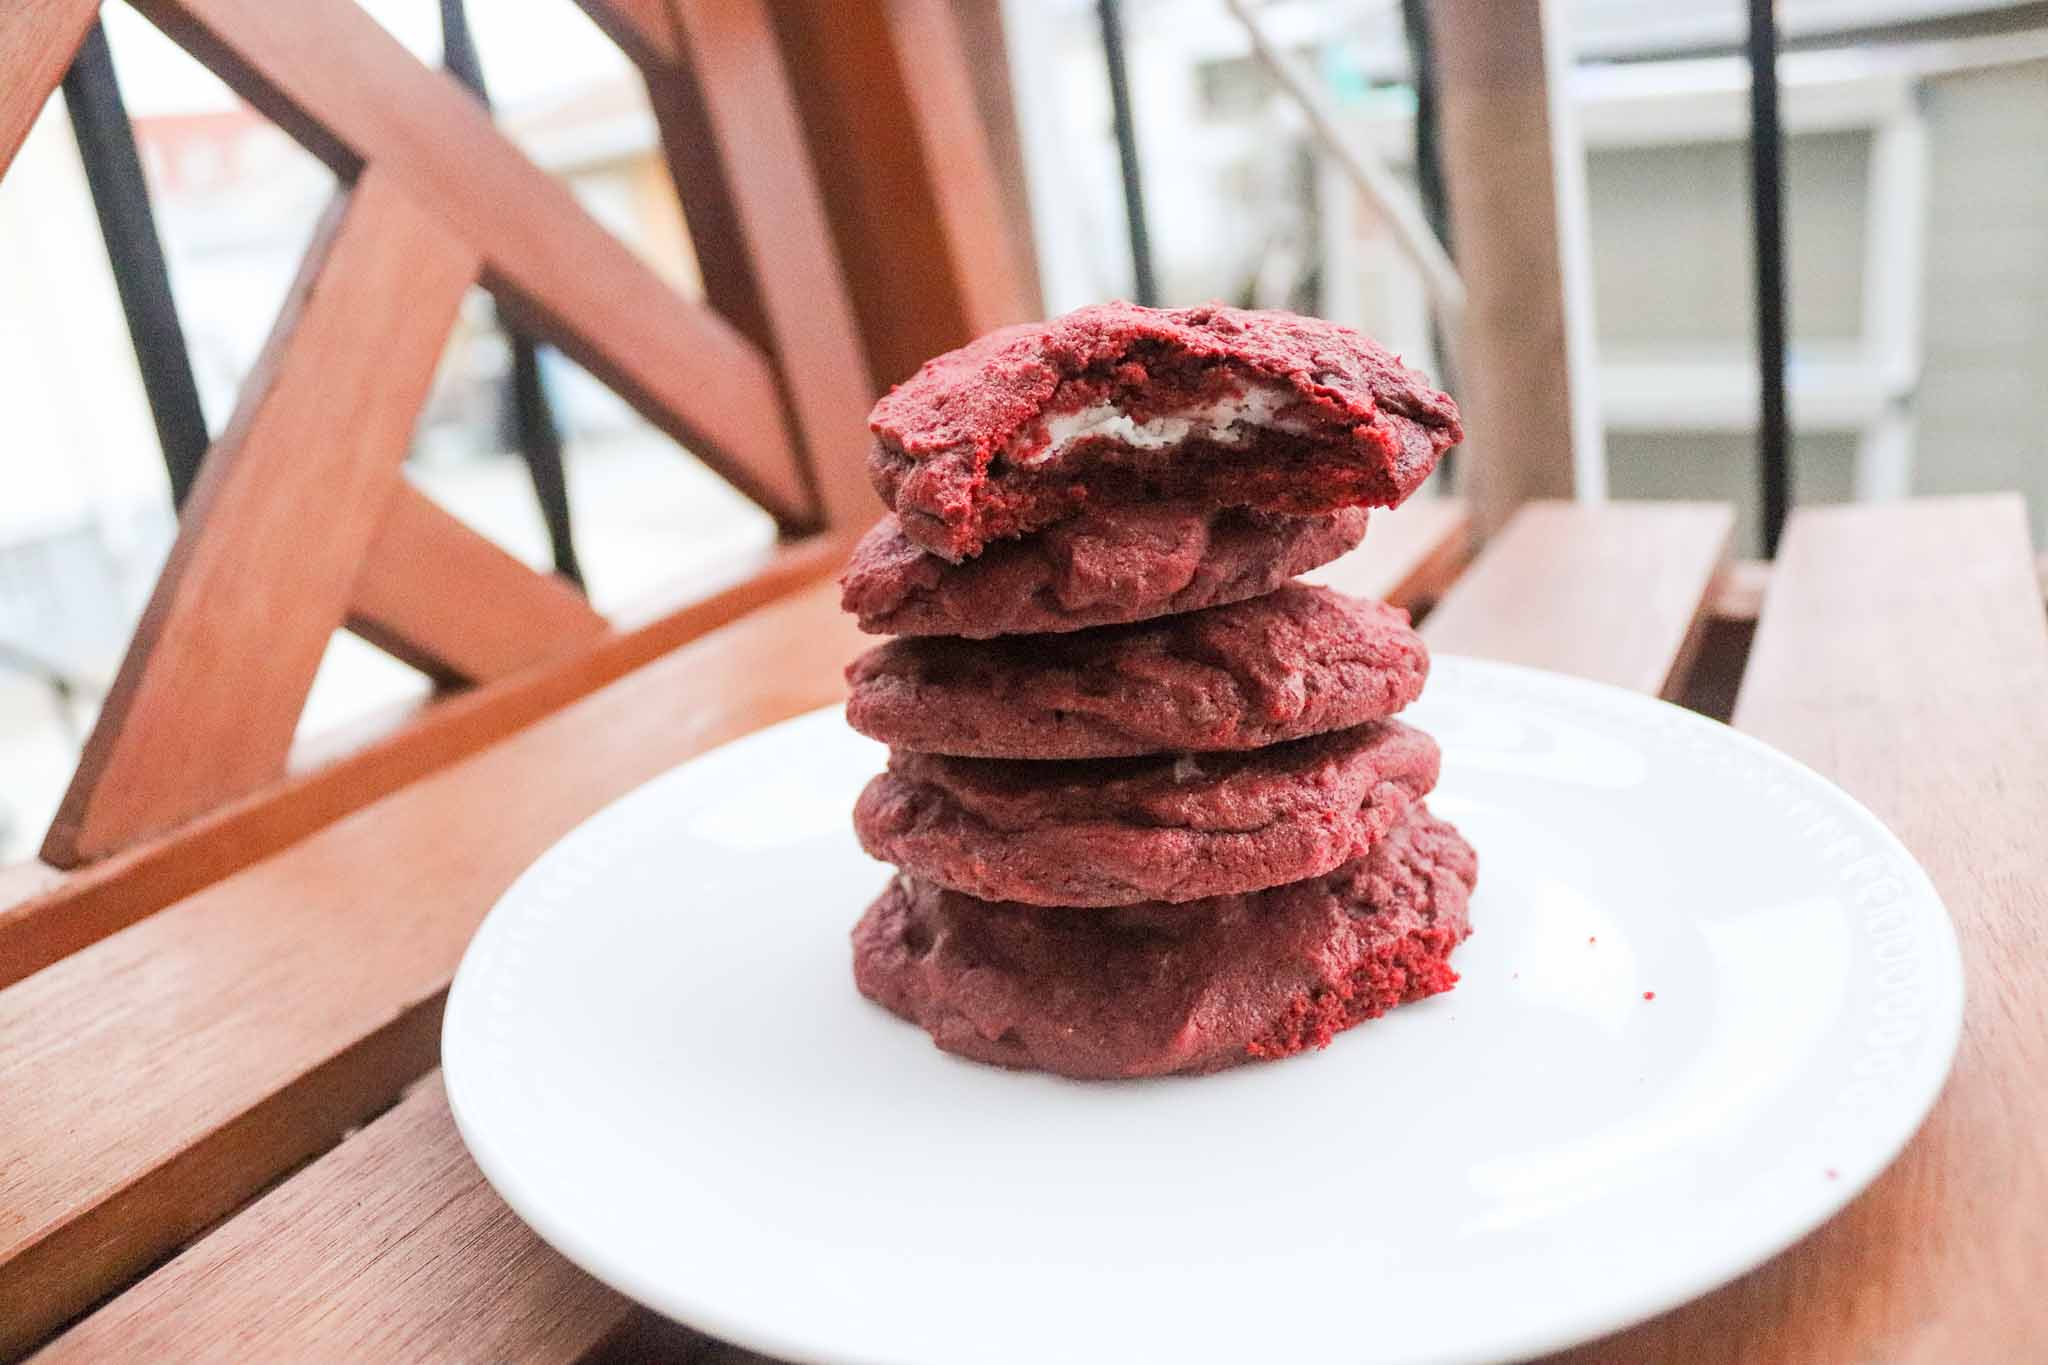
INGREDIENT NOTES
Cream cheese (8 oz, softened): Full-fat block cream cheese, not the spreadable tub. The tub version contains stabilizers that change the texture of the filling. Leave it at room temperature for at least 45 minutes before mixing — cold cream cheese creates lumps that don’t smooth out.
Butter (½ cup, softened): Softened, not melted. Creaming softened butter with sugar creates air pockets that contribute to the cookie’s texture. If the butter is too soft it won’t cream properly; if it’s too cold the sugar won’t incorporate. Room temperature for 30-45 minutes is correct.
Gel red food coloring: Gel coloring is more concentrated than liquid and gives a deeper, more vibrant red without adding excess moisture to the dough. Start with a small amount — about ¼ teaspoon — and add more until you reach the desired shade. The red will deepen slightly during baking.
Cocoa powder (¼ cup, unsweetened): The cocoa is what gives these the classic red velvet flavor — it’s subtle but essential. Natural unsweetened cocoa (Hershey’s) is standard. Don’t substitute Dutch-process without adjusting the leavening, as they react differently with baking powder.
Salt (in cookie dough — quantity needs confirming): The salt balances the sweetness and enhances the chocolate flavor. Don’t skip it — unsalted cookies taste flat.
How do you make these cookies?
RECIPE STEPS
Step 1: Preheat oven to 350°F. Line a large baking sheet with parchment paper.
Step 2: Make the cream cheese filling
Mix the cream cheese, powdered sugar, and salt in a small bowl until completely smooth. Cover with plastic wrap and refrigerate for 30 minutes minimum — the filling needs to be firm enough to hold its shape when wrapped in dough.
Step 3: Make the cookie dough
In a large bowl using a hand mixer, beat the softened butter and granulated sugar on medium speed until light and fluffy, about 2 minutes. Beat in the egg and vanilla extract. Scrape down the sides and bottom of the bowl.
Step 4: Add the dry ingredients
Add the flour, cocoa powder, baking powder, and salt. Mix on low until just combined. Add gel food coloring, starting with a small amount and adding more until you reach your desired red. Mix until evenly colored throughout.
Step 5: Stuff the cookies
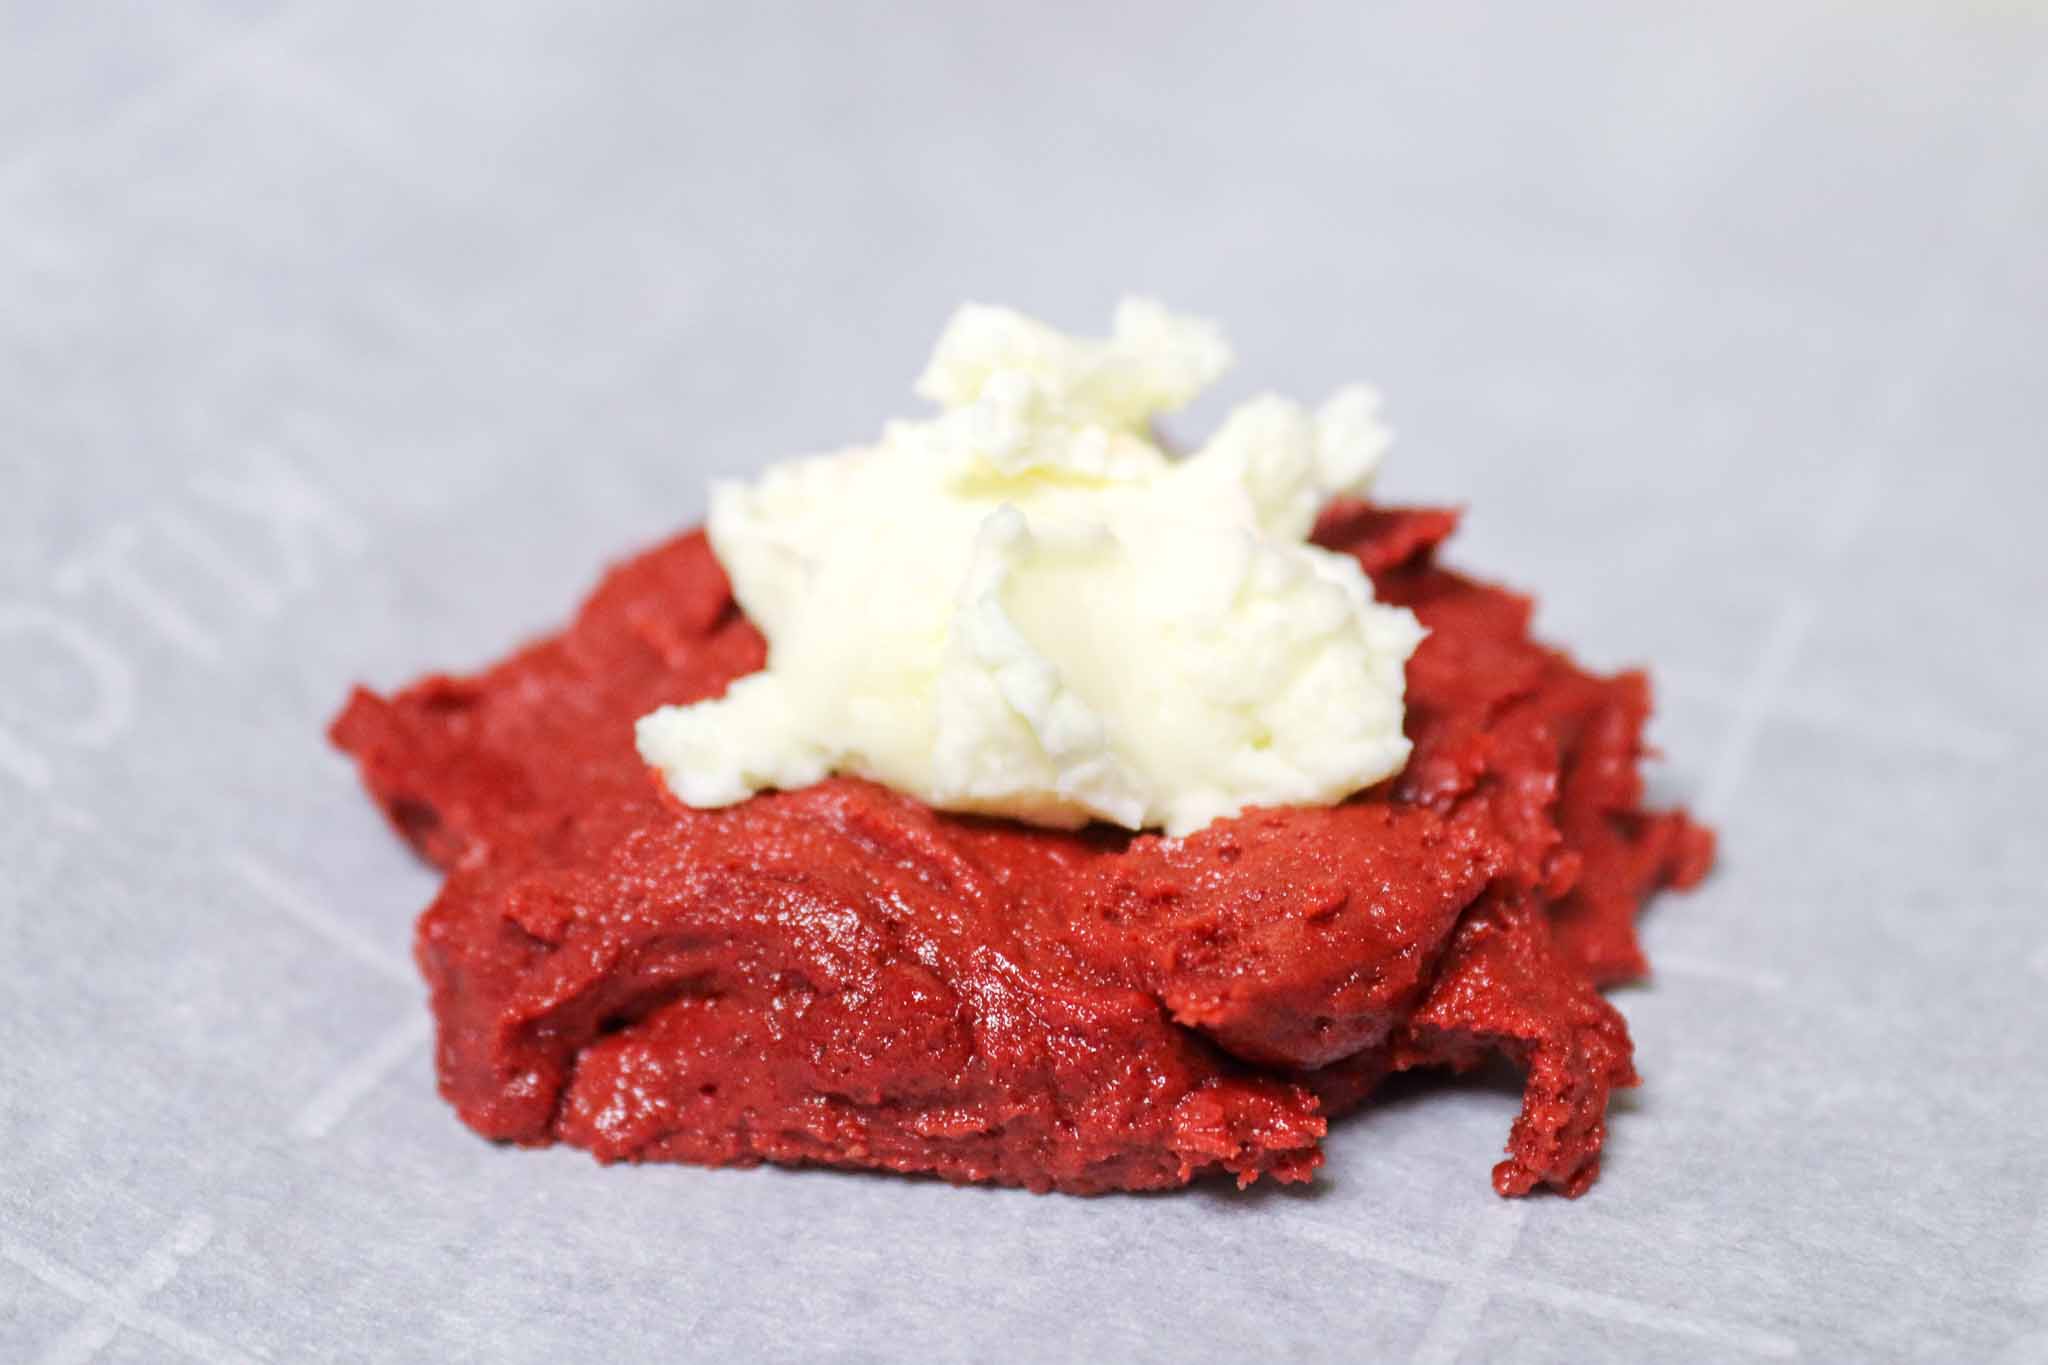
Using a 2-tablespoon scoop, portion the dough and flatten each piece into a circle about 3 inches across. Place approximately 2 teaspoons of the chilled cream cheese filling in the center. Bring the dough edges up and around the filling, pinching firmly to seal all gaps. Roll into a smooth ball and place seam-side down on the baking sheet, 3 inches apart.
Step 6: Bake
Bake for 15-17 minutes, until the edges look set and the tops look dry and matte. The centers will still look soft — that’s correct. Don’t overbake.
Step 7: Cool
Let the cookies cool on the baking sheet for 5 minutes before transferring to a wire rack. They firm up significantly as they cool.
I don’t know if it is the red velvet or the cream cheese or the yummy combination. These cookies are so good and decadent!
How to stuff and seal the cookies without the filling leaking
This is the step that looks harder than it is, but getting it right makes the difference between a cookie with a clean cream cheese center and one that leaks filling onto the baking sheet.
Chill the filling first. The recipe already instructs 30 minutes of refrigeration — don’t skip this. Warm cream cheese filling is too soft to hold its shape when the dough is folded around it and will spread before sealing.
Flatten the dough thin enough. Use a 2-tablespoon scoop for the dough, flatten it into a circle roughly 3 inches across. If it’s too thick, you won’t have enough dough to bring up around the filling without it tearing.
Seal firmly. Bring the edges up and pinch them together at the top, pressing firmly to close every gap. Any opening becomes a leak point in the oven when the filling warms and softens. If the dough is tearing rather than stretching, your hands may be warming it — chill the portioned dough briefly in the refrigerator before stuffing.
Roll smooth after sealing. Once pinched closed, roll the ball between your palms to smooth the seam. Place seam-side down on the baking sheet.
Leave space. Three inches between cookies is correct for this size — the filling makes these spread slightly more than a standard cookie.
FAQs About Red Velvet Cream Cheese Cookies:
The edges should look set and just barely starting to color, and the tops should look dry and matte rather than shiny. The center will always look soft because the cream cheese filling stays soft regardless of doneness. Pull them at 15 minutes if the edges look set — they firm up on the pan as they cool.
Yes, but gel coloring gives a more vibrant red and is more concentrated, so you use less without adding extra moisture to the dough. If using liquid, you’ll need significantly more to achieve the same depth of color and the dough may be slightly wetter.
Yes — because of the cream cheese filling, these should be stored in the refrigerator, not at room temperature. They keep in an airtight container for up to 5 days. Bring to room temperature for 15-20 minutes before serving for the best texture and flavor.
The filling wasn’t chilled long enough before stuffing (it should be firm, not soft when it goes into the dough), or the dough edges weren’t sealed tightly. Make sure the filling has refrigerated the full 30 minutes and pinch the dough seam firmly closed before rolling.
Yes — use vegan cream cheese for the filling and plant-based butter for the dough. The texture will be slightly different depending on the brands used but the recipe works with these substitutions.
Tips and Tricks:
- Ensure that all your ingredients, especially the butter and eggs, are at room temperature for the best results.
- When adding the red food coloring, start with a small amount and gradually add until you achieve the desired shade of red.
- Using a cookie scoop will help you get uniform-sized cookies.
- Allow the cookies to cool on the cookie sheet for 1-2 minutes before transferring them to a wire rack to cool completely.
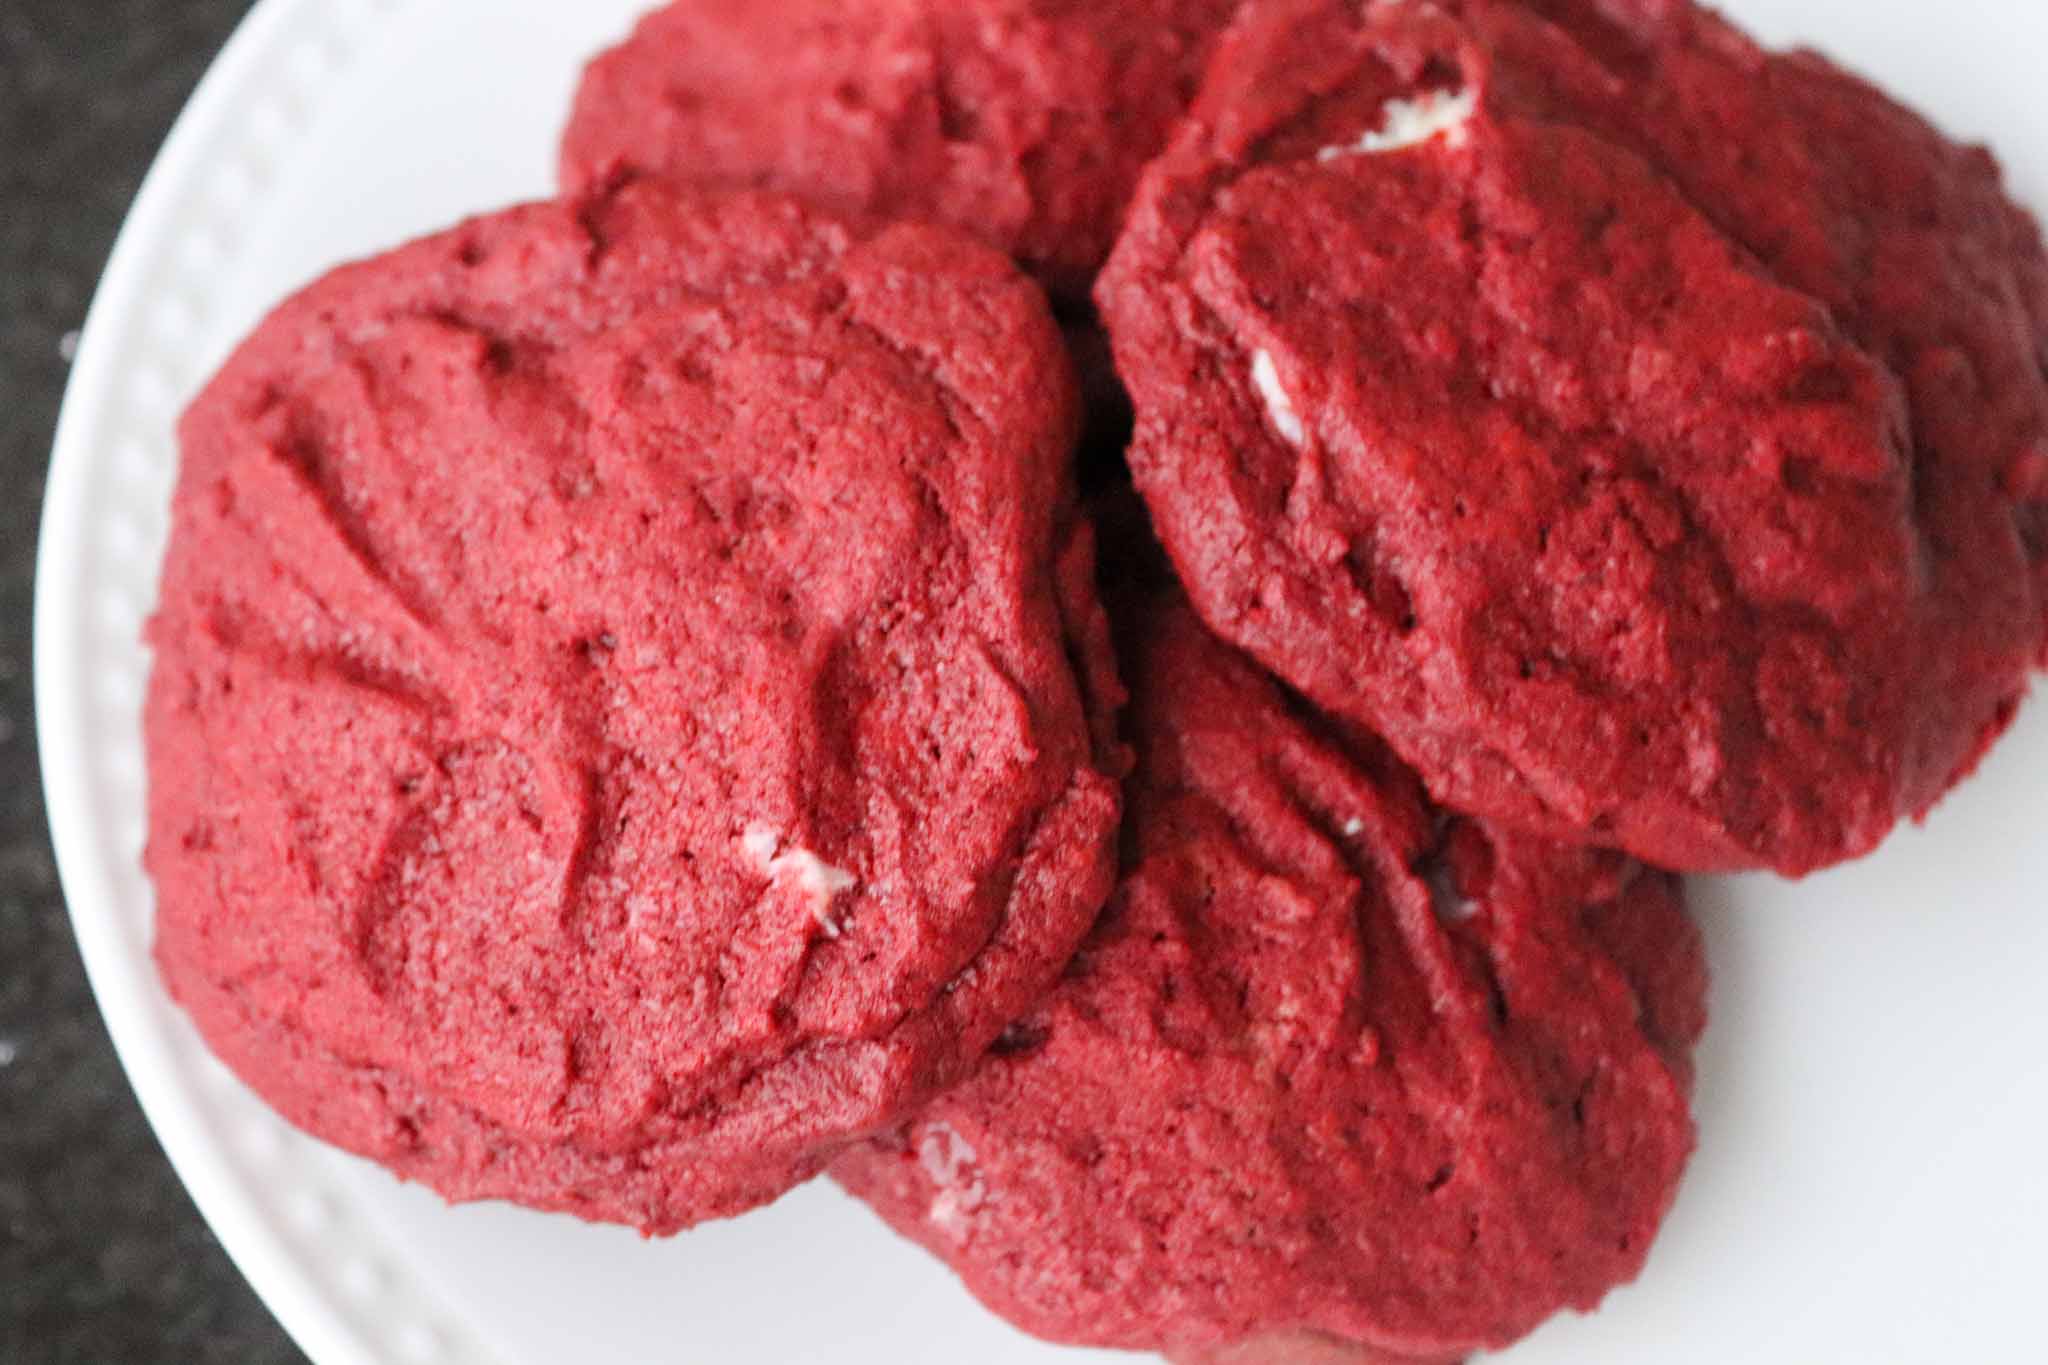
I think I am a bit intimidated by cookies to be honest, I love them, but if they are not perfect I don’t want them. A little harsh, I know but I really love a good cookie! and THESE ARE IT!
Variations:
- Red Velvet Sandwich Cookies: Make the cookies slightly thinner and once cooled, sandwich them with extra cream cheese filling.
- Gooey Butter Cake Version: Add a heaping tablespoon of sour cream to the cookie dough for a gooey butter cake-like texture.
- White Chocolate Chip Red Velvet Cookies: Add white chocolate chips to the cookie dough for an extra touch of sweetness.
Where to Serve:
These delectable cookies are perfect for special occasions such as Valentine’s Day, Christmas, or any gathering where you want to impress with a visually stunning and delicious cookie. They also make a wonderful gift.
How to Store Leftovers:
Because of the cream cheese filling, these cookies must be refrigerated — not stored at room temperature beyond a few hours. Store in an airtight container in the refrigerator for up to 5 days. Bring individual cookies to room temperature for 15-20 minutes before eating — cold cream cheese filling is noticeably firmer and less flavorful straight from the refrigerator.
How to know when these are done
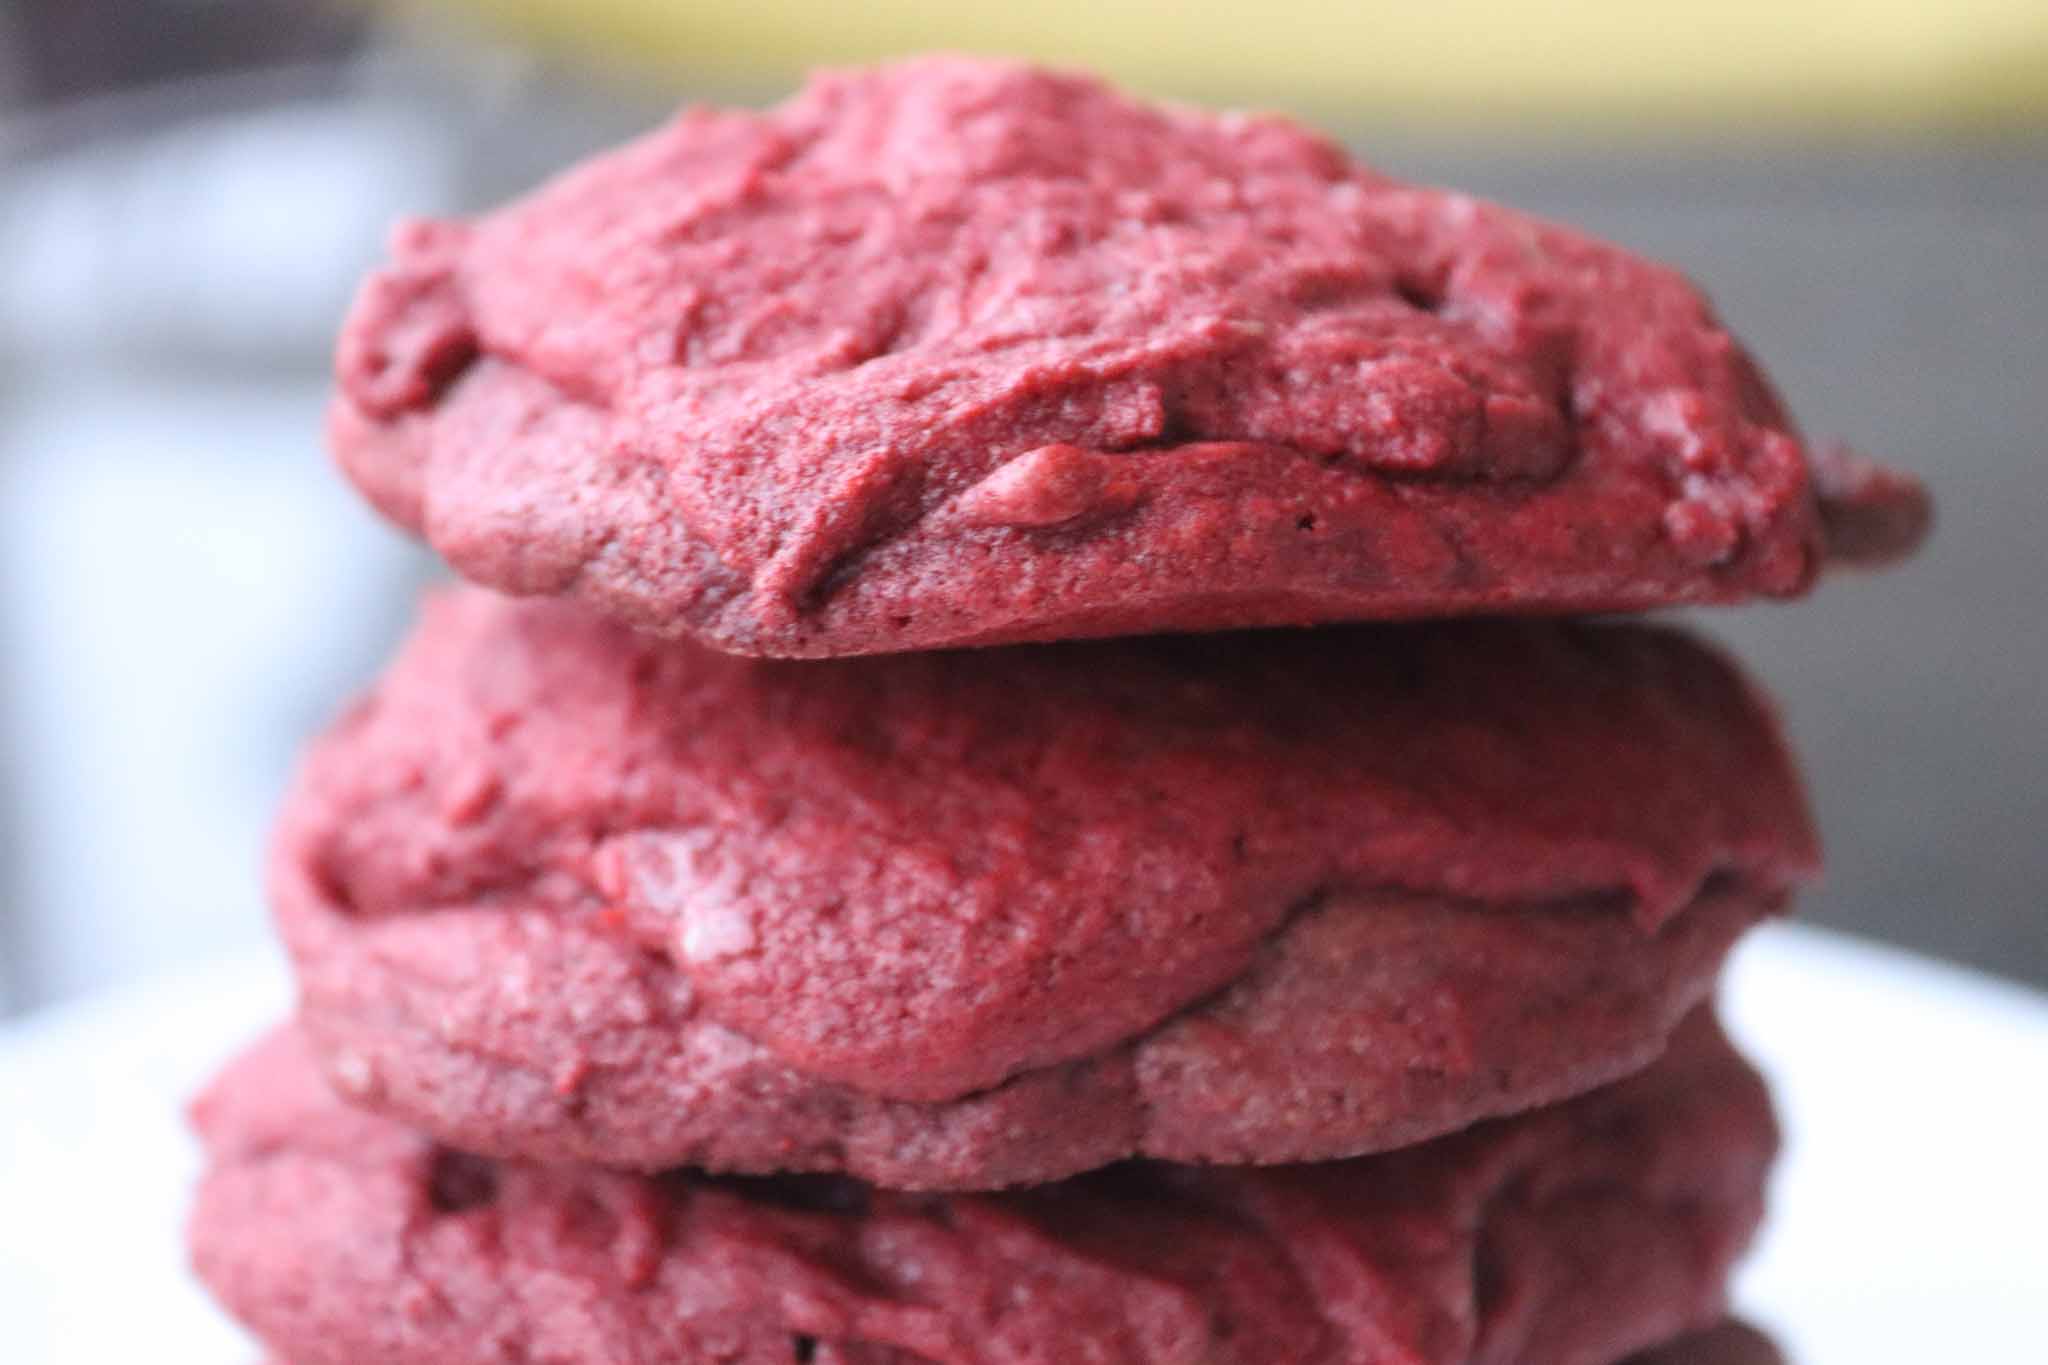
A stuffed cream cheese cookie is harder to read for doneness than a standard cookie because the center contains filling that will always look soft. The cues to watch:
The edges should look set and just barely starting to pull away from the baking sheet surface. They should have a slight color change from the raw dough — not browned, but no longer looking pale and raw.
The tops should look dry and matte, not shiny or wet-looking.
The center will look soft and slightly underdone even when they’re correctly baked — this is normal. The cream cheese filling underneath stays soft regardless of doneness.
Pull them at 15 minutes and check the edges. If the edges look set, they’re done even if the center looks soft. They firm up significantly as they cool — give them the full 5 minutes on the baking sheet before moving to a wire rack.
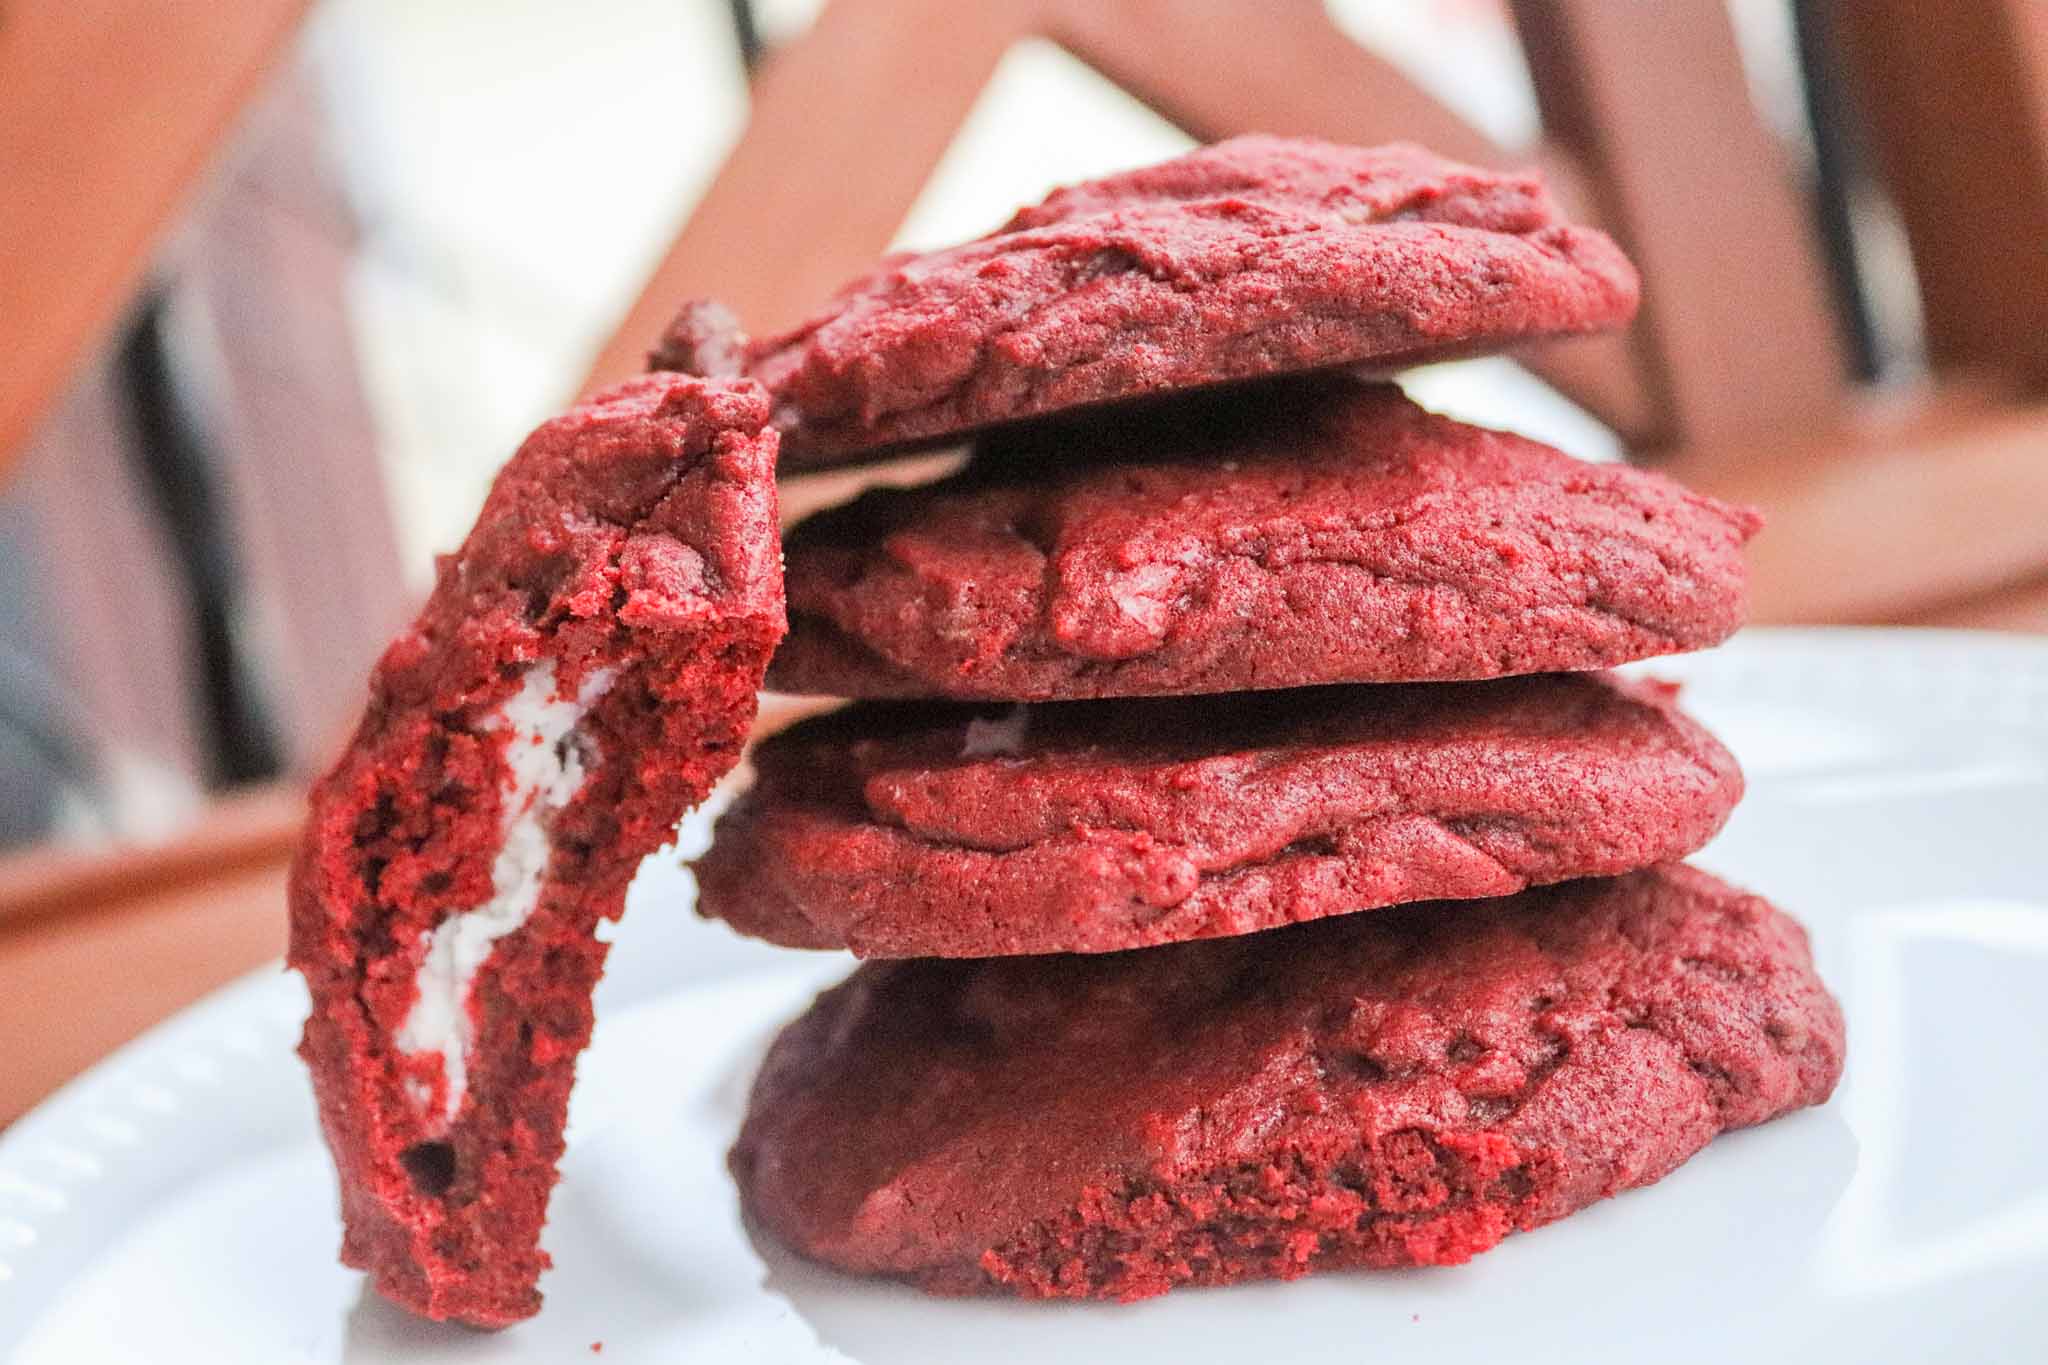
These cookies were fairly simple to make. This recipe is a staple in my dessert book!

Why This Recipe Works:
The combination of cocoa powder and red food coloring gives these cookies the classic red velvet flavor and color, while the cream cheese filling adds a creamy and tangy contrast. The ingredients are simple, and the recipe uses both granulated and brown sugar to achieve chewy cookies with a slight crunch. The addition of vanilla extract brings out the flavors and the chemical reaction between the ingredients ensures the perfect cookie form and texture.
This easy Red Velvet Cream Cheese Cookies recipe is perfect for those times when you want to create something that’s not just tasty, but also stunning to look at. It’s sure to be the best part of any special occasion.
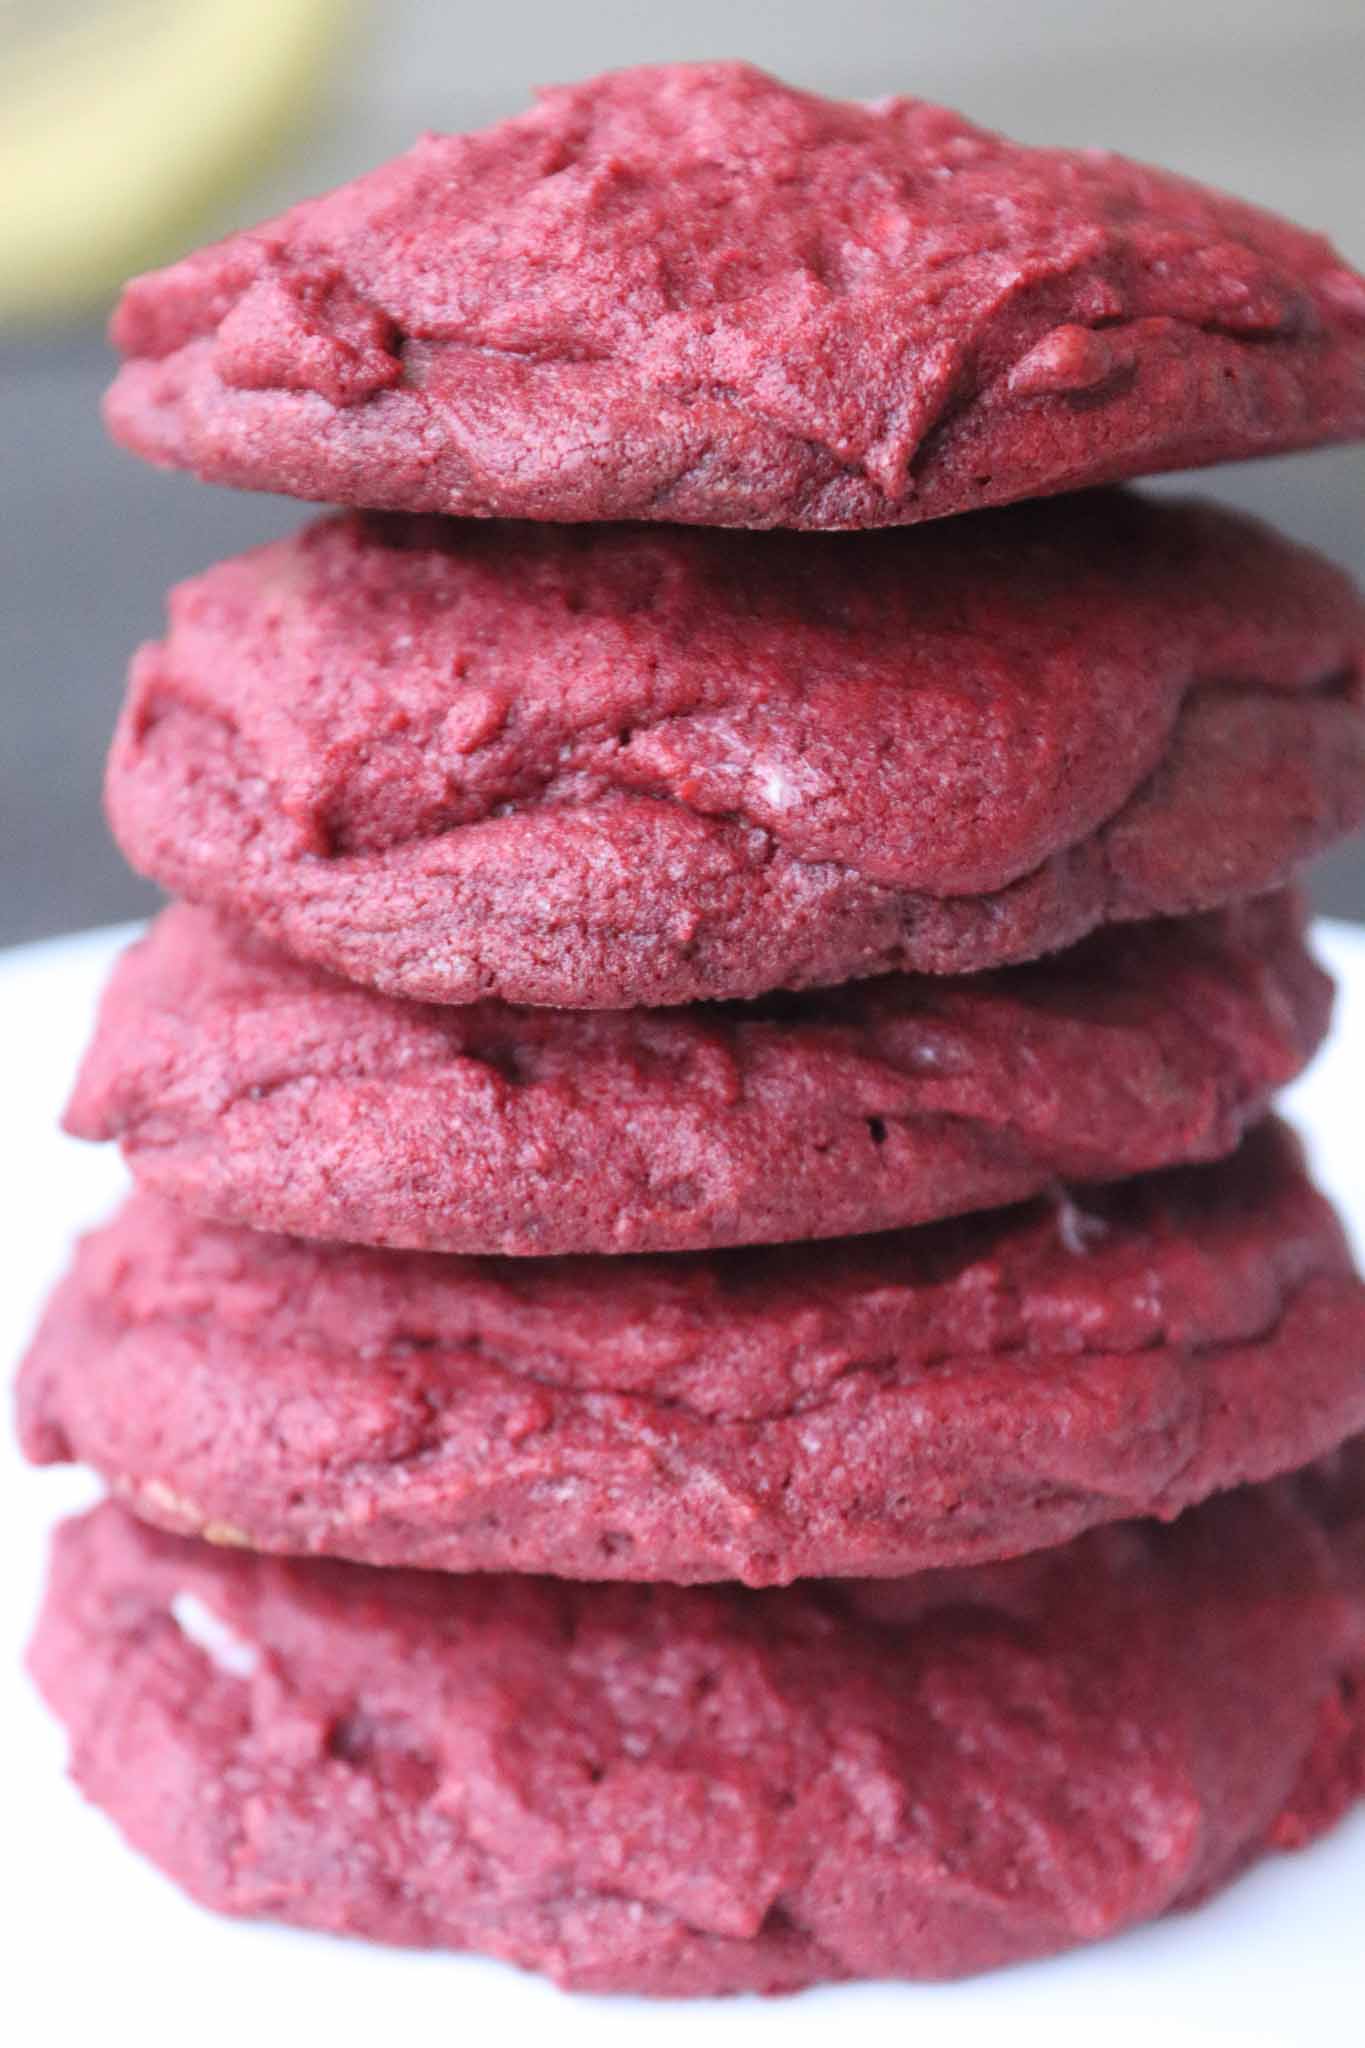
Check out the video below of how to make them!
What are some other fun red velvet recipes to try?
- The Best Red Velvet Caramel Cupcakes
- Christmas Red Velvet Cake Mix Cookie Bars
- The Best Homemade Red Velvet Ice Cream For Dessert
- Red Velvet White Chocolate Chip Valentine’s Day Cookies
If you are looking for more amazing delicious cookies recipes be sure to check out this comprehensive list –> The Best Cookie Recipes For Year Round Baking!
Amazing Red Velvet Cheesecake Cookies
Looking for some delicious cookies with a fun surprise inside? These Red Velvet cheesecake cookies are sure to please! A Homemade red velvet cookie with a tasty cheesecake filling that is great for any occasion!
Ingredients
- FOR CREAM CHEESE FILLING:
- 8 ounces cream cheese (softened)
- 1/2 cup powdered sugar
- 1/8 teaspoon kosher salt
- FOR RED VELVET COOKIE DOUGH:
- 1/2 cup unsalted butter (softened)
- 1 cup granulated sugar
- 1 large egg
- 1 teaspoon vanilla extract
- 1 1/4 cups all-purpose flour
- 1/4 cup unsweetened cocoa powder
- 1/2 teaspoon baking powder
- Gel red food coloring
Instructions
- Preheat oven to 350 degrees F.
- Line a large baking sheet with parchment paper and set aside.
- CHEESECAKE FILLING:
- Mix cream cheese, powdered sugar, and salt in a small bowl until smooth.
- Cover with plastic wrap and refrigerate until slightly firm, about 30 minutes.
- RED VELVET COOKIE DOUGH:
- In a large bowl using a hand mixer, combine butter, and sugar until light and fluffy.
- Beat in egg and vanilla extract. Scrape the sides and bottom of the bowl.
- Next, add flour, cocoa powder, baking powder, a few drops of food coloring, and salt. Mix until just combined.
- If you want the dough redder, add more gel food coloring.
- Using a two tablespoons cookies scoop, scoop cookie dough and flatten into a pancake-like circle, place it on the baking sheet. Place about 2 teaspoons of cream cheese filling on top.
- Bring the edges of the dough around the filling and pinch together to seal, if necessary add more dough to cover completely.
- Roll the filled dough into a ball and place it back on the baking sheet. Arrange cookies about 3 inches apart from each other.
- Bake cookies 15 to 17 minutes.
- Cool on a cooling rack before serving.
Nutrition Information
Yield
12Serving Size
1Amount Per Serving Calories 387Total Fat 16gSaturated Fat 9gUnsaturated Fat 7gCholesterol 57mgSodium 115mgCarbohydrates 55gFiber 2gSugar 32gProtein 5g

Before you go, Grab Your Free Printable Recipe Kit!
Keep track of all your favorite recipes and ingredients with this free printable book!

Hi! I’m Nellie. I am an entrepreneur, a busy mama of 3 and a wife to my high school sweetheart. I have been sharing content for over 12 years about how to cook easy recipes, workout tips and free printables that make life a little bit easier. I have been featured in places like Yahoo, Buzzfeed, What To Expect, Mediavine, Niche Pursuits, HuffPost, BabyCenter, Mom 2.0, Mommy Nearest, Parade, Care.com, and more!
Get comfortable and be sure to come hang out with me on social. Don’t forget to grab your free fitness journal before you go!

I love the idea of a red velvet cookie, but I especially love the idea even better with the cream cheese filling. I know what cookie recipe I am adding this Christmas! Thank you!
Love these! Sooo good!