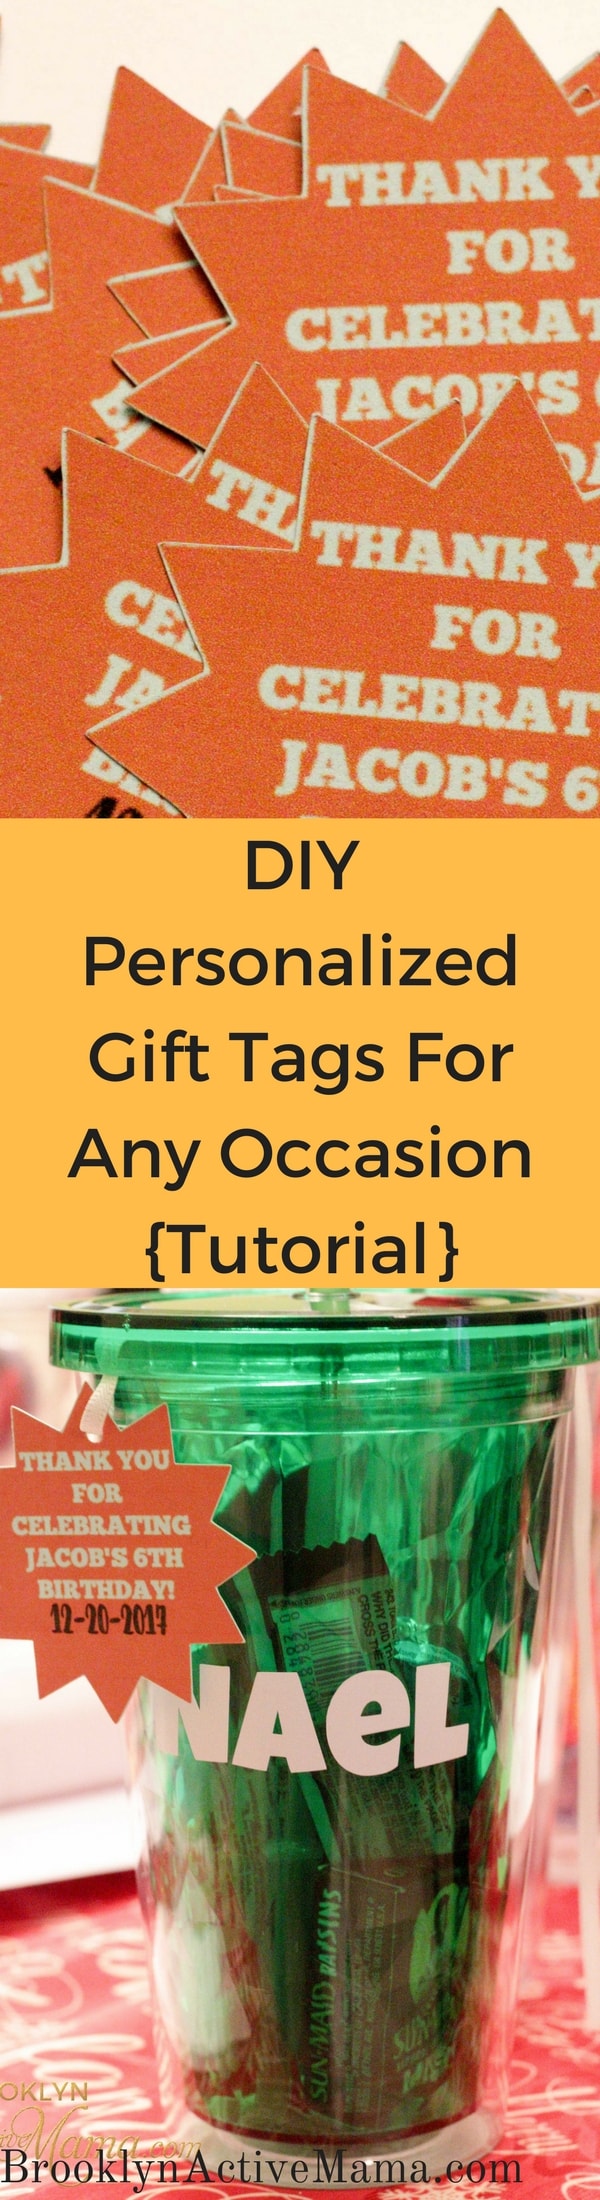
DIY Personalized Gift Tags For Any Occasion {Tutorial}
DIY Personalized Gift Tags For Any Occasion {Tutorial}
Confession: I’ve been getting a little crafty lately. After declaring loudly and proudly in 2013 that I was the anti-crafty mommy, I have dup deep and found my ability to make things pretty–and from my very own hands. Trust me, if I can be converted, YOU CAN TOO!
My foray into crafts began with my planner. Every week I started to take time to decorate the weekly layout for my planner…and actually like it. Then I received a mini cutting machine (A Silhouette Portrait) that cut my own designed stickers for my planner. It was only this year that I have expanded out to vinyl and cardboard. The more I make the more my confidence grows, it is so addictive!
Since I had been learning all of the things, I decided to make some fun things for my son’s school birthday party. I made personalized tumblers (tutorial coming soon!) but to make it a little more fun I made personalized gift tags and I am sharing how with you today!
Needed Items:
- Card stock of your choice
- PicMonkey or other graphic design software
- Cutting Machine (or you can manually cut)
- Hole Puncher
- Slim Ribbon in color of your choice
Step One: Design Your Tag
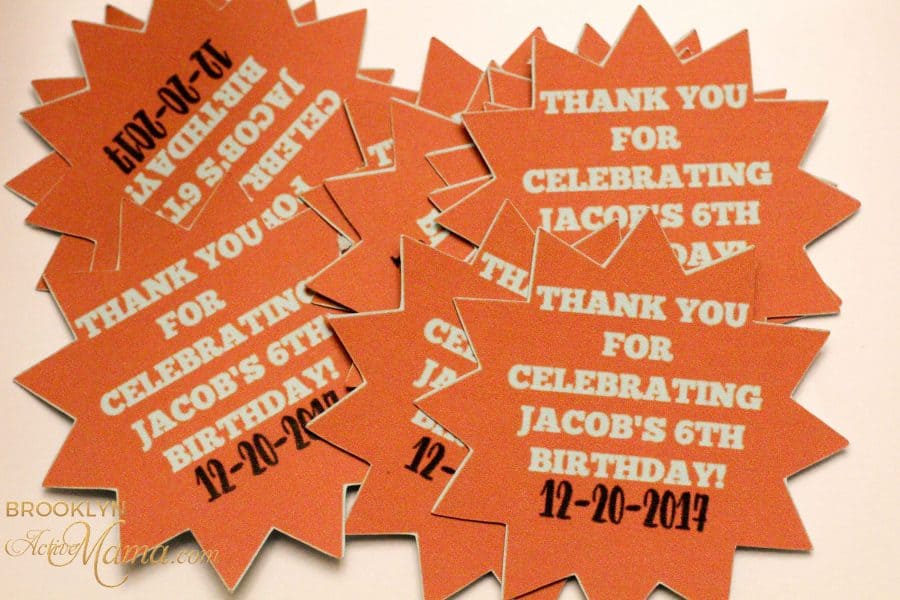
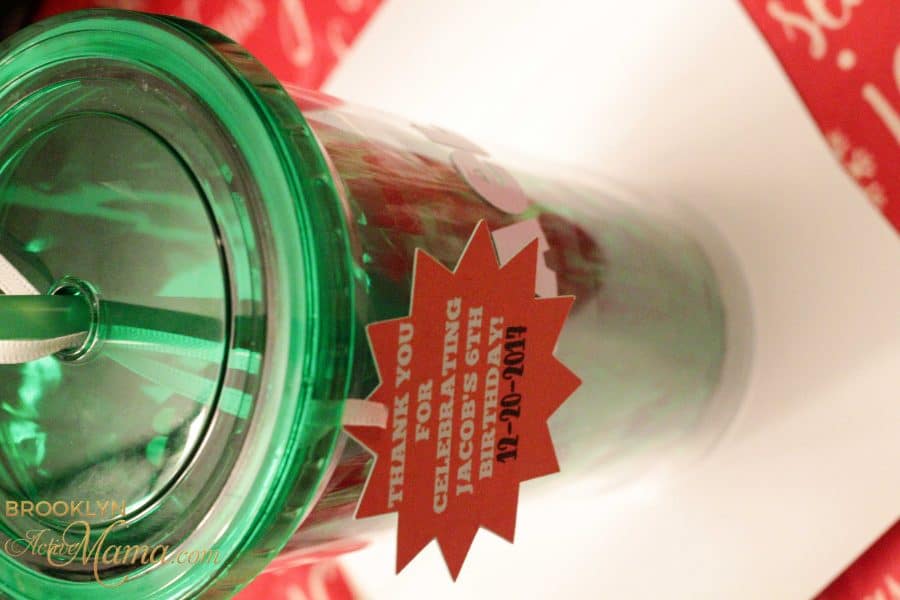
I have a few graphic programs, but one that is super quick and easy is PicMonkey. I have had a yearly membership with PicMonkey for over 5 years and the product just keeps getting better! Whatever graphic design program you choose just make sure that the background is transparent. Choose a shape to write your information in: I chose a star. Inside of the star it says “Thank you for attending Jacob’s 6th Birthday Party” Then “12-20-17” in a different font and color. It is important that all of the words are comfortably inside of the shape which should be around 3inches by 3inches depending on the complexity of the shape you choose. Make sure you save in PNG Format to retain the transparency of the the graphic.
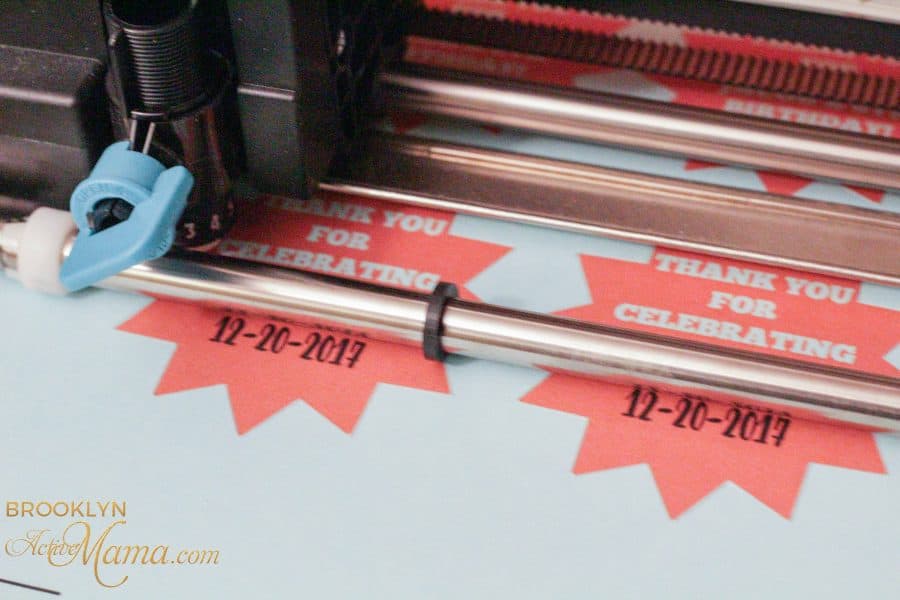
Step Two (WITH Cutting Machine)
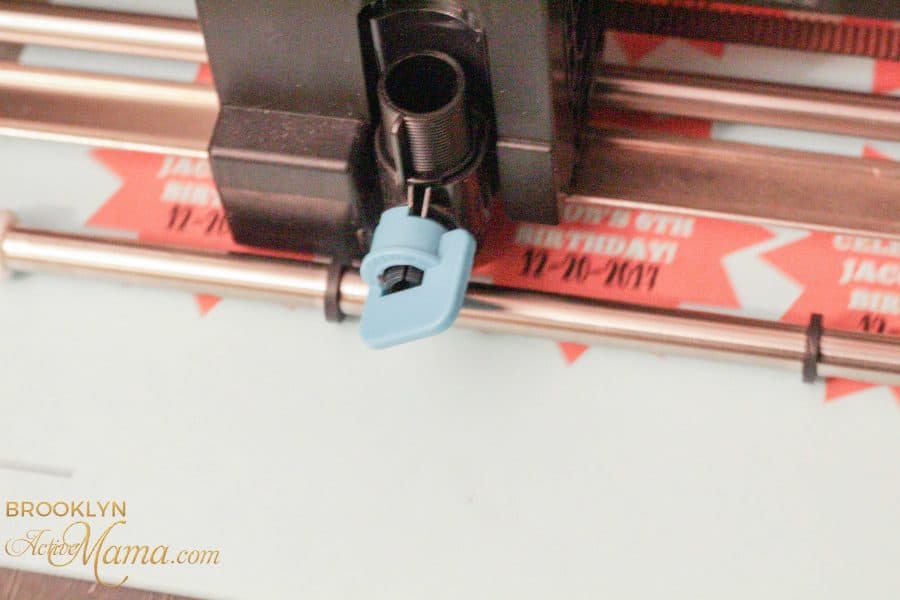
Add your newly made graphic to your Silhouette Library. Resize your image to as big or as small as you need. My star was 3in by 3in and fit about 18 gift tags comfortably. Print on card stock from your printer. Trace your image and send to the machine for cutting. Make sure your blade is customized for cutting card stock.
Step Two (Without cutting machine)
Insert your image into a word document, copy the image then paste until you have your desired amount of tags. Print your tags on card stock. Proceed to manually cut each tag.
Step Three: Punch a Hole

Once your tags are cut, use a hole punch to punch a hole near the top of the tag. Slip the small ribbon through and voila! Super cute gift tags!
Step Four: Impress Your Guests
These are perfect for birthday party gift bags that need a little more pizazz. The best part is that you can cut the images in the shapes of the character theme of the party, or hearts for valentine’s day or Christmas trees–pretty much anything you need!
What is your favorite thing to DIY? Do you have any fun parties coming up?
Hi! I’m Nellie. I am an entrepreneur, a busy mama of 3 and a wife to my high school sweetheart. I have been sharing content for over 12 years about how to cook easy recipes, workout tips and free printables that make life a little bit easier. I have been featured in places like Yahoo, Buzzfeed, What To Expect, Mediavine, Niche Pursuits, HuffPost, BabyCenter, Mom 2.0, Mommy Nearest, Parade, Care.com, and more!
Get comfortable and be sure to come hang out with me on social. Don’t forget to grab your free fitness journal before you go!
These are seriously perfect and definitely will keep in mind for our next party here. Oh and by the way, this mom that was also petty anti-craft here in the last year or so has found her crafting side, too. So, I totally get and can relate to changing my mind on that, as well 🙂
I need to start planning for my sons birthday son and I need to do something for Vday….I am not a DIY person but I am trying this year
It’s happening to me too! I think it’s inevitable as a blogger and a parent. I embrace your craftiness!