
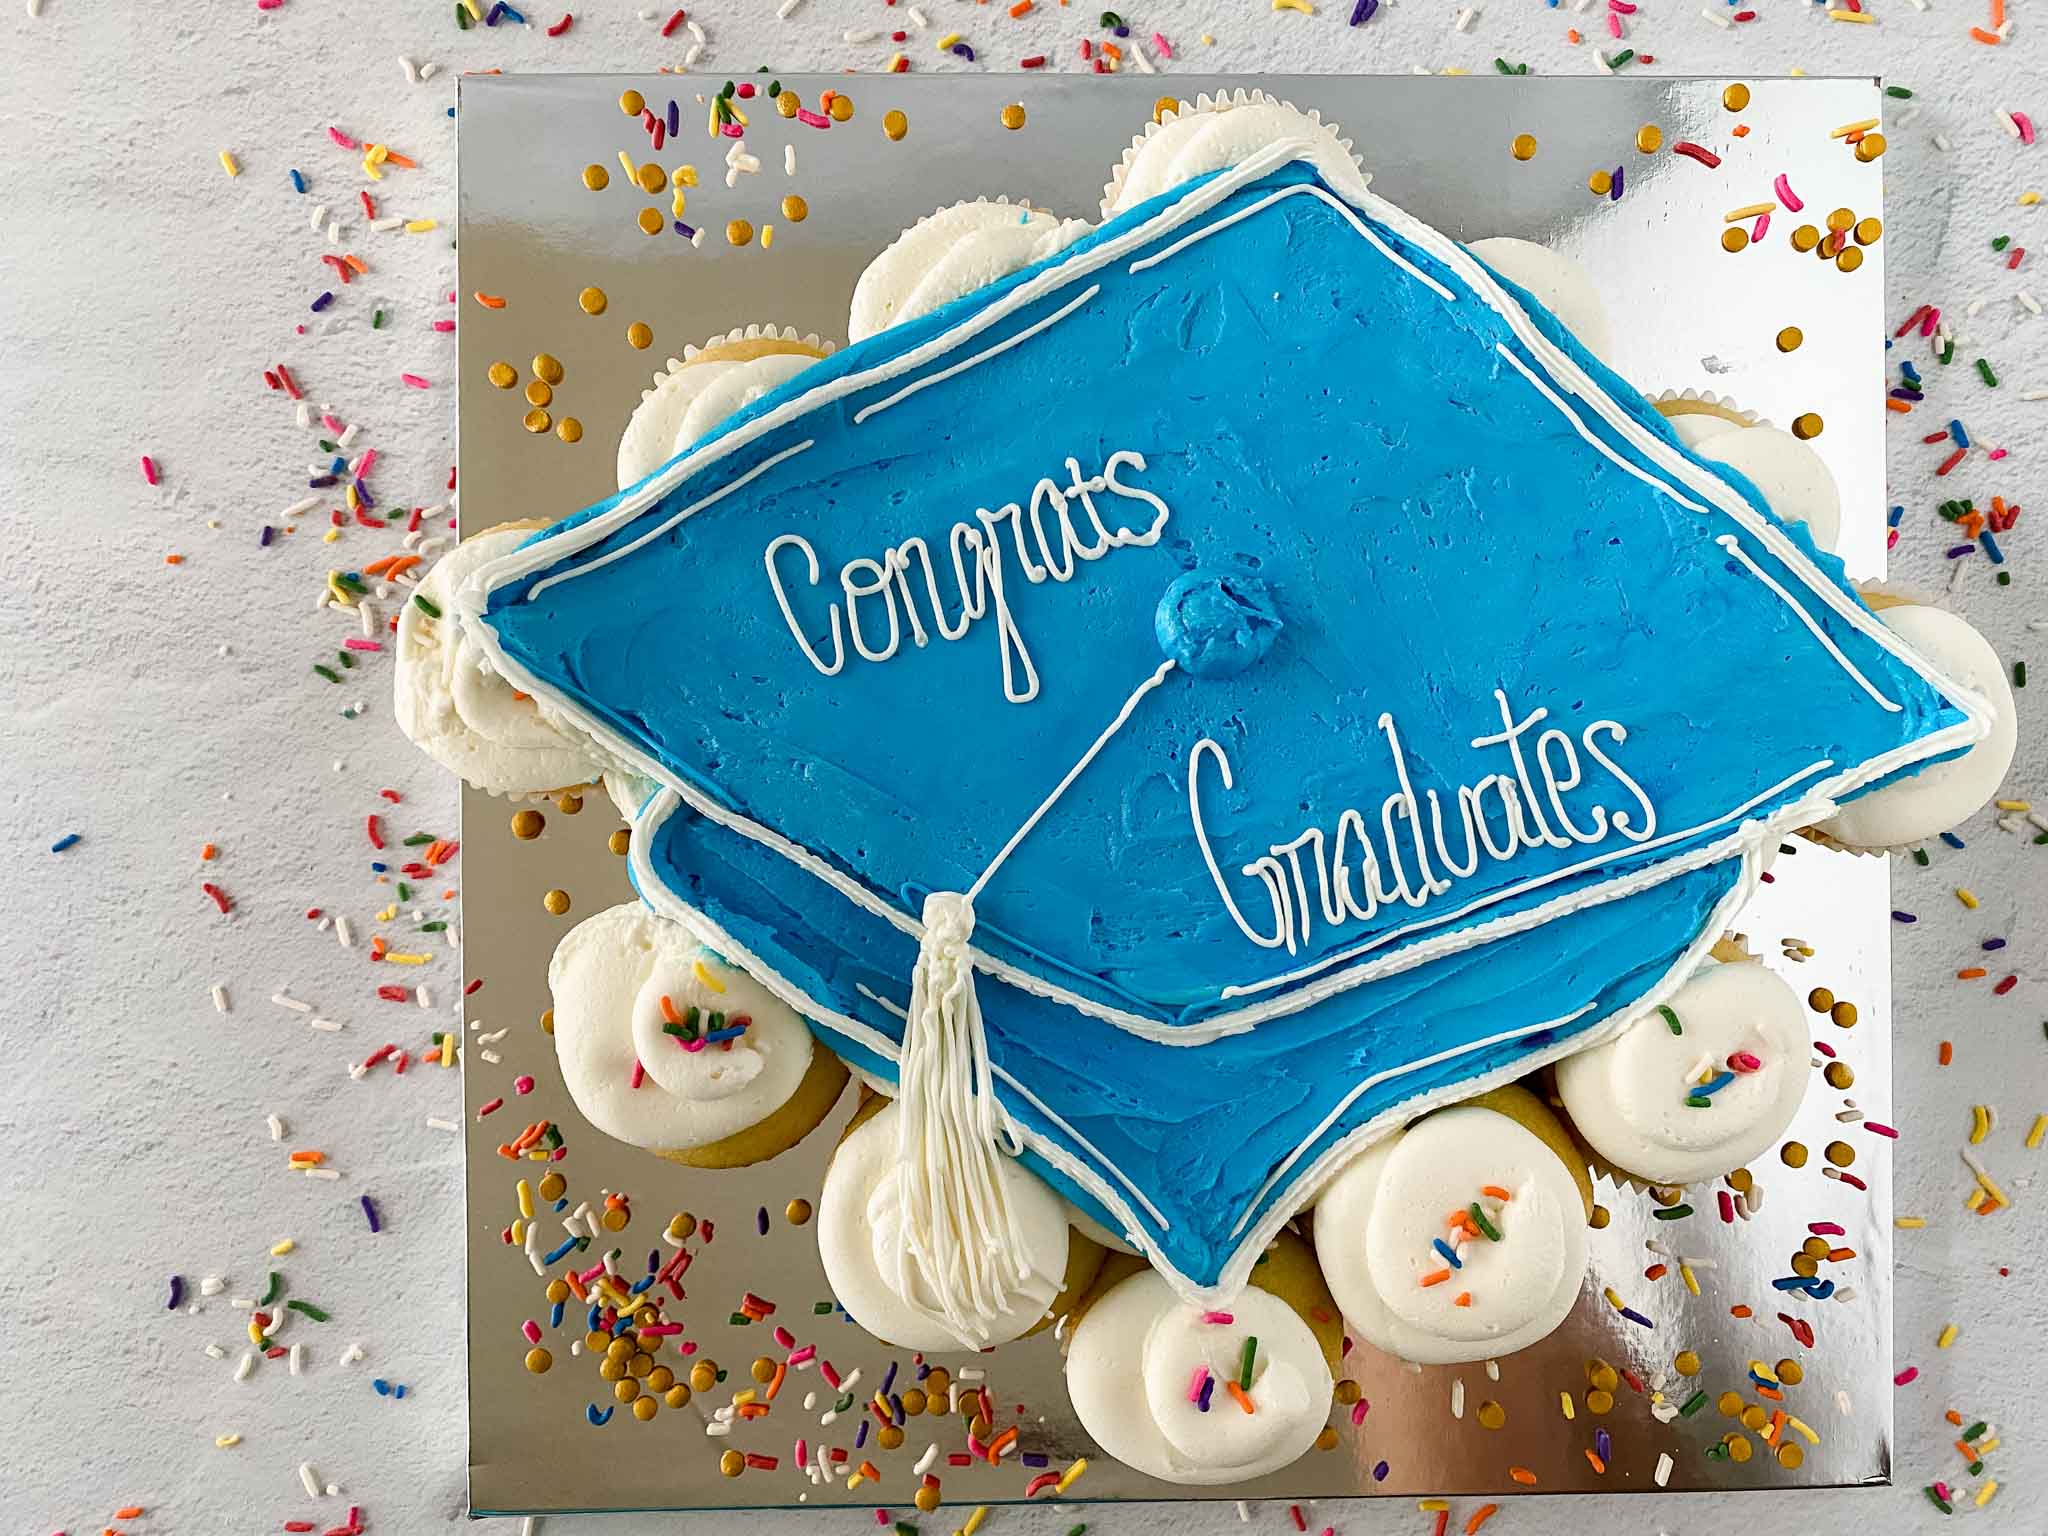
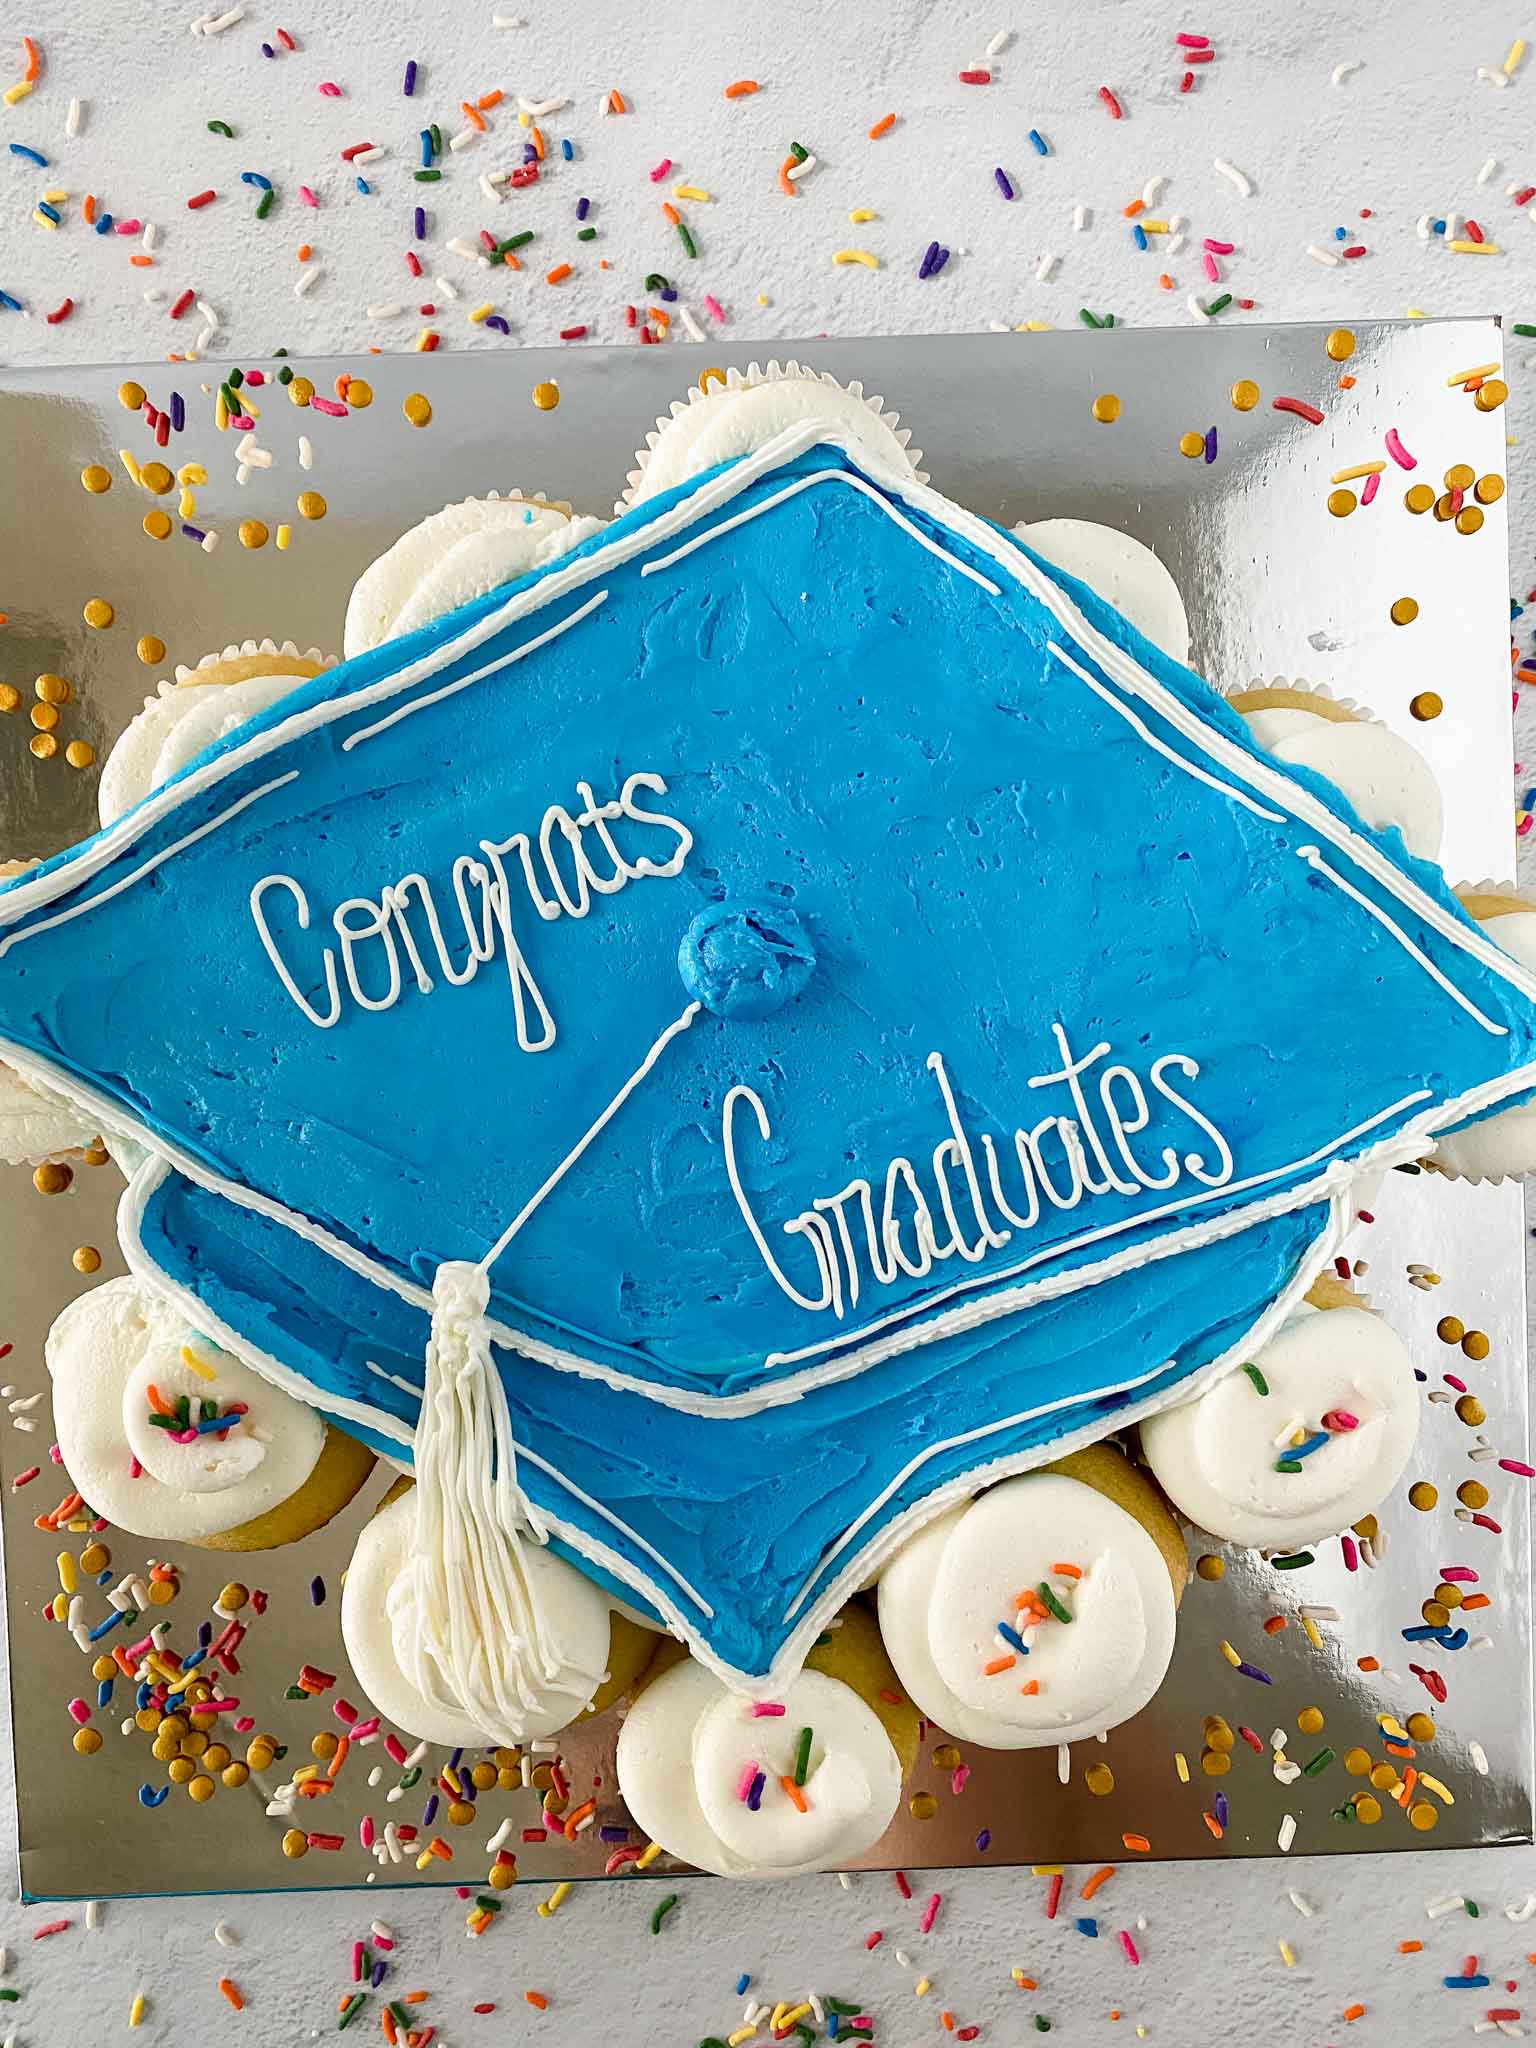
If you are having a fun graduation celebration this year, be sure to try these amazing Graduation Cupcakes! It’s a great display for dessert tables!


It’s graduation season!
I have two member of my household graduating this June so it’s been really busy around here! We will be having several graduation parties so I am excited to share these fun graduation cupcakes with you today!

What do you serve at graduation parties?
For our family, we always like to have a variety of food options for guests. I think it’s important to have both savory and sweet options. For the sweet treats, these fun graduation cupcakes are always a big hit!

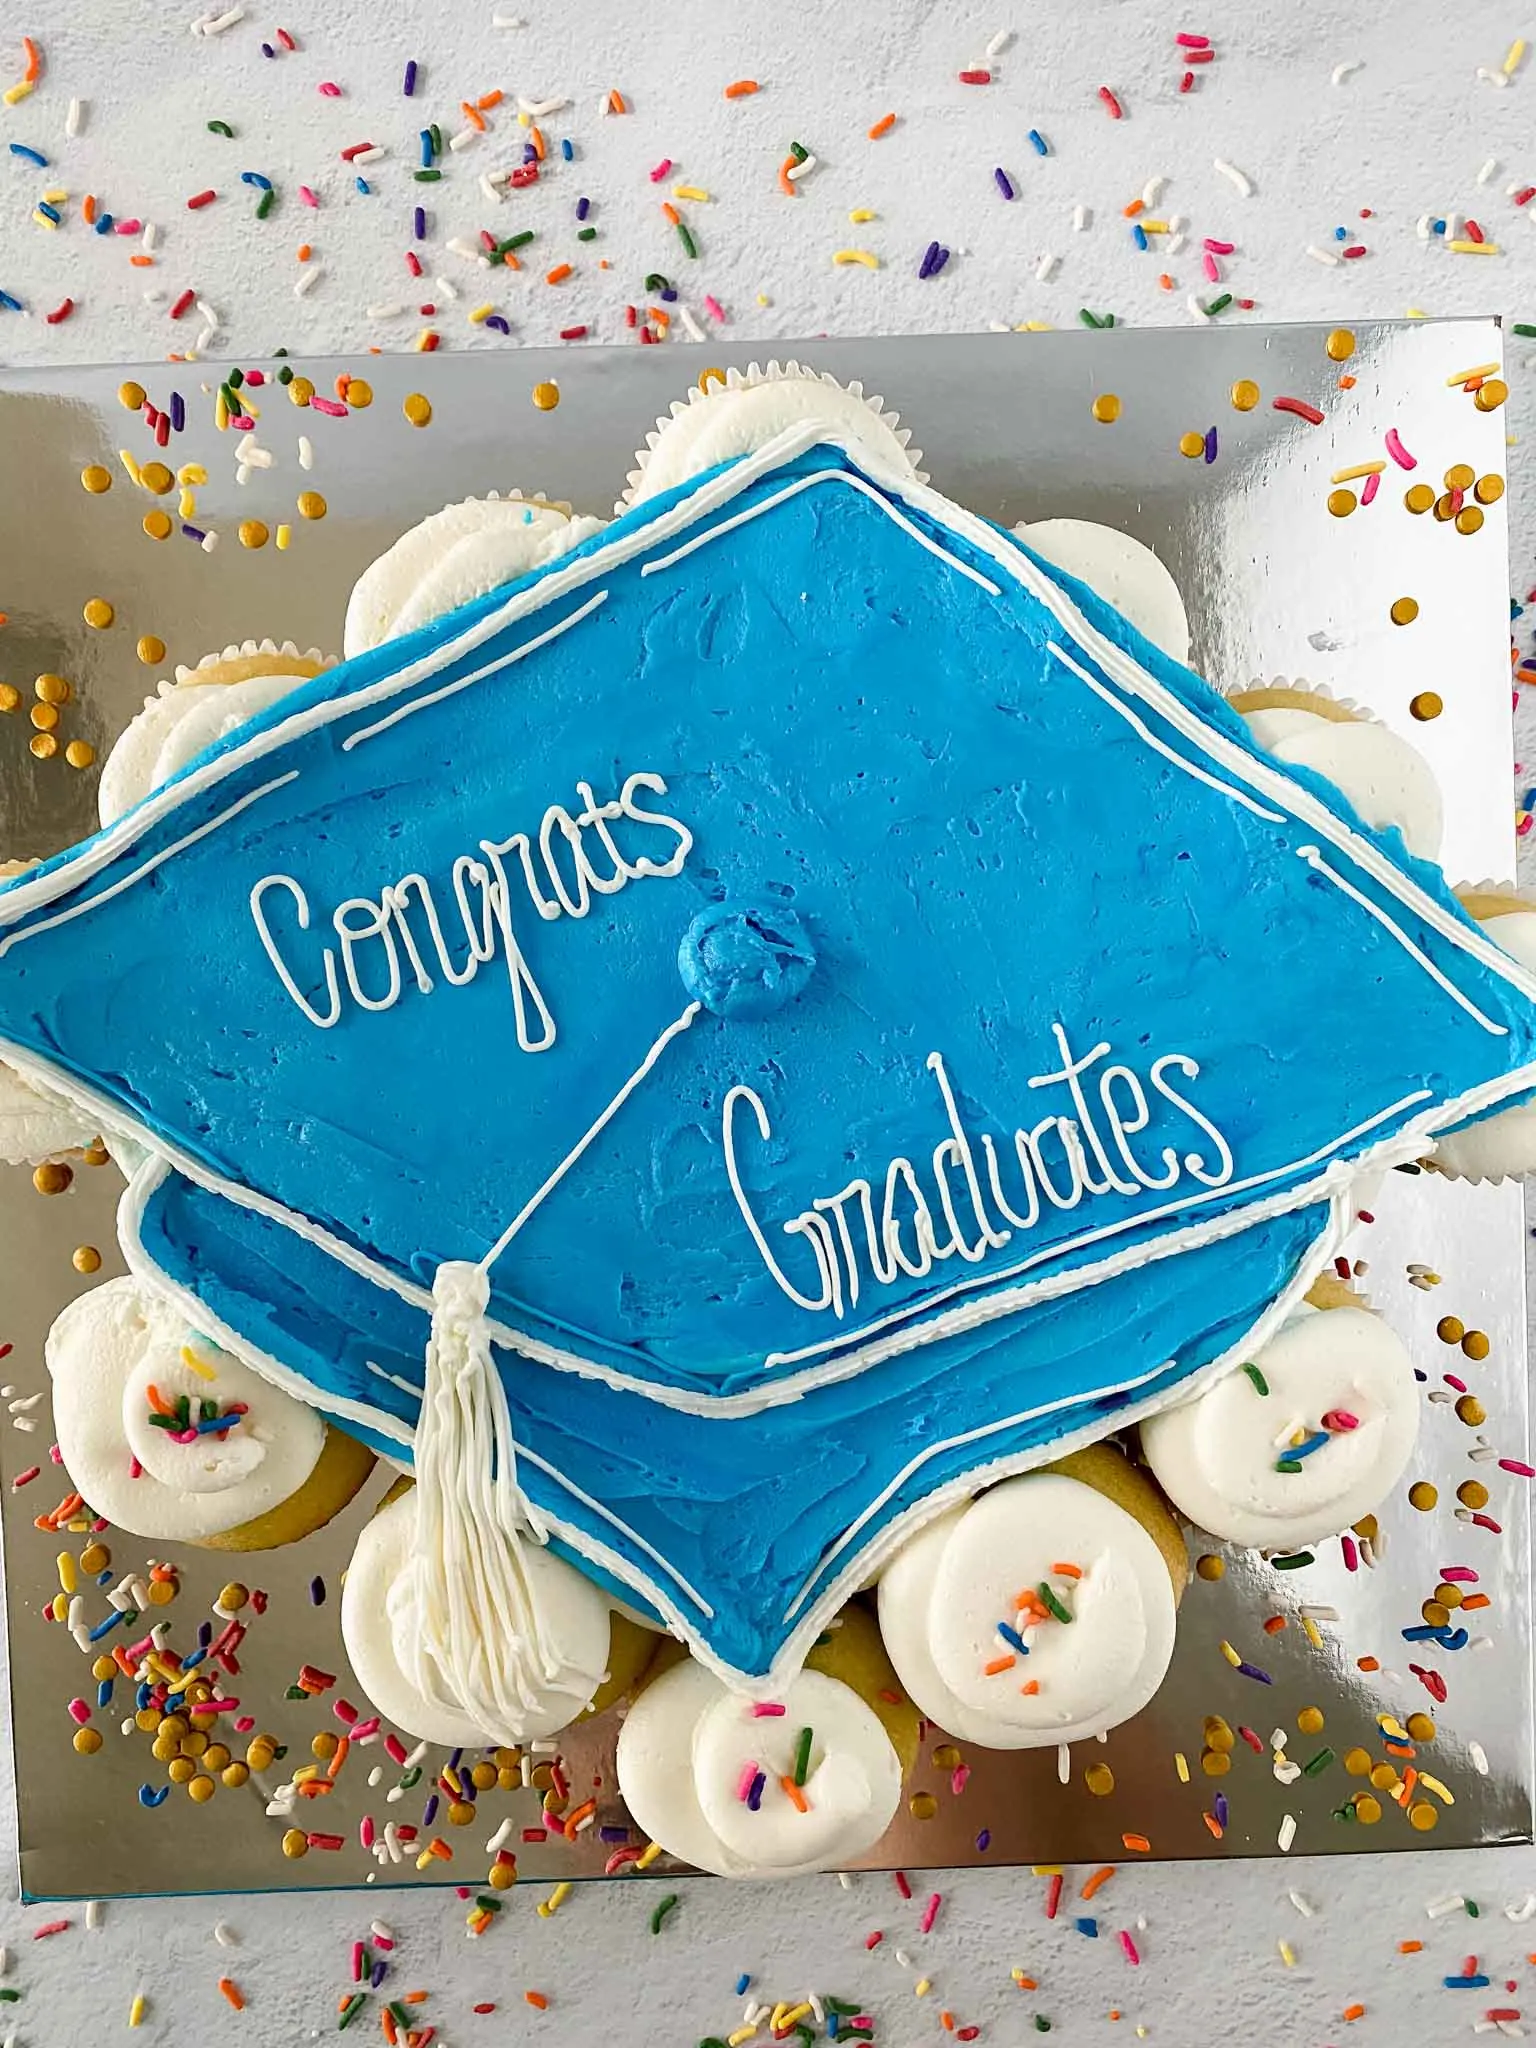
They are perfect for any graduation party because they can be easily customized to match your school colors. Plus, they are just so darn cute!


If you are looking for a show-stopping dessert for your graduation party, these cupcakes are definitely it!

What ingredients do you need for these Graduation Cupcakes?

21 pre baked cupcakes
1 American Buttercream recipe, split into two colors (I have a really great buttercream recipe here)
Gel food coloring


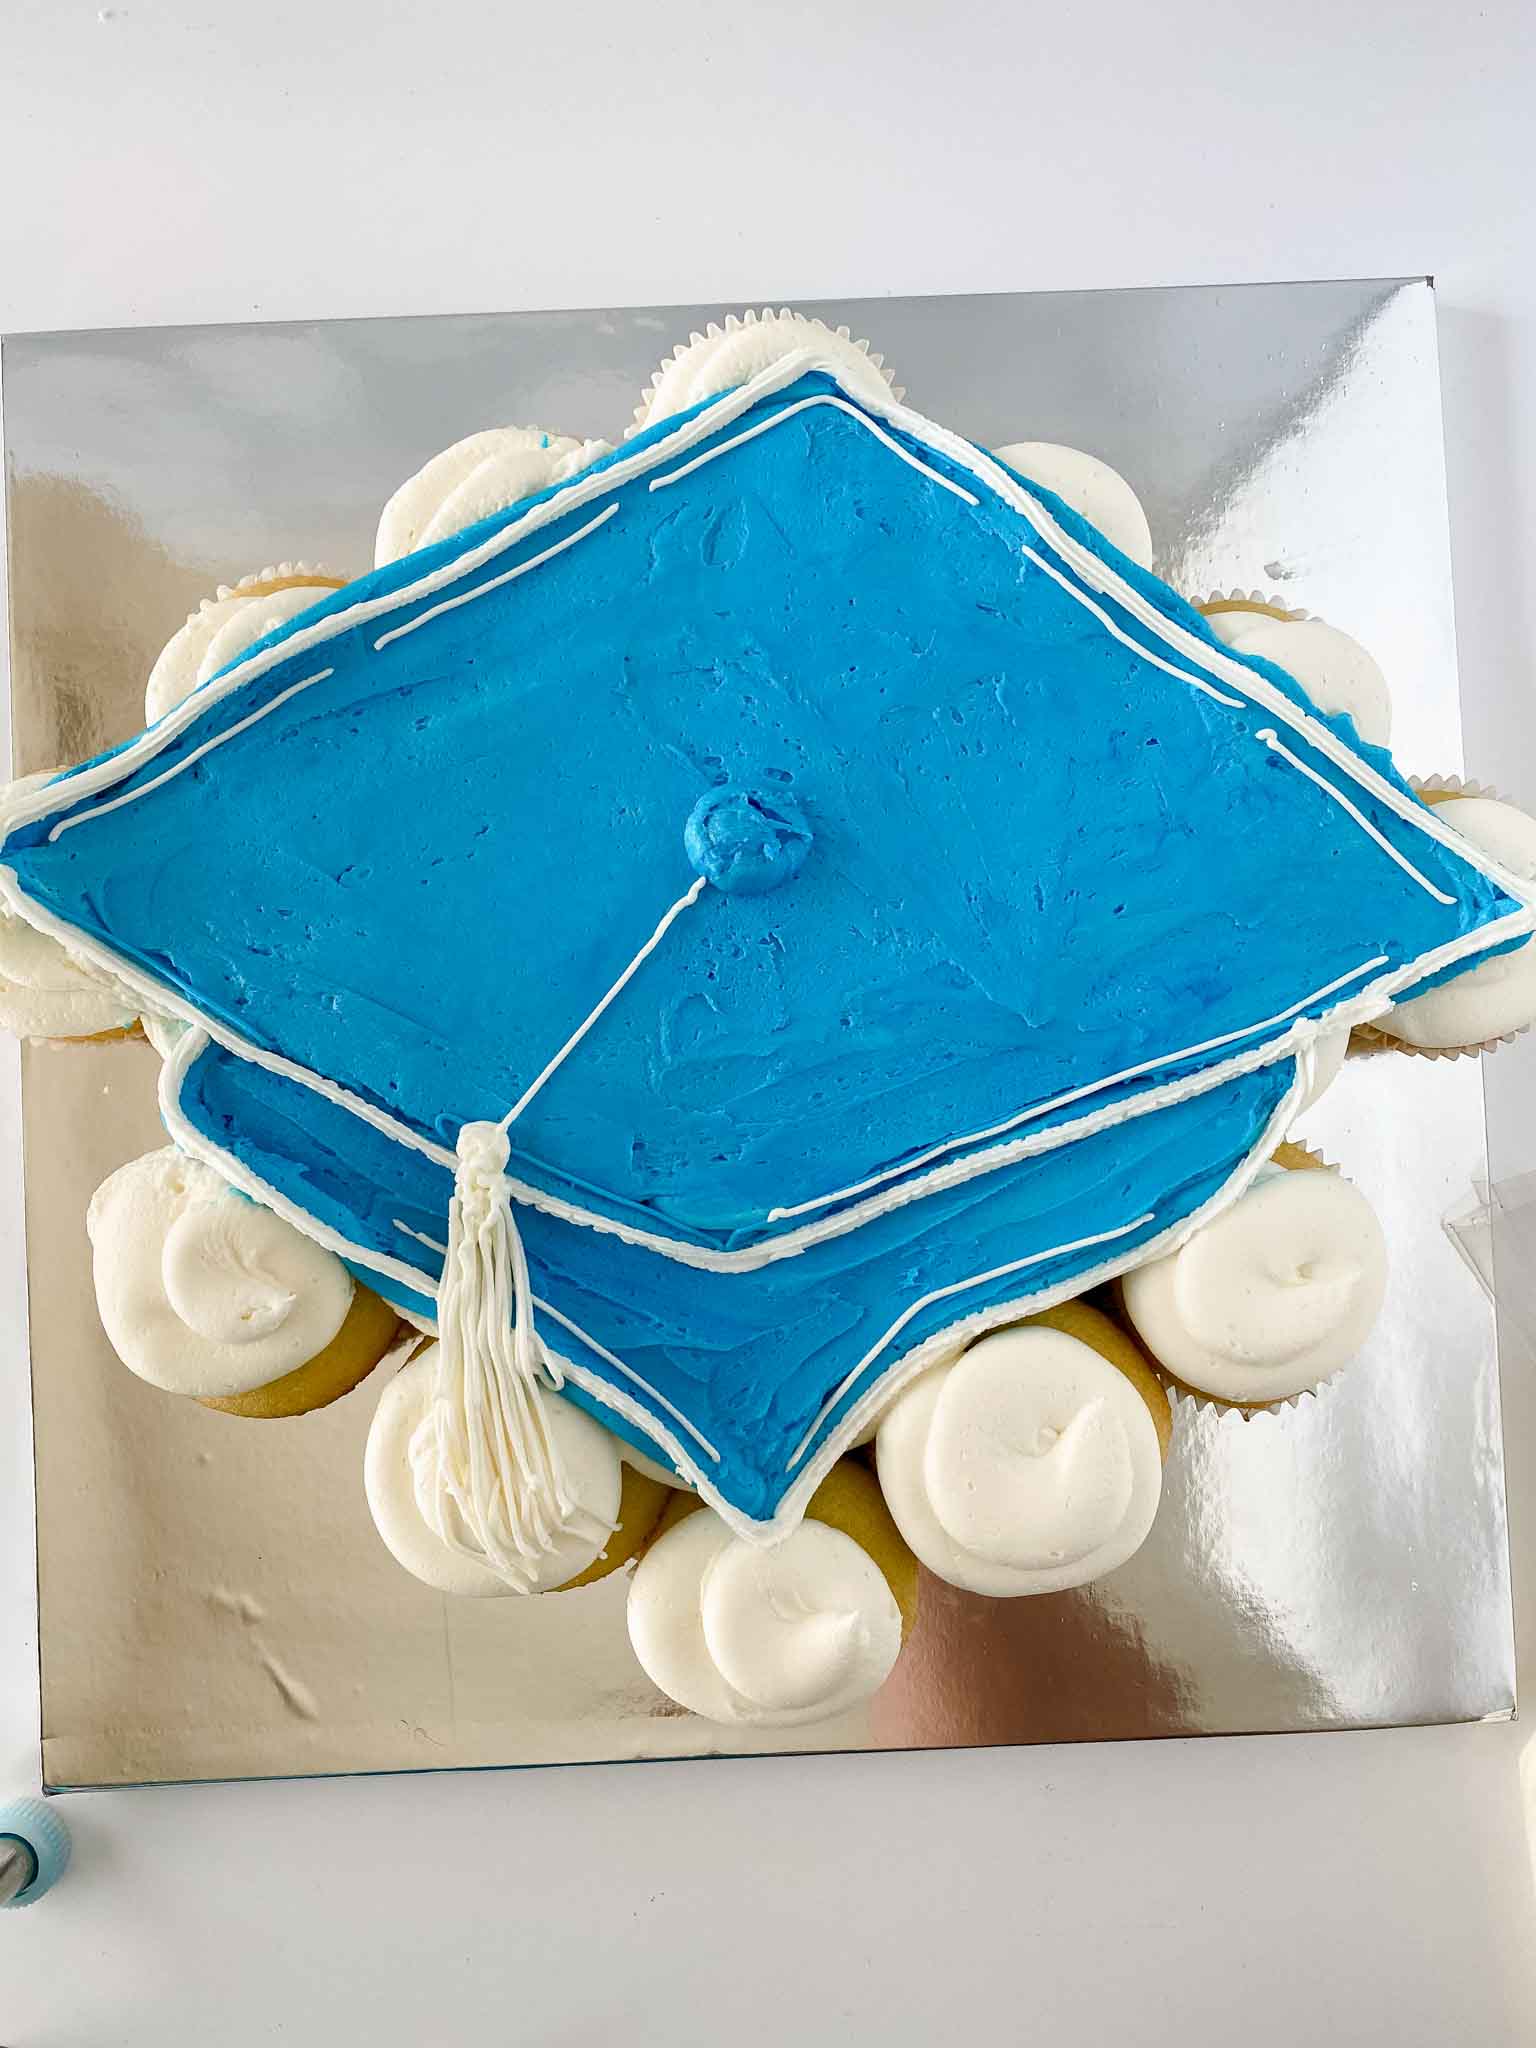
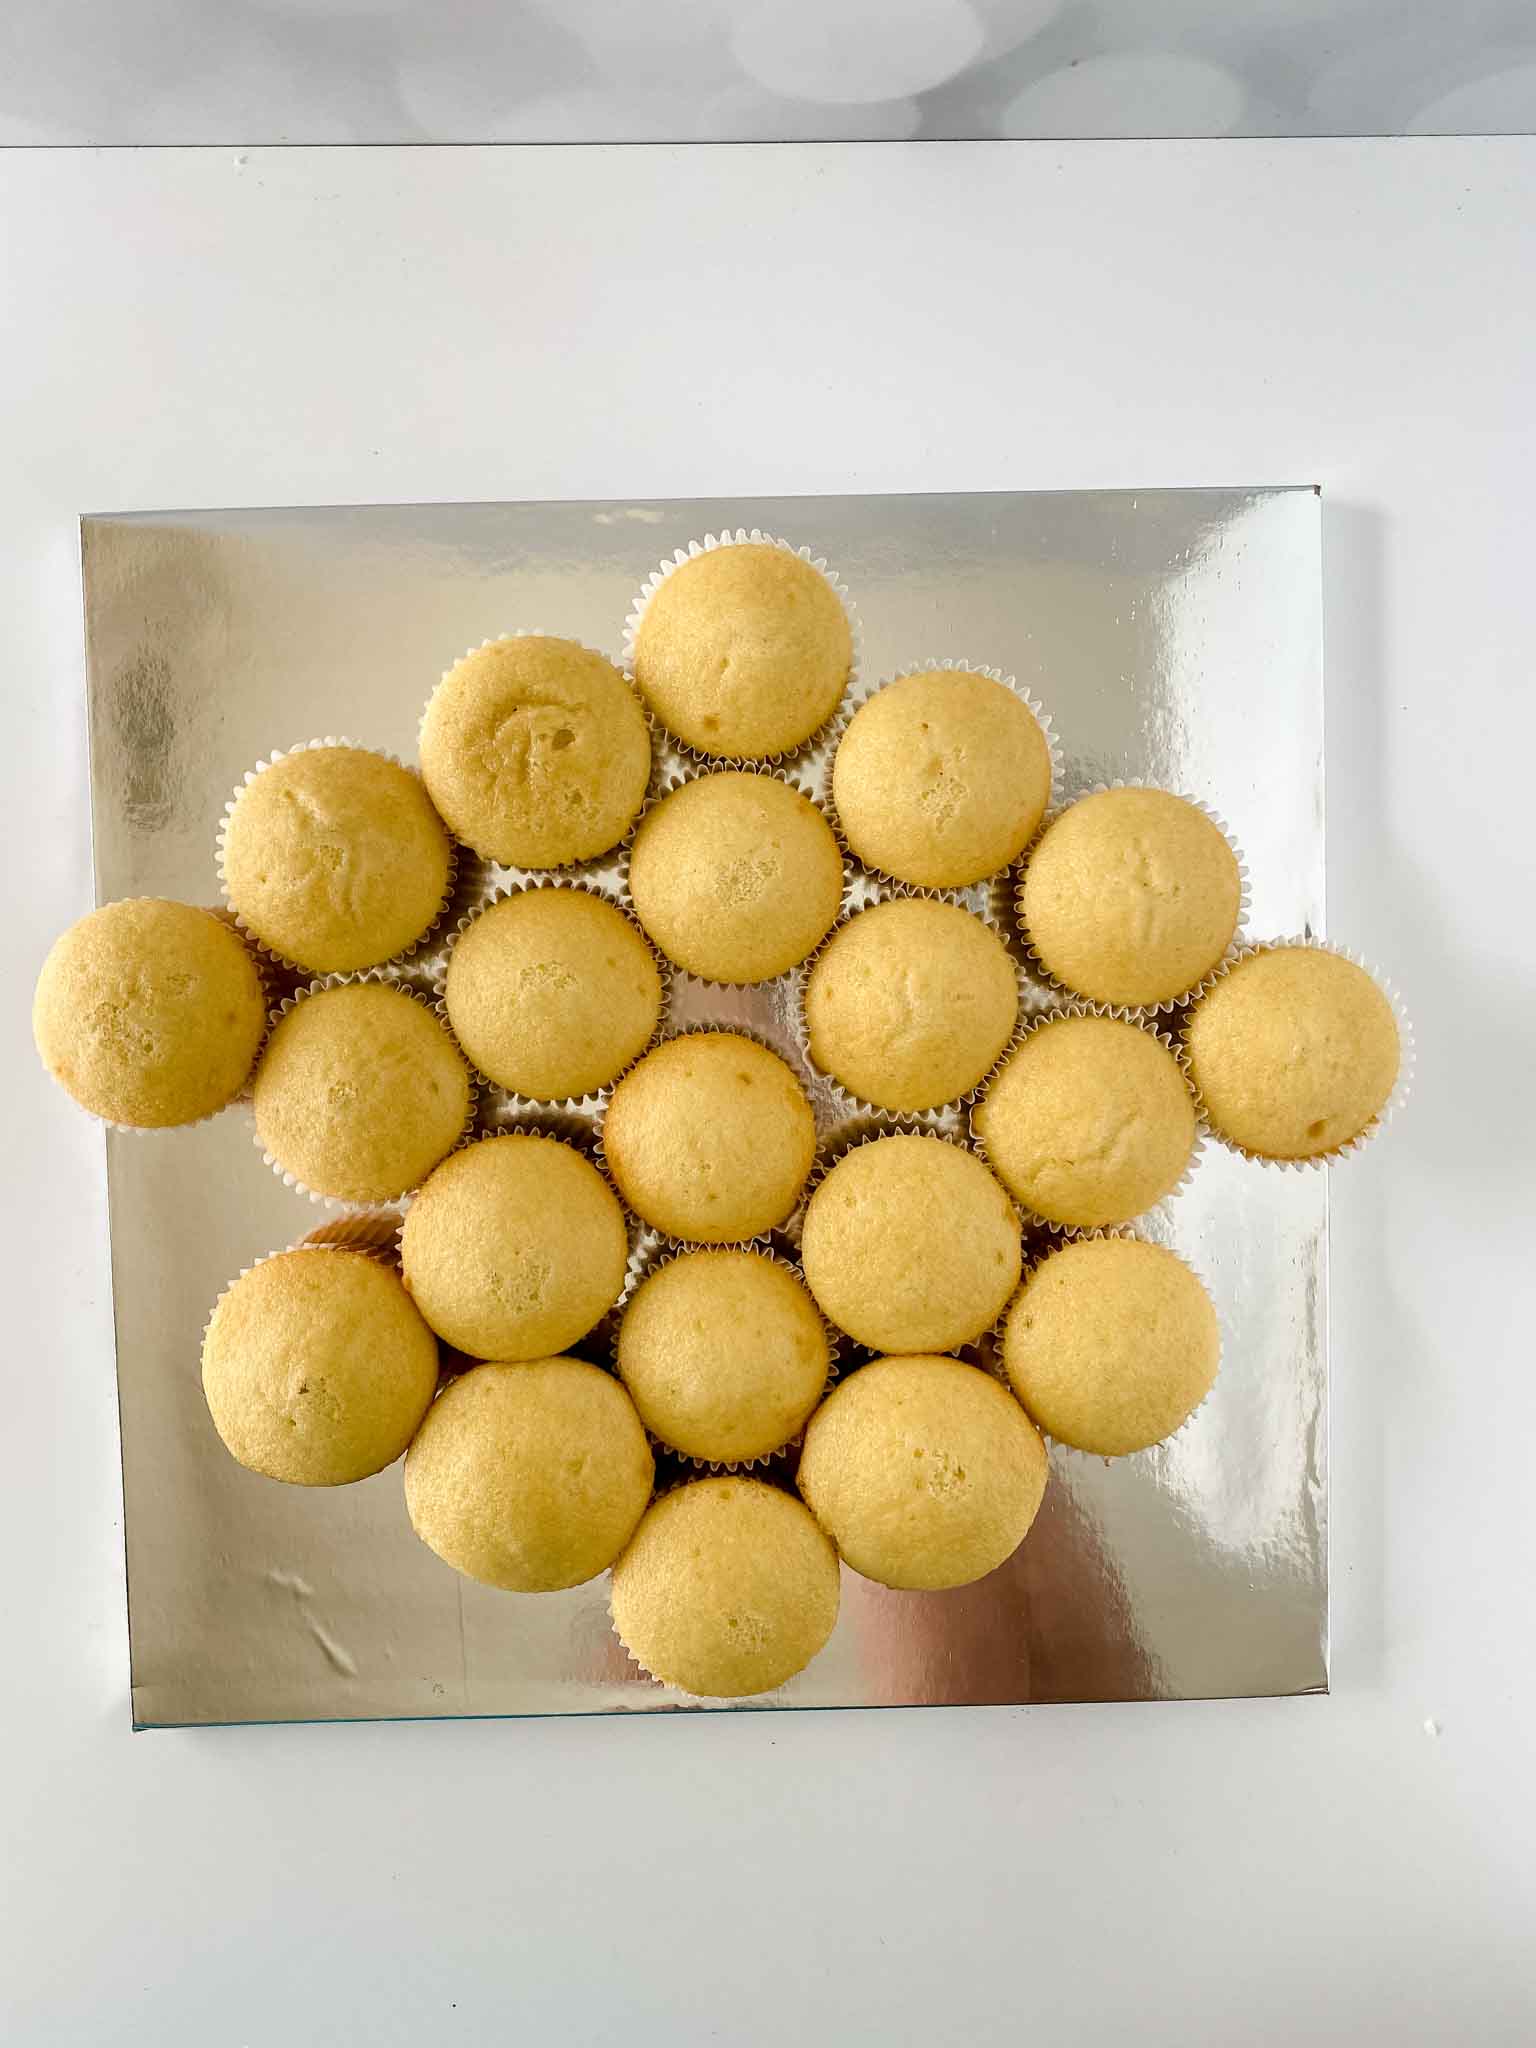
All of the detailed instructions are below but basically you will be gathering (or making!) premade cupcakes in the flavors of your choice with no frosting. Once you arrange the cupcakes in a diamond shape, you will be carefully icing all of the cupcakes into a graduation cap.


You can choose whatever color you like to match the your school colors or even your party theme colors.
There are some great tips for making this fun cupcake display in the notes section of the recipe card so don’t miss them!
What flavor cupcakes should I use?
I used vanilla cupcakes but you can use any flavor, a mix of flavors would be so fun!
Graduation Cupcakes For Your Graduate Celebrations
These graduation cupcakes make a perfect addition to any graduation celebration!
Ingredients
- 21 prebaked cupcakes
- 1 American Buttercream recipe, split into two colors
- Gel food coloring
Instructions
- Align the cupcakes like pictured making sure the top points in a V or arrow shape.
- The bottom will have a slightly more curved point.
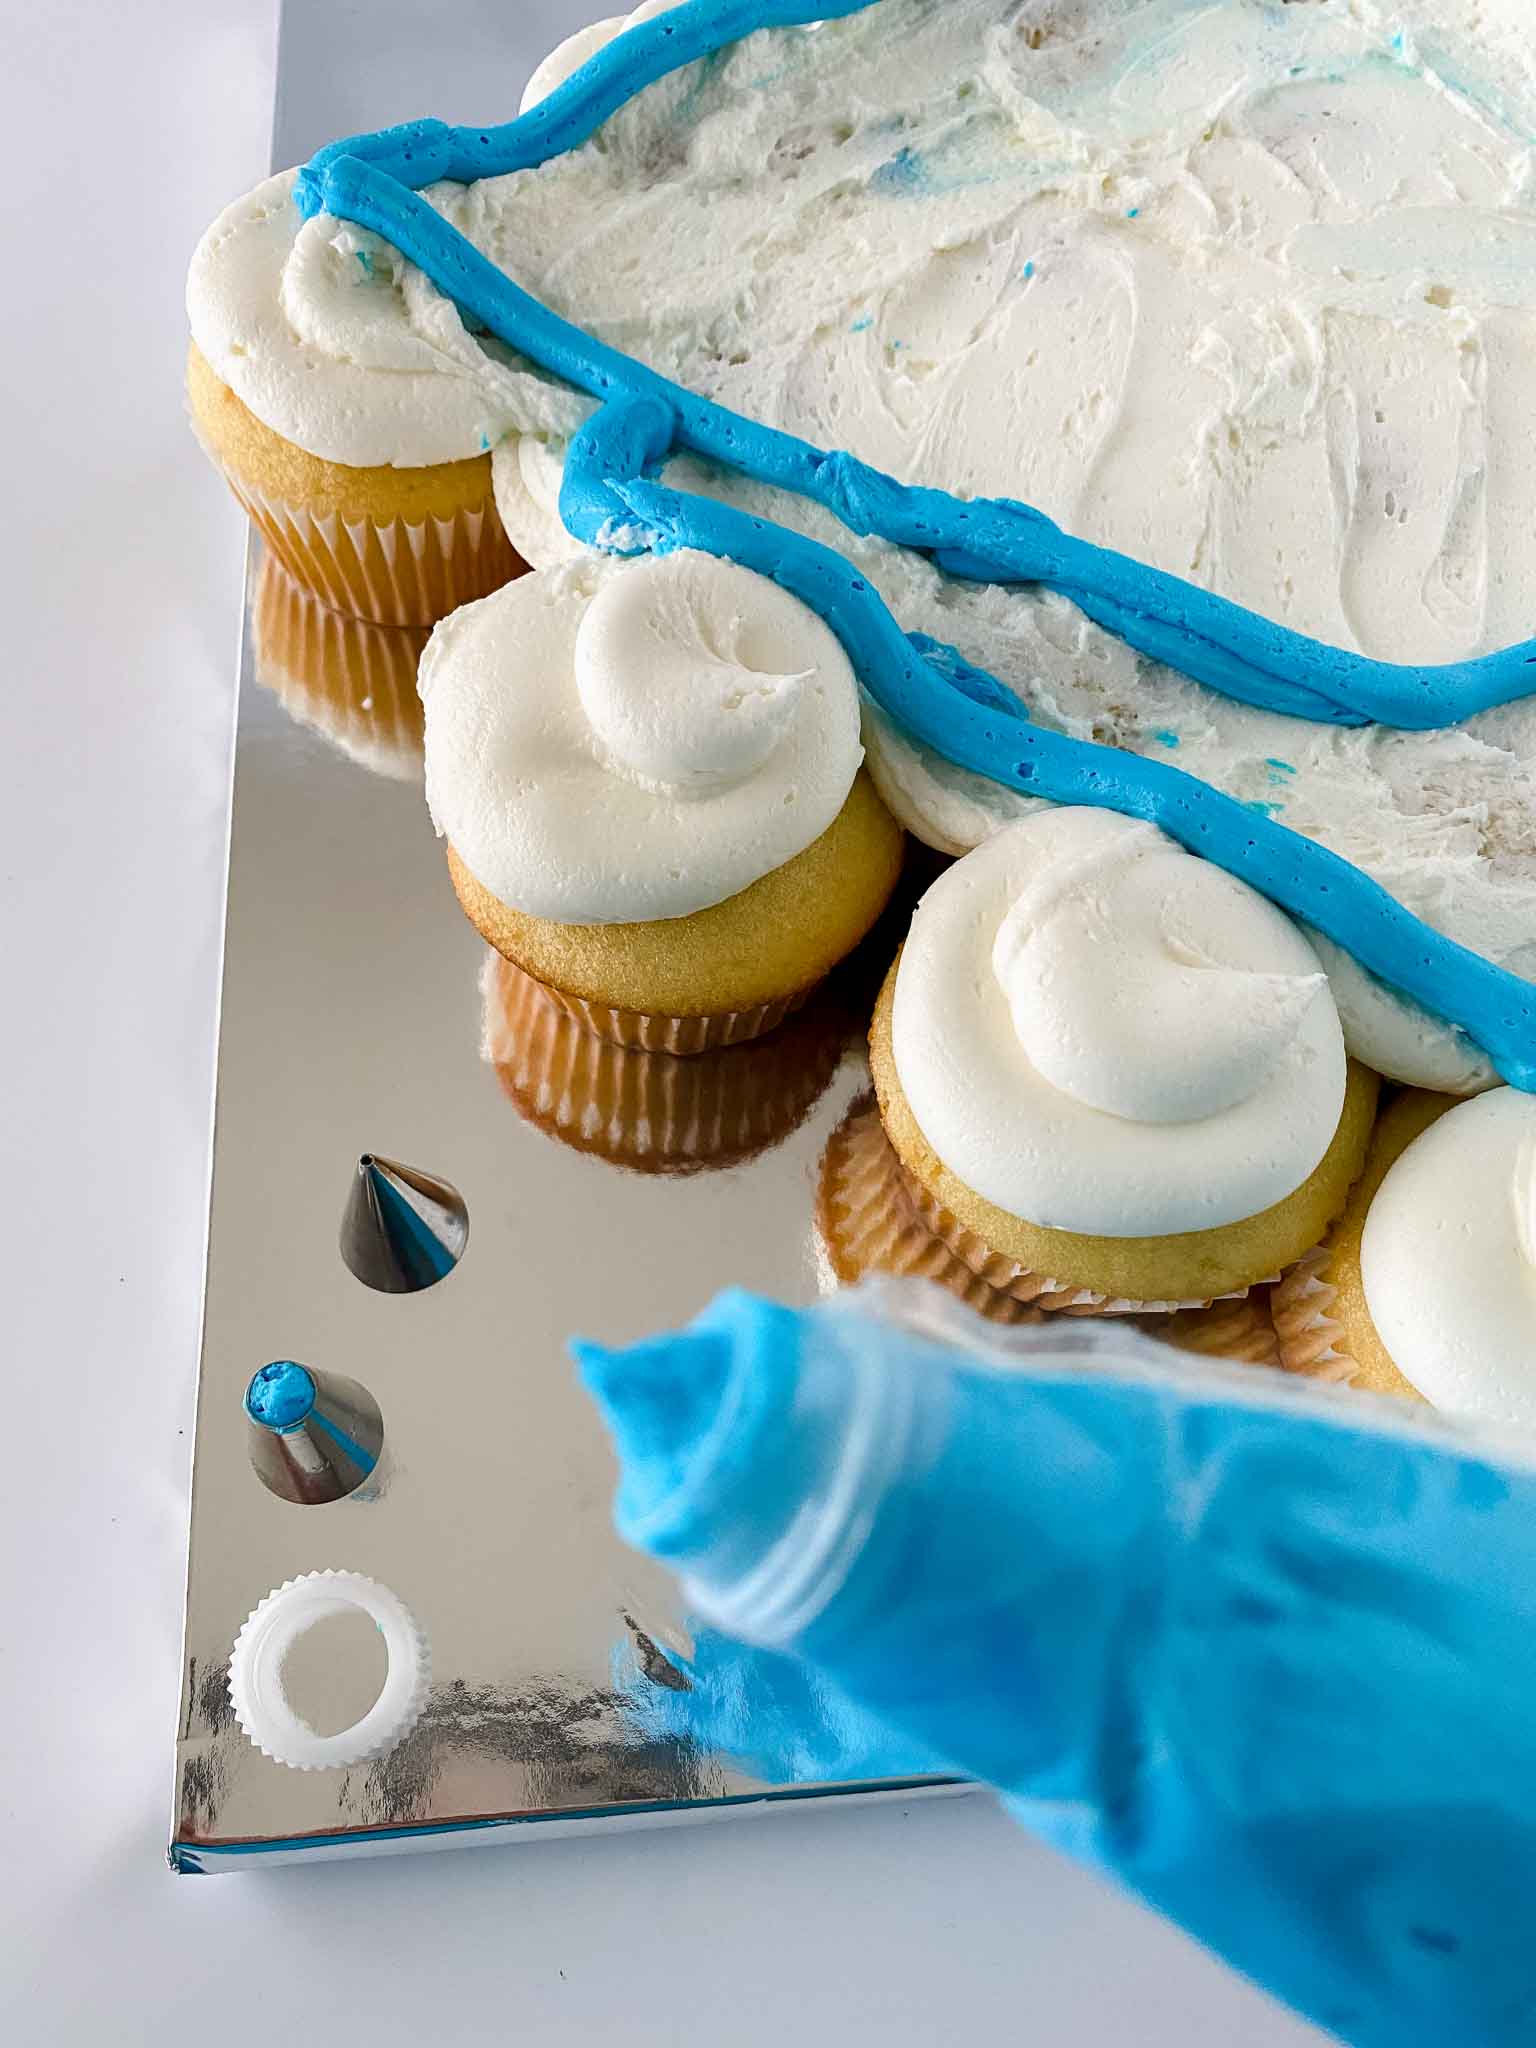
- Fit a large piping bag with tip 1A and fill with the outside buttercream color (we used white)
- Applying even pressure squeeze a continuous circle on top of the cupcakes. It should be fluffy and thick. If it's not, you're not applying enough pressure.
- Do all of the outside cupcakes first. Then frost the center cupcakes as shown.
- Use an offset spatula to smooth the icing across the center cupcakes (this prepares the base for adding the second color.
- Grab a second piping bag and fit with a coupler and Wilton tip 5. Draw the top of an arrow across the top of the cupcakes as shown in the photo.
- Create a square to make the top of the cap.
- Then draw the bottom of the cap.
- Remove the tip and squeeze out the frosting to fill in the cap. Do the two sections separately. Smooth out the buttercream see notes section
- Fill in the second part and smooth out the buttercream.
- Line the third piping bag with a coupler and tip 16 with the first color and outline the cap.
- Switch the tip from 16 to 2 or 3. Make accent marks on the cap. Add congratulations message and you're done!
Notes
Cake drums are thicker than cake boards. If transporting the cupcakes I would opt for the drum not a board and they are on amazon.
Use gel food colors vs liquid to not change the consistency of the icing.
If you need really dark colors-it will be a two step process. For example if you need black dye the frosting brown first mix completely and then dye the brown frosting black. For red dye it pink, then red. Resist the urge to add a lot of food coloring-this will alter the taste and consistency and you won't achieve the color you want.
If your cupcakes move around you can glue them to the board with a little frosting.
Take your time if you've never done this before.
Tips for smoothing icing:
- Use an offset spatula that has been sitting in piping hot water. Whipe off the water and allow the heat from the spatula to smooth the icing.
- Allow the icing to crust over. Meaning it's dry to the touch. Place a piece of parchment paper on top and smooth the icing out with your hands on the parchment.
- Use a Plain white (zero decorations-no patterns) VIVA paper towel (only this brand works) and lay it over the icing once dry. Smooth out the frosting using hands.
*Use buttercream NOT canned frosting.
Nutrition Information
Yield
21Serving Size
1Amount Per Serving Calories 299Total Fat 15gSaturated Fat 5gTrans Fat 1gUnsaturated Fat 9gCholesterol 17mgSodium 261mgCarbohydrates 41gFiber 2gSugar 31gProtein 3g
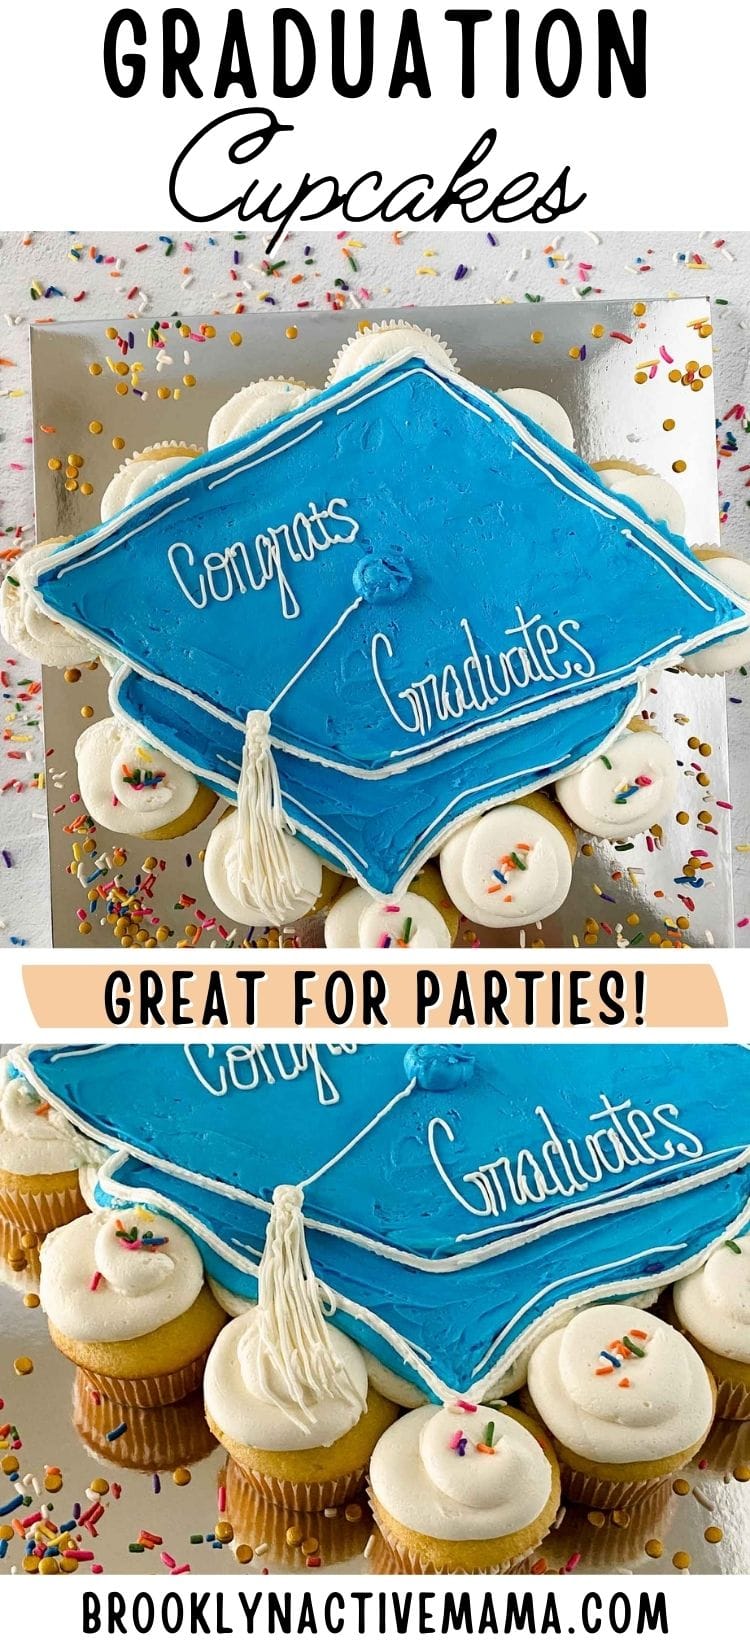
Pin it for later!

If you enjoyed this recipe be sure to check out my Instagram Page for the latest posts!
Before you go, check out these great posts!
We Don’t Talk About Bruno Encanto Cupcakes
Triple Chocolate Peanut Butter Filled Mini Cupcakes
Amazing Apple Cider Walnut Cupcakes For Easy Fall Baking
Strawberry Pudding Parfait Cups
Hi! I’m Nellie. I am an entrepreneur, a busy mama of 3 and a wife to my high school sweetheart. I have been sharing content for over 12 years about how to cook easy recipes, workout tips and free printables that make life a little bit easier. I have been featured in places like Yahoo, Buzzfeed, What To Expect, Mediavine, Niche Pursuits, HuffPost, BabyCenter, Mom 2.0, Mommy Nearest, Parade, Care.com, and more!
Get comfortable and be sure to come hang out with me on social. Don’t forget to grab your free fitness journal before you go!