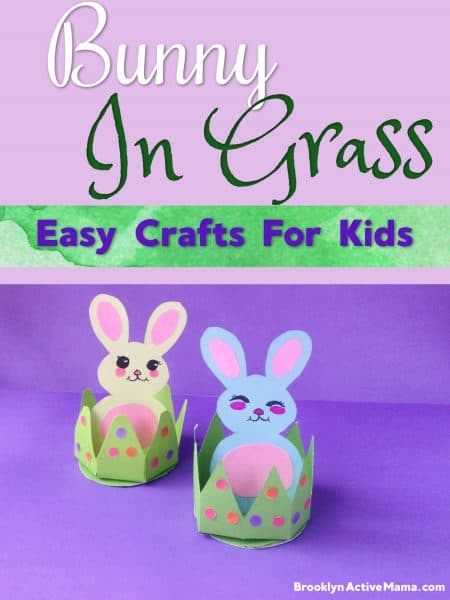
Easy Easter Bunny Craft for Kids (Free Printable Template)
Growing up, Easter was always a production. My mom would take me to Borough Hall in Brooklyn to shop for the most fabulous dress — we’d spend hours in stores surrounded by tulle and flowers, and I’d usually leave with something beautiful and probably a little over budget. It was one of my favorite rituals with her. Just us, all day, making it a whole event.
Now that I have my own three kids, we’ve built our own Easter traditions. We still do Easter Sunday at church. We still do brunch with the Easter Bunny. And on the days leading up to Easter — especially during Spring Break when the kids need something to do that isn’t a screen — we make things. This Easter bunny craft has become one of our go-to Spring Break activities. It’s got enough steps to keep everyone occupied, the free printable template does most of the precision work for you, and the finished bunny is cute enough to display on the table before Easter Sunday.
WHAT YOU’RE MAKING
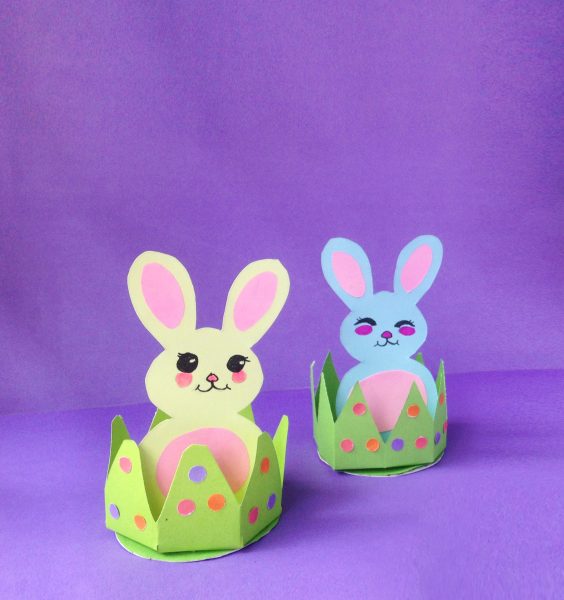
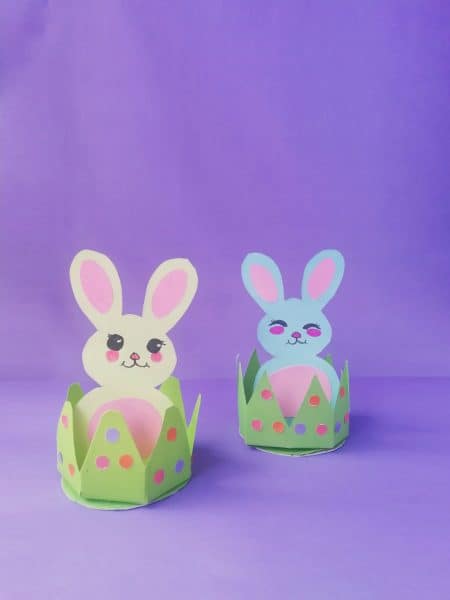
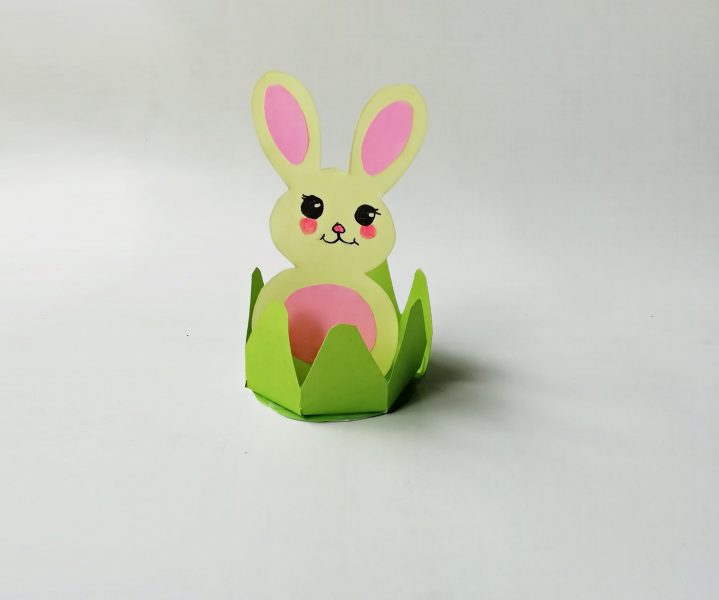
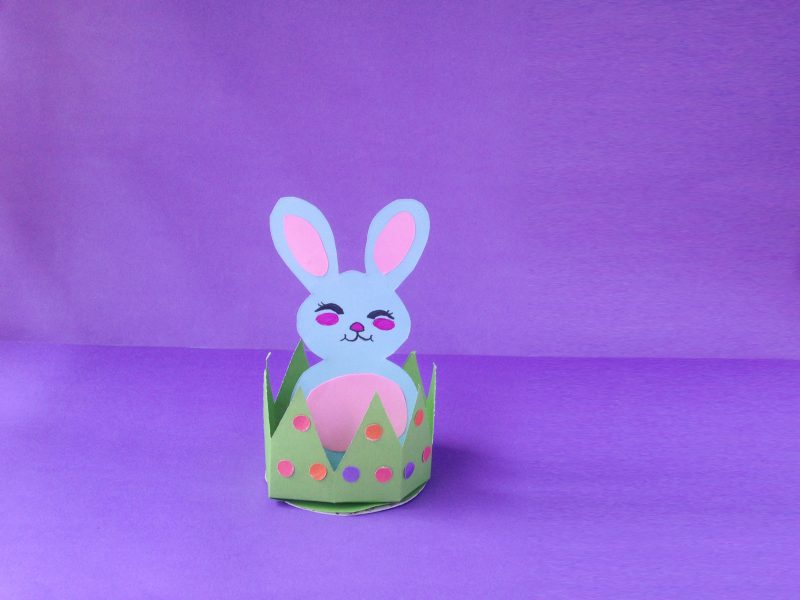
This is a “Bunny in Grass” paper craft — a 3D bunny figure that stands inside a circular grass display. The bunny is printed from a free template, assembled from craft paper, and given a simple hand-drawn face with markers. The grass wraps around a cardstock circle base using folded tabs and becomes a little scene the bunny pops into. The whole thing takes about 30–45 minutes and uses only basic craft supplies.
Best for: Ages 3–7 with adult help for cutting. Children 5 and up can do most steps independently once the template pieces are pre-cut by an adult.
SUPPLIES
Download the free template here: Bunny in Grass Template PDF
Print it on white cardstock for the bunny pieces before you start.
- White cardstock (for printing the template — 1–2 sheets)
- Green craft paper or green cardstock (for the grass — 1 sheet)
- Colorful craft paper in assorted colors (for the dot decorations — a few scraps or a variety pack)
- Paper glue or a glue stick
- Scissors (adult scissors for precision cuts; child safety scissors for older kids to help with simpler cuts)
- Pink and black markers (for drawing the bunny’s face)
- Circle punch or hole punch (for punching out the colorful paper dots — Step 18)
- Cardboard or heavy cardstock strip for the stand (approximately 1 inch wide × 6 inches long)
DIY Easy Bunny Craft: Bunny In Grass

Introduction:
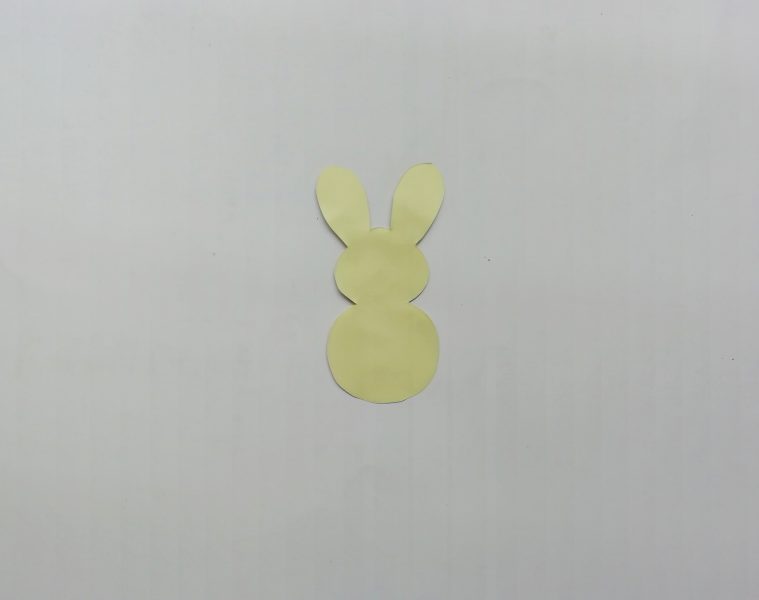
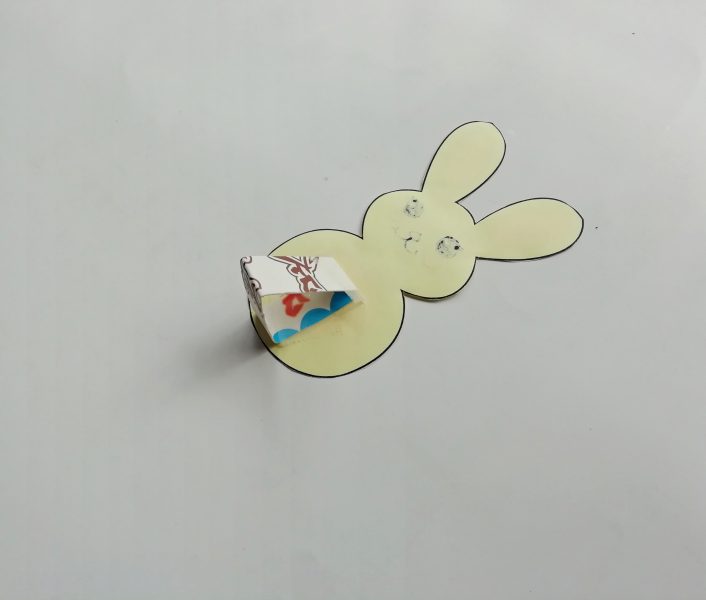
Step 1: Download and print the free Bunny in Grass template on white cardstock. The template includes the bunny body, ears, and grass shape.

Step 2: Cut out the bunny body and ear pieces from the printed template.
Step 3: Cut out the remaining pieces from colored craft paper as indicated on the template — including the inner ear pieces (typically pink) and any additional decorative elements.
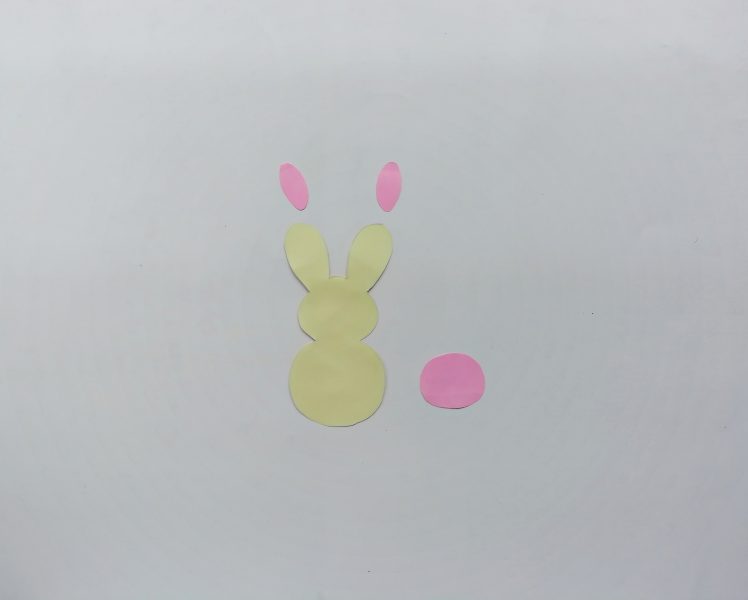
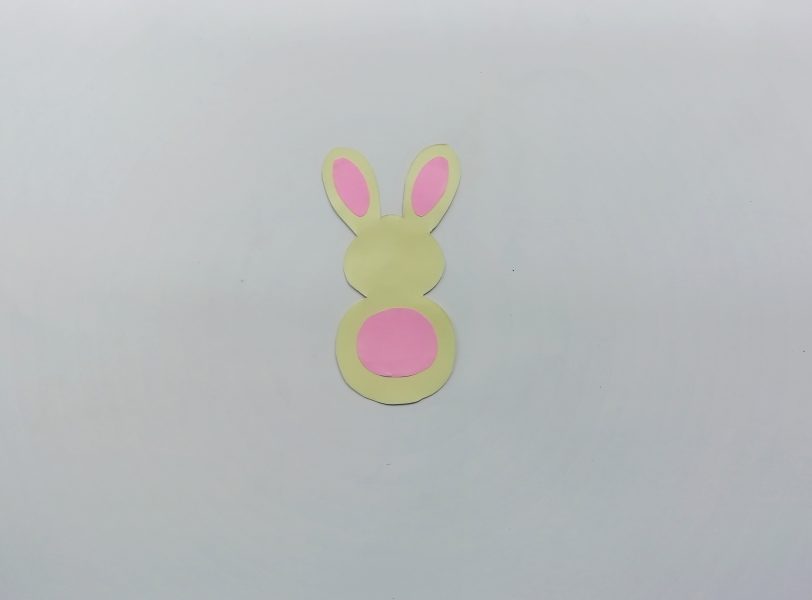
Step 4: Glue all the colored pieces onto the bunny in their correct positions — pink inner ears on the ears, any belly or detail pieces on the body. Press flat and let dry for a minute.
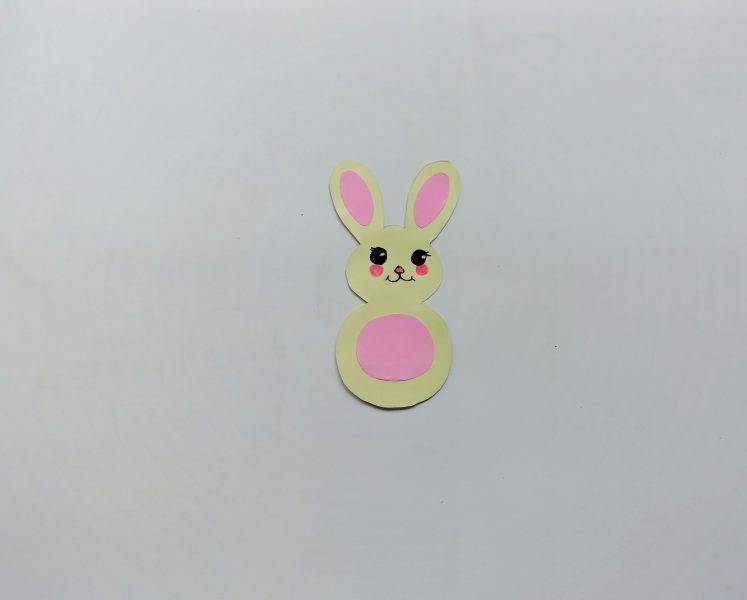
Step 5: Use a pink marker to draw the bunny’s nose and cheeks, and a black marker to draw the eyes and mouth. Keep it simple — dots and a small curved line work perfectly.
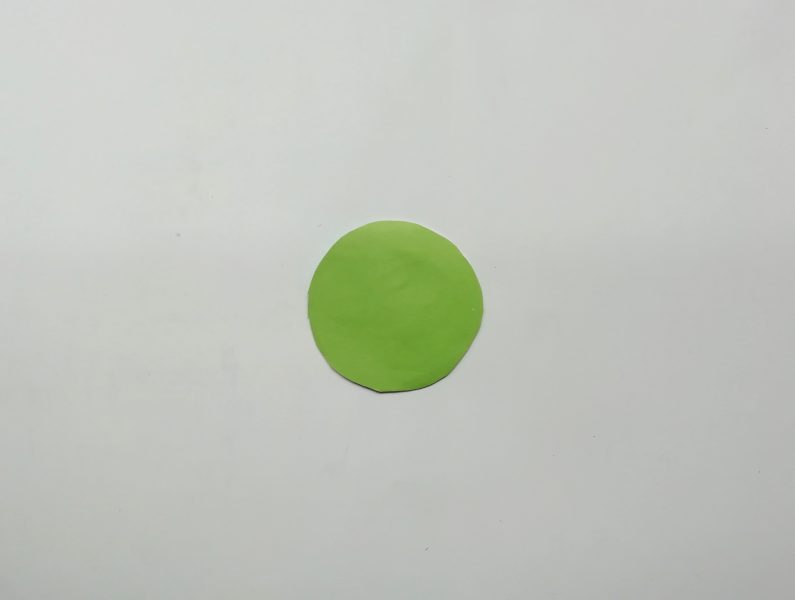
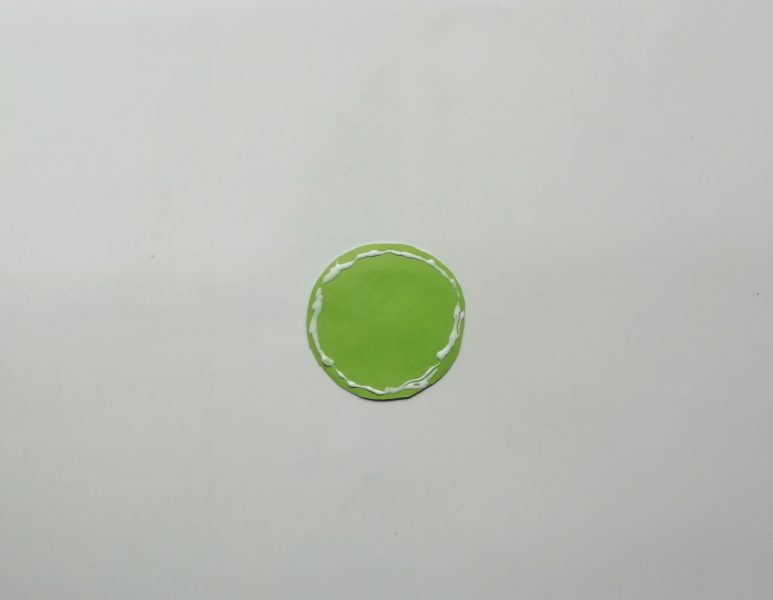
Step 6: Cut a circle from cardstock approximately 4–5 inches in diameter. This will be the base of the grass display.
Step 7: If using craft paper rather than green cardstock, cut a piece of green craft paper to cover the cardstock circle and glue it down. If you have green cardstock, skip this step and use the green cardstock circle directly.
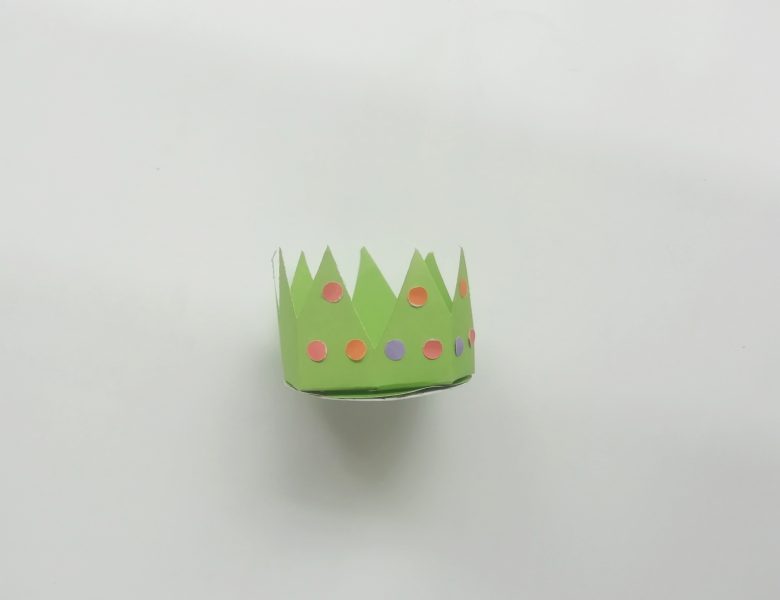
Step 8: Using the grass shape from the template, cut a long strip of green craft paper for the grass border.
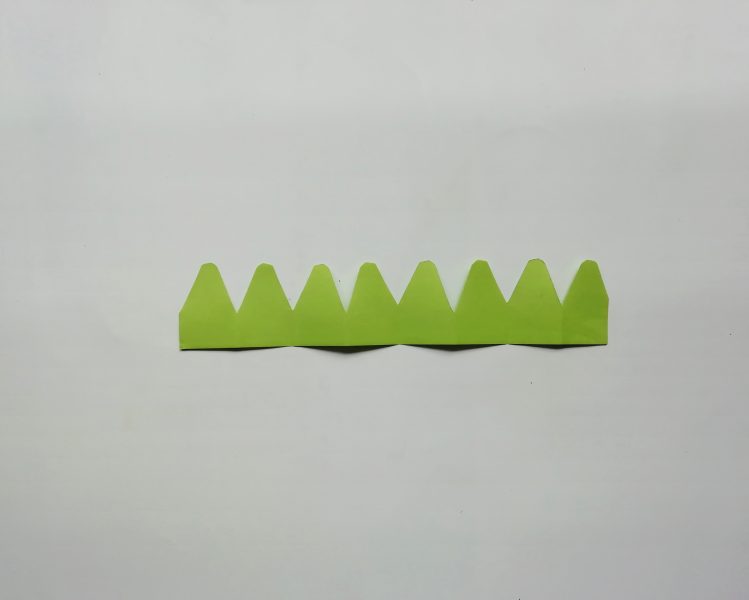
Step 9: Make small vertical cuts (about ½ inch deep) along the entire bottom edge of the grass strip — these become tabs for gluing.
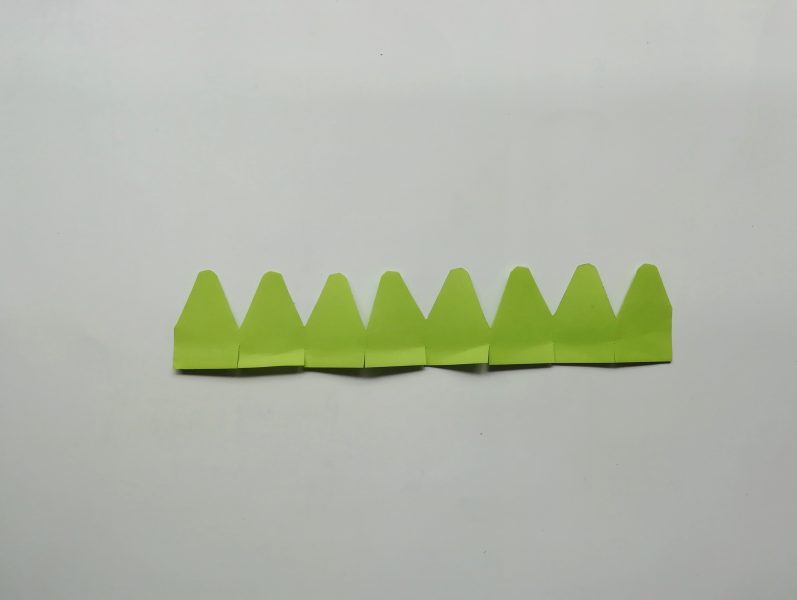
Step 10: Gently fold each tab at the bottom of the grass strip outward so the tabs sit flat. This lets the grass wrap and stand upright around the circle base.
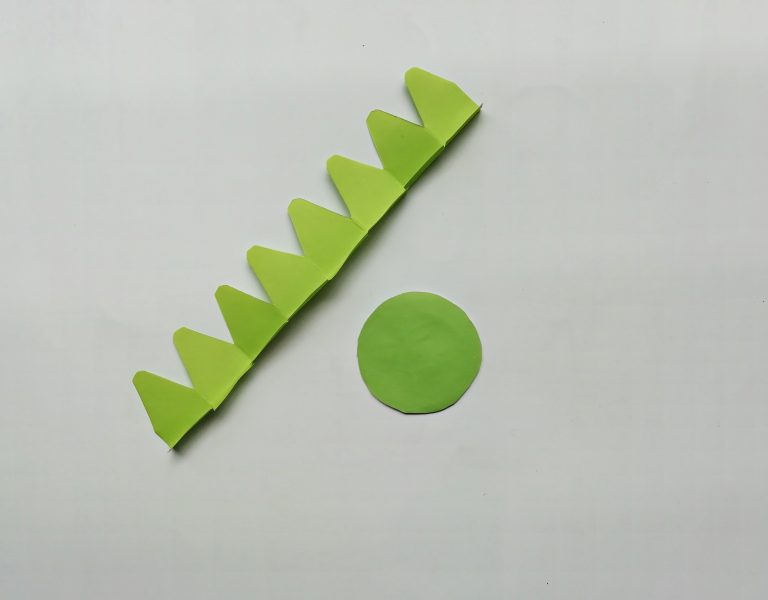
Step 11: Apply glue all around the outer edge of the cardstock circle, on the top surface.
Step 12: Starting at one end, press the grass strip against the glued edge of the circle, tabs folding down onto the circle surface. Work slowly around the edge.
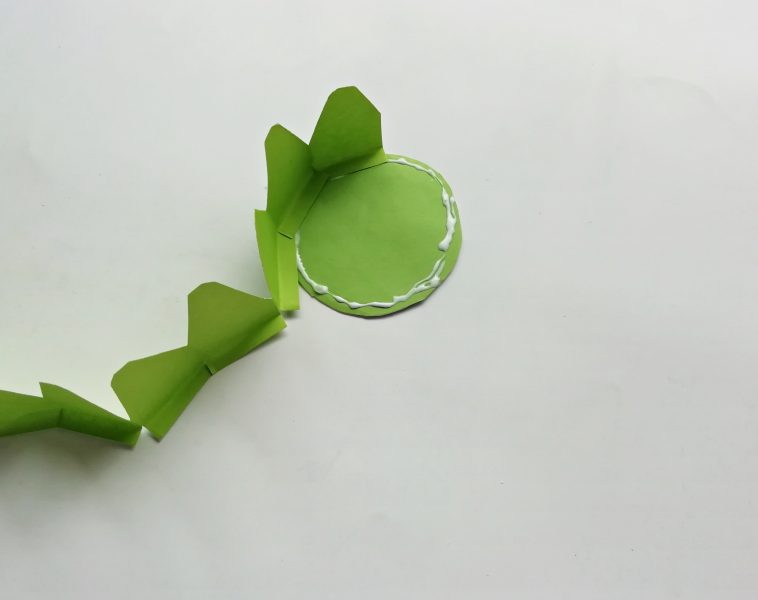
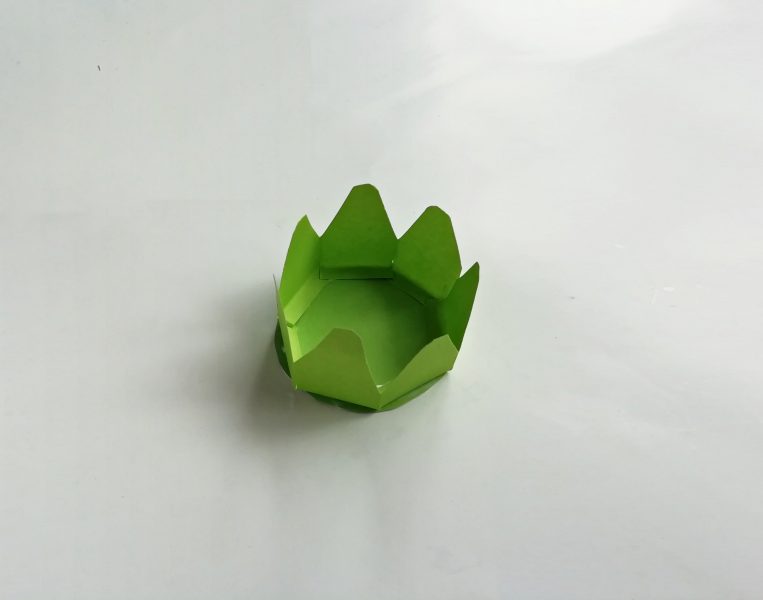
Step 13: Continue gluing the grass all the way around the circle until the ends meet. Hold in place for a minute until the glue sets.
Step 14: Cut a strip of heavy cardstock or thin cardboard approximately 1 inch wide and 6 inches long.
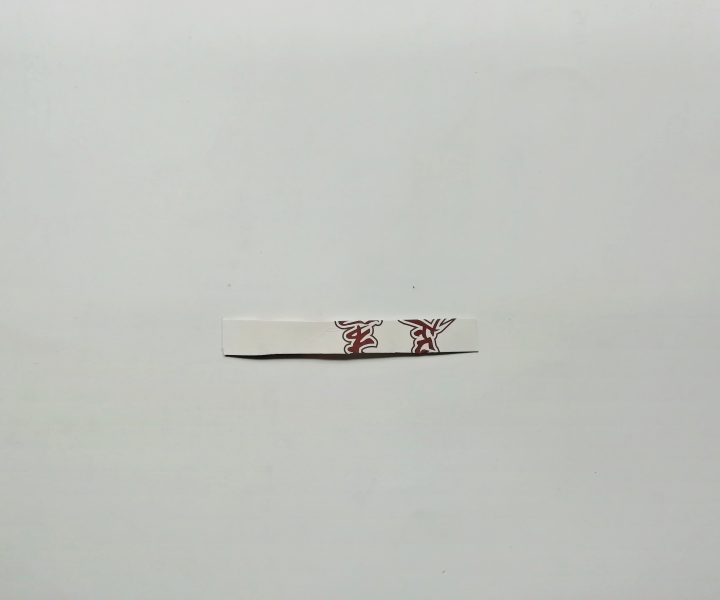
Step 15: Fold the strip into a triangle shape (fold into thirds and join the ends) — this becomes the freestanding support for the bunny.
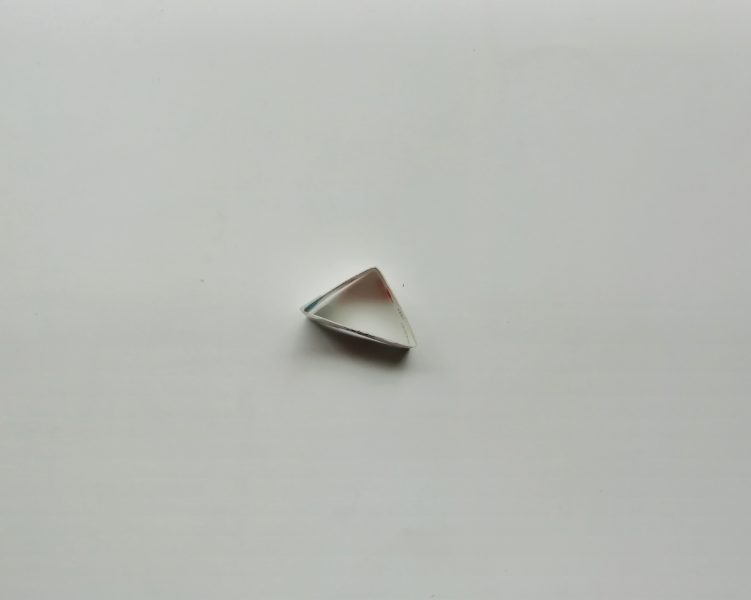
Step 16: Glue the triangle stand onto the back of the bunny figure so it sits flat and holds the bunny upright.
Step 17: Test the bunny inside the grass circle to make sure it stands up and fits comfortably inside the grass border.
Step 18: Use a circle punch or hole punch to punch out small circles from colorful craft paper — make a variety of colors. These become the dot decorations on the grass.
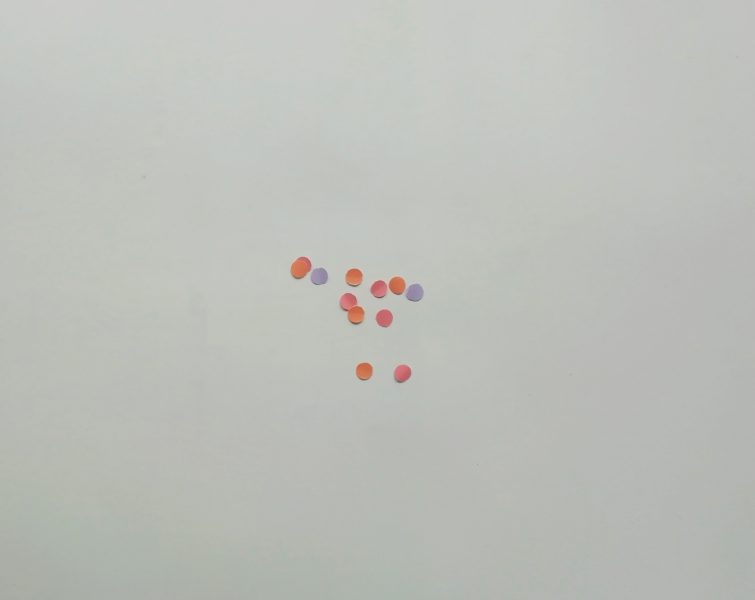
Step 19: Glue the colorful dots onto the grass border as decoration. Then glue or simply place the bunny inside the grass. Done — your Bunny in Grass is ready!
Bunny In Grass!
VARIATIONS
Color-your-own bunny: Print the template on white cardstock and let the kids color the bunny before cutting it out — use crayons, colored pencils, or watercolors for a different look every time.
Easter basket version: Instead of a grass circle base, glue the grass around a small paper cup or berry basket for a 3D Easter basket the bunny can peek out of.
Classroom name tags: Make a smaller version and write each child’s name on the bunny for Easter party place cards or classroom cubby labels.
Glitter version: Add a thin line of glue along the grass tops and sprinkle with green glitter before it dries for a sparkly display version.
TIPS FOR MAKING THIS WITH KIDS
Pre-cut for toddlers. Steps 2, 3, 8, 9, and 14 all involve scissors. For children under 5, an adult should handle all cutting and let the kids do the gluing, dot punching, and face drawing — those steps are the most fun anyway.
Use a glue stick, not liquid glue. Liquid white glue is hard for small hands to control and takes much longer to dry. A glue stick keeps everything neater and holds well enough for paper crafts.
Let the grass dry fully before adding the bunny. Steps 11–13 need a few minutes of set time before you start decorating or the grass can shift. Put on a Easter movie for 5 minutes while it dries.
Make it a classroom craft. If you’re a teacher or homeschool parent, pre-print and pre-cut the template pieces for the whole class. The gluing, face-drawing, and dot-punching steps are completely manageable for a group of preschoolers with adult supervision.
The face is the favorite part. Give every kid their own marker and let them draw the face themselves — you’ll get a range of expressions from perfectly sweet to hilariously chaotic, and that’s exactly the point.
FAQs
Yes — the template provides the bunny shape, which is the most precise part of the craft. Without it, you’d need to freehand the bunny outline, which is difficult for most adults and impossible for young children. Download it free at the link above or in Step 1.
Ages 3–7 with adult assistance for cutting. Children 5 and up can handle most steps independently once the cutting is done. Toddlers ages 2–3 will enjoy the gluing and dot-punching steps even if an adult does all the cutting.
Approximately 30–45 minutes from start to finish. Experienced crafters can move faster; working with a toddler may stretch it to an hour with drying time.
You can cut small circles by hand using scissors, or skip the dots entirely and let the kids draw patterns on the grass with markers instead. The dots are decorative and fully optional.
You can, but cardstock holds up much better for the bunny and gives it more stability when standing inside the grass. For the grass pieces, regular craft paper is fine.
Yes — the finished bunny in grass display is sturdy enough to make a few days before Easter and use as a table decoration or gift. Store flat if possible to protect the grass shape.
Yes — it works well for preschool and kindergarten Easter parties with adult help for cutting. Pre-cut the template pieces for each child and set up stations for gluing and decorating to make it run smoothly.
This is one of those crafts that looks more impressive than the effort it takes, which is exactly the kind I want to share. Print the template, gather a few basic craft supplies, and you’ve got a Spring Break activity that produces something cute enough to put on the Easter table. My kids have made this more than once — the bunny face drawings get a little more ambitious every year.
Here are some more fun Easter posts to check out:
Hi! I’m Nellie. I am an entrepreneur, a busy mama of 3 and a wife to my high school sweetheart. I have been sharing content for over 12 years about how to cook easy recipes, workout tips and free printables that make life a little bit easier. I have been featured in places like Yahoo, Buzzfeed, What To Expect, Mediavine, Niche Pursuits, HuffPost, BabyCenter, Mom 2.0, Mommy Nearest, Parade, Care.com, and more!
Get comfortable and be sure to come hang out with me on social. Don’t forget to grab your free fitness journal before you go!