How To Make Beginner Sourdough Starter
A few years ago, my timeline was straight-up flooded with people making sourdough bread, and I’ll be honest—I didn’t get the hype. That is, until I made my own starter, and suddenly, I was out here baking biscuits, pancakes, and even sourdough waffles like I was running my own bakery! If you’ve ever wanted to get into sourdough but felt intimidated, let me put you at ease—this is easy, fun, and totally worth it.
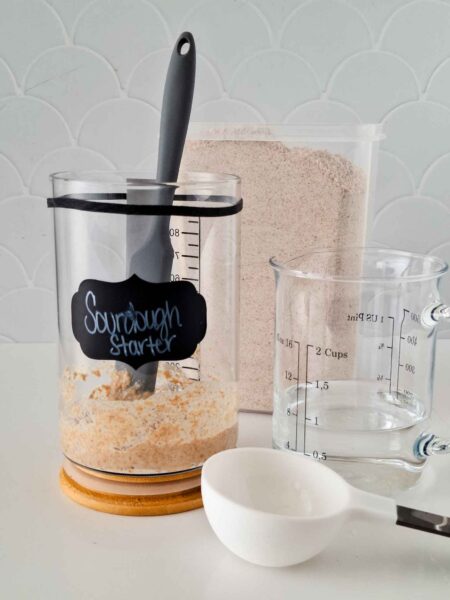
What tools do you need?
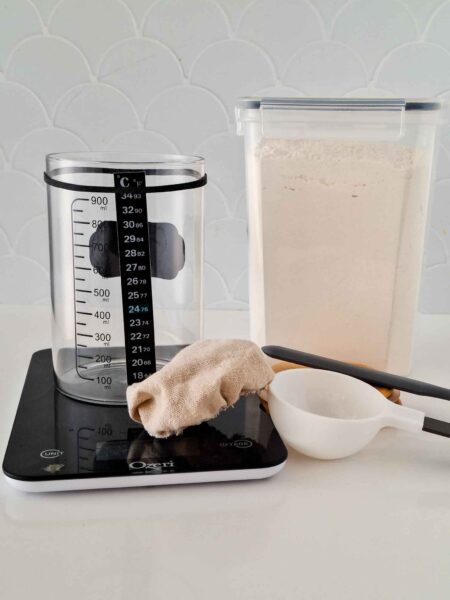
Digital Kitchen Scale
*Thermometer Band (or sourdough temp control box)
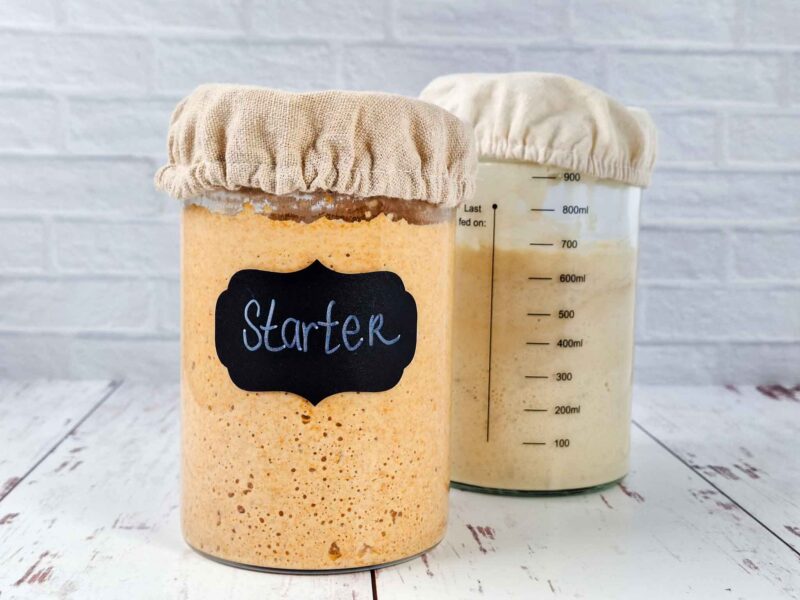
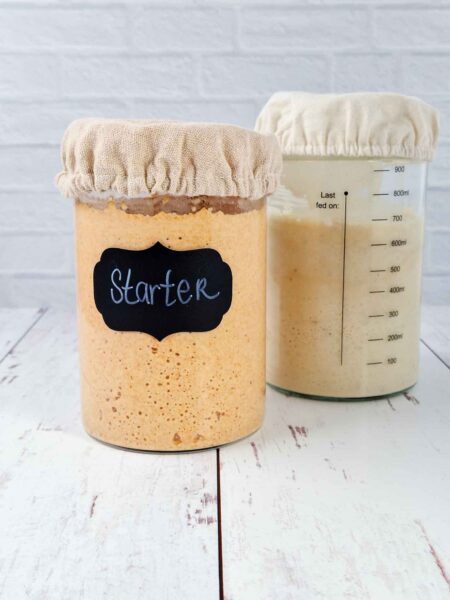
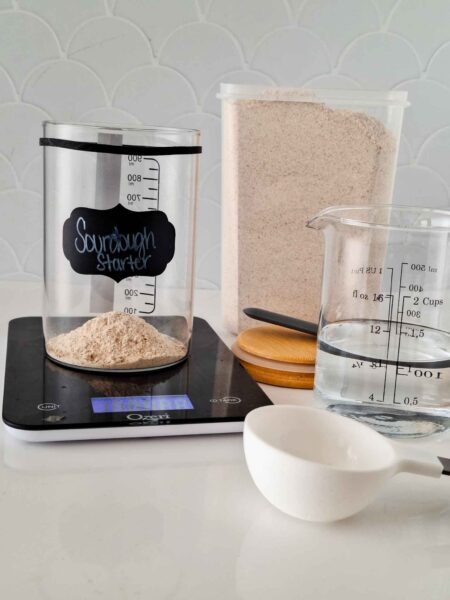
*Starter Jar (can be any medium sized mason jar)
*Silicone Scraper (to not mess with the chemical reactions happening)
*Lid (short term/long term storage-seals jar when necessary)
*Breathable cloth cover (use an unbleached cloth cover to allow airflow and prevents outside contaminants or bugs. Also prevents dough from evaporating and drying out.
If you get one of these handy sourdough starter kits from Amazon, it includes everything with the asterisk next to it.
Ingredients
Whole Wheat or Rye Flour – This gives your starter the best depth of flavor, but you can also use all-purpose flour.
Water – Just plain tap water, nothing fancy!
Patience – Not an ingredient you can measure, but you’ll need it while your starter does its thing over 7 days.
How to Make It
Day 1: Mix It Up
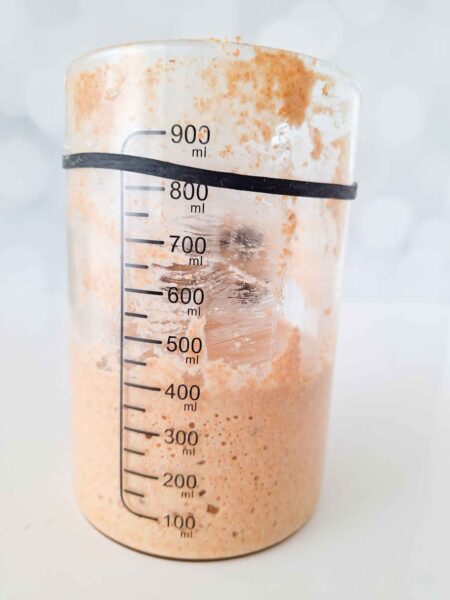
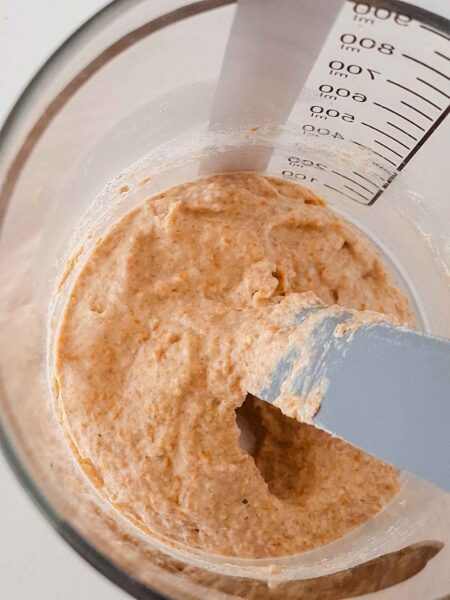
Combine equal parts flour and water (100 grams each) in a jar. Stir until smooth, cover with a breathable cloth, and let it sit in a warm spot (70-75°F).
Day 2: The Magic Begins
You might see small bubbles forming and smell a slightly funky odor—congrats, fermentation has begun! Give it a stir, cover it back up, and let it rest.
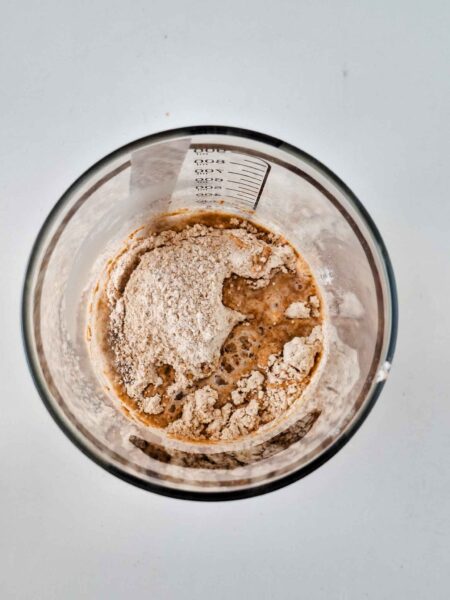
Day 3: First Feeding
Now it’s time to feed your starter. Discard half of it (I know, it feels wrong, but trust me), then mix in fresh flour and water in the same 100g:100g ratio. Cover and rest again.
Days 4-6: Keep the Feeds Coming
Repeat the discard and feed process every day. Your starter will start growing and bubbling more!

Day 7: Ready to Bake!
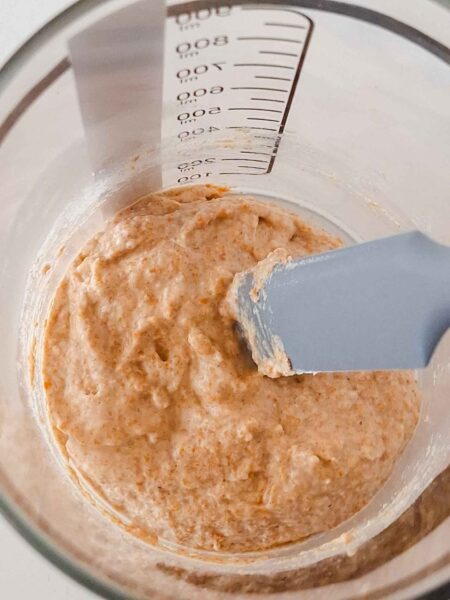
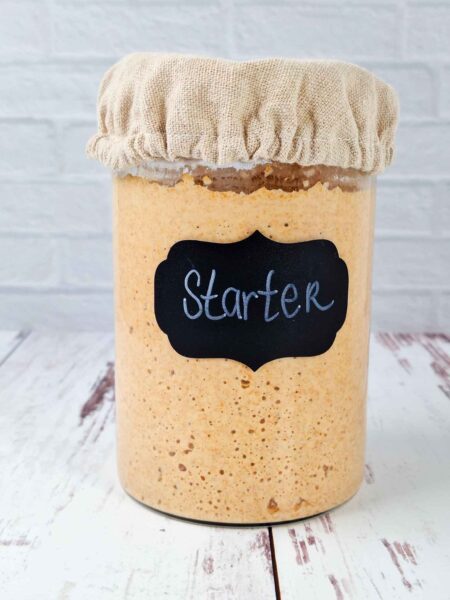
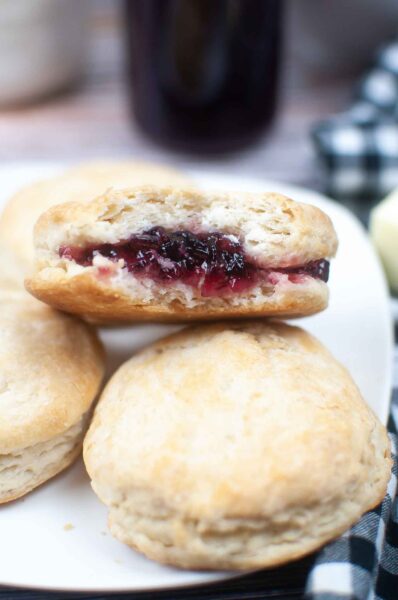
By now, your starter should be doubling in size within a few hours, with a pleasant, slightly tangy smell and a fluffy, sponge-like texture. Time to get baking—hello, sourdough biscuits!
FAQ
How do I know my starter is ready?
It’ll double in size, have lots of bubbles, and smell pleasantly tangy.
What if it smells weird?
If it smells like nail polish remover, mold, or just straight-up rotten, toss it and start fresh.
Can I make more at once?
Yep! Just use a bigger jar and start feeding it every 12 hours instead of 24.
My Sourdough Starter Obsession
I remember seeing all these sourdough starters online, and I thought, Who has time for this?! But once I finally gave in and made my own, I became that person preaching the gospel of sourdough. I started with bread but quickly realized how versatile it was—sourdough biscuits? Life-changing. Pancakes? Next level. There’s just something magical about baking with your own homemade starter.
Why This Recipe Works
Making sourdough at home is all about letting nature do its thing. You don’t need fancy ingredients or crazy skills—just flour, water, and time. Plus, once you have a strong starter, you can use it in so many ways beyond just bread. If you’ve been on the fence, this is your sign to start!
Here are some delicious recipes to try with your sourdough starter:


Homemade Sourdough Starter
Making your own sourdough starter is way easier than it sounds—just flour, water, and a little patience, and you'll have the base for next-level bread, biscuits, pancakes, and more. Once you see those bubbles and smell that tangy goodness, you’ll never go back to store-bought!
Ingredients
- 100 grams Whole Wheat Flour or Rye flour (gives depth of flavor) (could also use All purpose flour)
- 100 grams tap Water
Instructions
Instructions for Day One
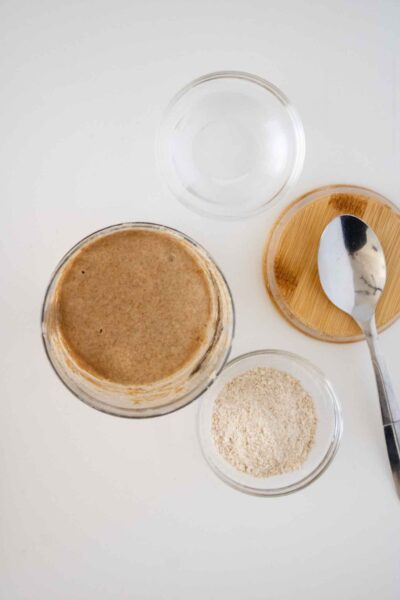
- Place a small bowl on the kitchen scale, tare to zero and measure 100 grams of water
- Remove, then set aside.
- Place another bowl on the kitchen scale, tare to zero and measure 100 grams of flour
- Remove, then set aside.
- Add the water and flour to the Starter Jar and mix until well combined.
- Note the time of this first feeding – this is what time every other feeding needs to happen.
- Cover with breathable cover and set in an out of the way space with a constant temperature around 70-75 degrees.
Instructions for Day Two:
- After 24 hours you should see small bubbles and it may have an odor. This is the first sign of fermentation-its supposed to do this.
- Stir and place breathable cover back on. Rest for 24 hours.
Instructions for Day Three: feed the starter
- Discard 100 grams (half of the starter)
- Add in 100 grams of flour and 100 grams water.
- Stir to incorporate into the reserved starter.
- Cover with the cloth and mark the starter with the band to keep track of the level.
- Rest for 24 hours
Instructions for Day Four-Six
- Follow the same process as day 3
- Discard 100 grams, Add 100 grams flour + 100 grams water
- Stir, cover with breathable cloth. Rest 24 hours
Instructions for Day Seven
- By this time your starter should be doubling in size within 3-4 hours.
- An active starter will present with lots of large and small bubbles.
- The texture should be soft and spongy.
- The smell should no longer be pungent, it should be pleasant
Notes
How to know when the starter is ready?
It will double in size
Lots of bubbles
Fluffy/sponge like texture
Pleasant odor
How do I know if the starter is past peak?
If the starter has a strong acidic odor, or smells like nail polish or mold, toss it.
To grow larger batches of starter…
Use a larger jar. Feed your starter every 12 hours instead of every 24 using the same method. Once you’ve hit your desired amount to always have on hand, you can return to 24 hour feeding.
Nutrition Information
Yield
10Serving Size
1Amount Per Serving Calories 70Total Fat 0gSaturated Fat 0gTrans Fat 0gUnsaturated Fat 0gCholesterol 0mgSodium 1mgCarbohydrates 15gFiber 2gSugar 0gProtein 2g

Before you go, Grab Your Free Printable Recipe Kit!
Keep track of all your favorite recipes and ingredients with this free printable book!
Hi! I’m Nellie. I am an entrepreneur, a busy mama of 3 and a wife to my high school sweetheart. I have been sharing content for over 12 years about how to cook easy recipes, workout tips and free printables that make life a little bit easier. I have been featured in places like Yahoo, Buzzfeed, What To Expect, Mediavine, Niche Pursuits, HuffPost, BabyCenter, Mom 2.0, Mommy Nearest, Parade, Care.com, and more!
Get comfortable and be sure to come hang out with me on social. Don’t forget to grab your free fitness journal before you go!