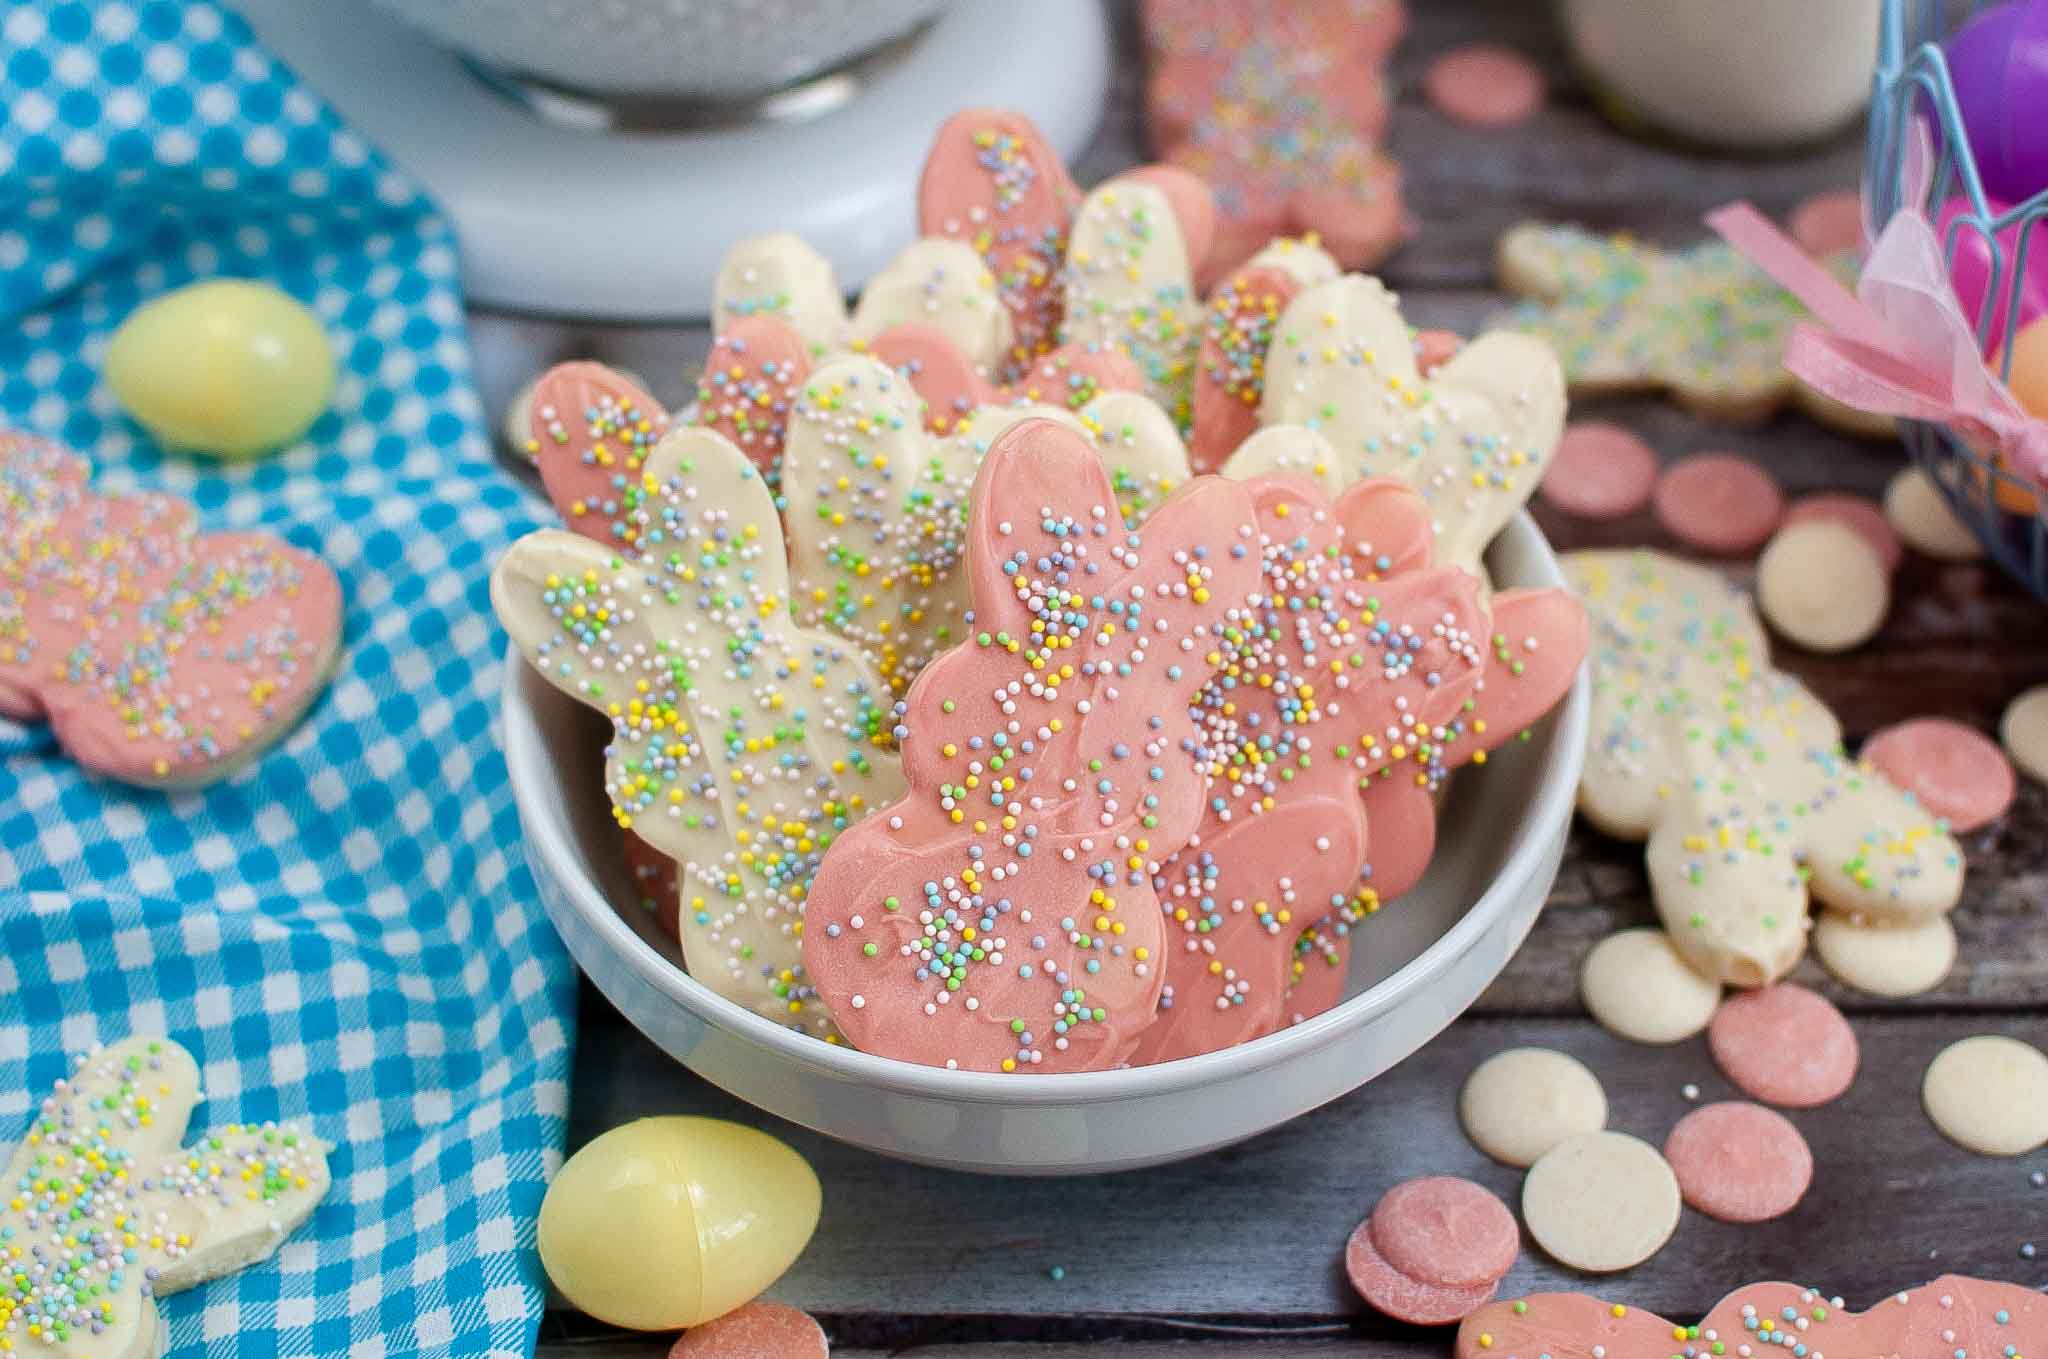
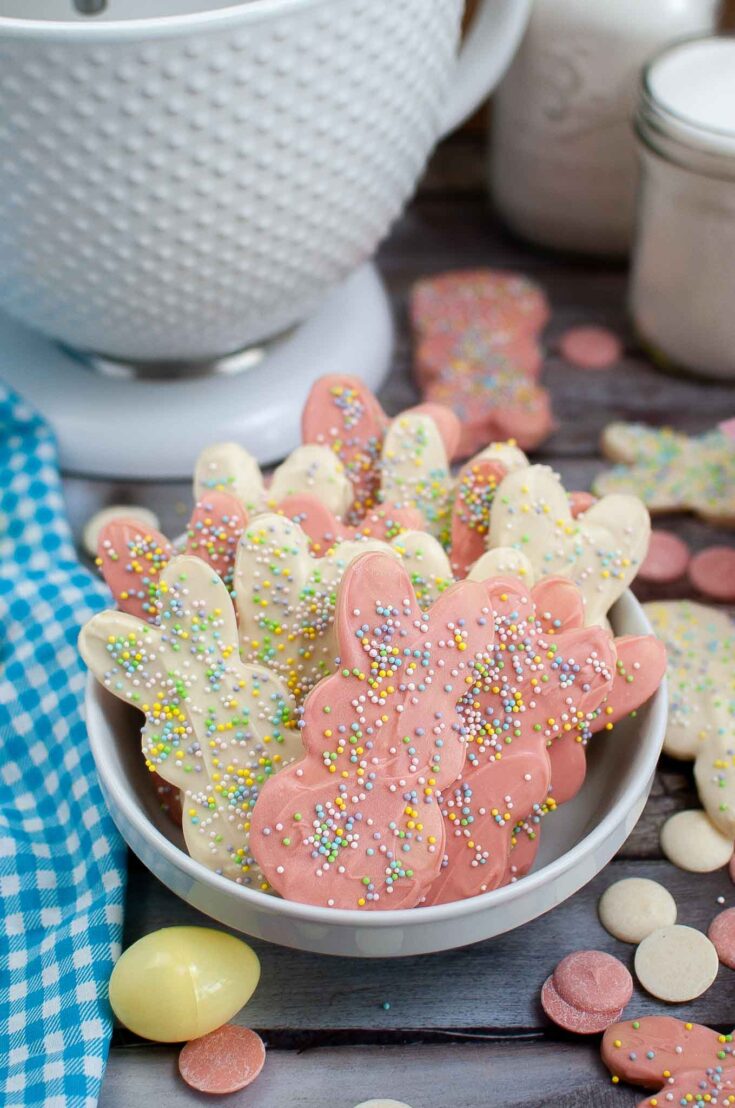
Easy Easter Bunny Cookies
These Easter Bunny Sugar cookies are so fun to make! Made with a simple sugar cookie recipe and fun pastel colors!
Sugar cookies for Easter were always something I admired from a distance — the kind of thing other people made and I just bought from the bakery. Then one year I decided to actually try it, and I’ve been making these every Easter since. The from-scratch dough is simpler than it looks, the candy melt finish is so much easier than royal icing, and the end result is the kind of thing that makes people think you spent way more time than you did.
The key to these is the chill time — 4 hours minimum, overnight if you can. Cold dough rolls cleanly, holds its shape through cutting and baking, and gives you the defined bunny ears and edges that make the finished cookies look bakery-quality. Don’t skip it.

WHAT YOU’RE MAKING
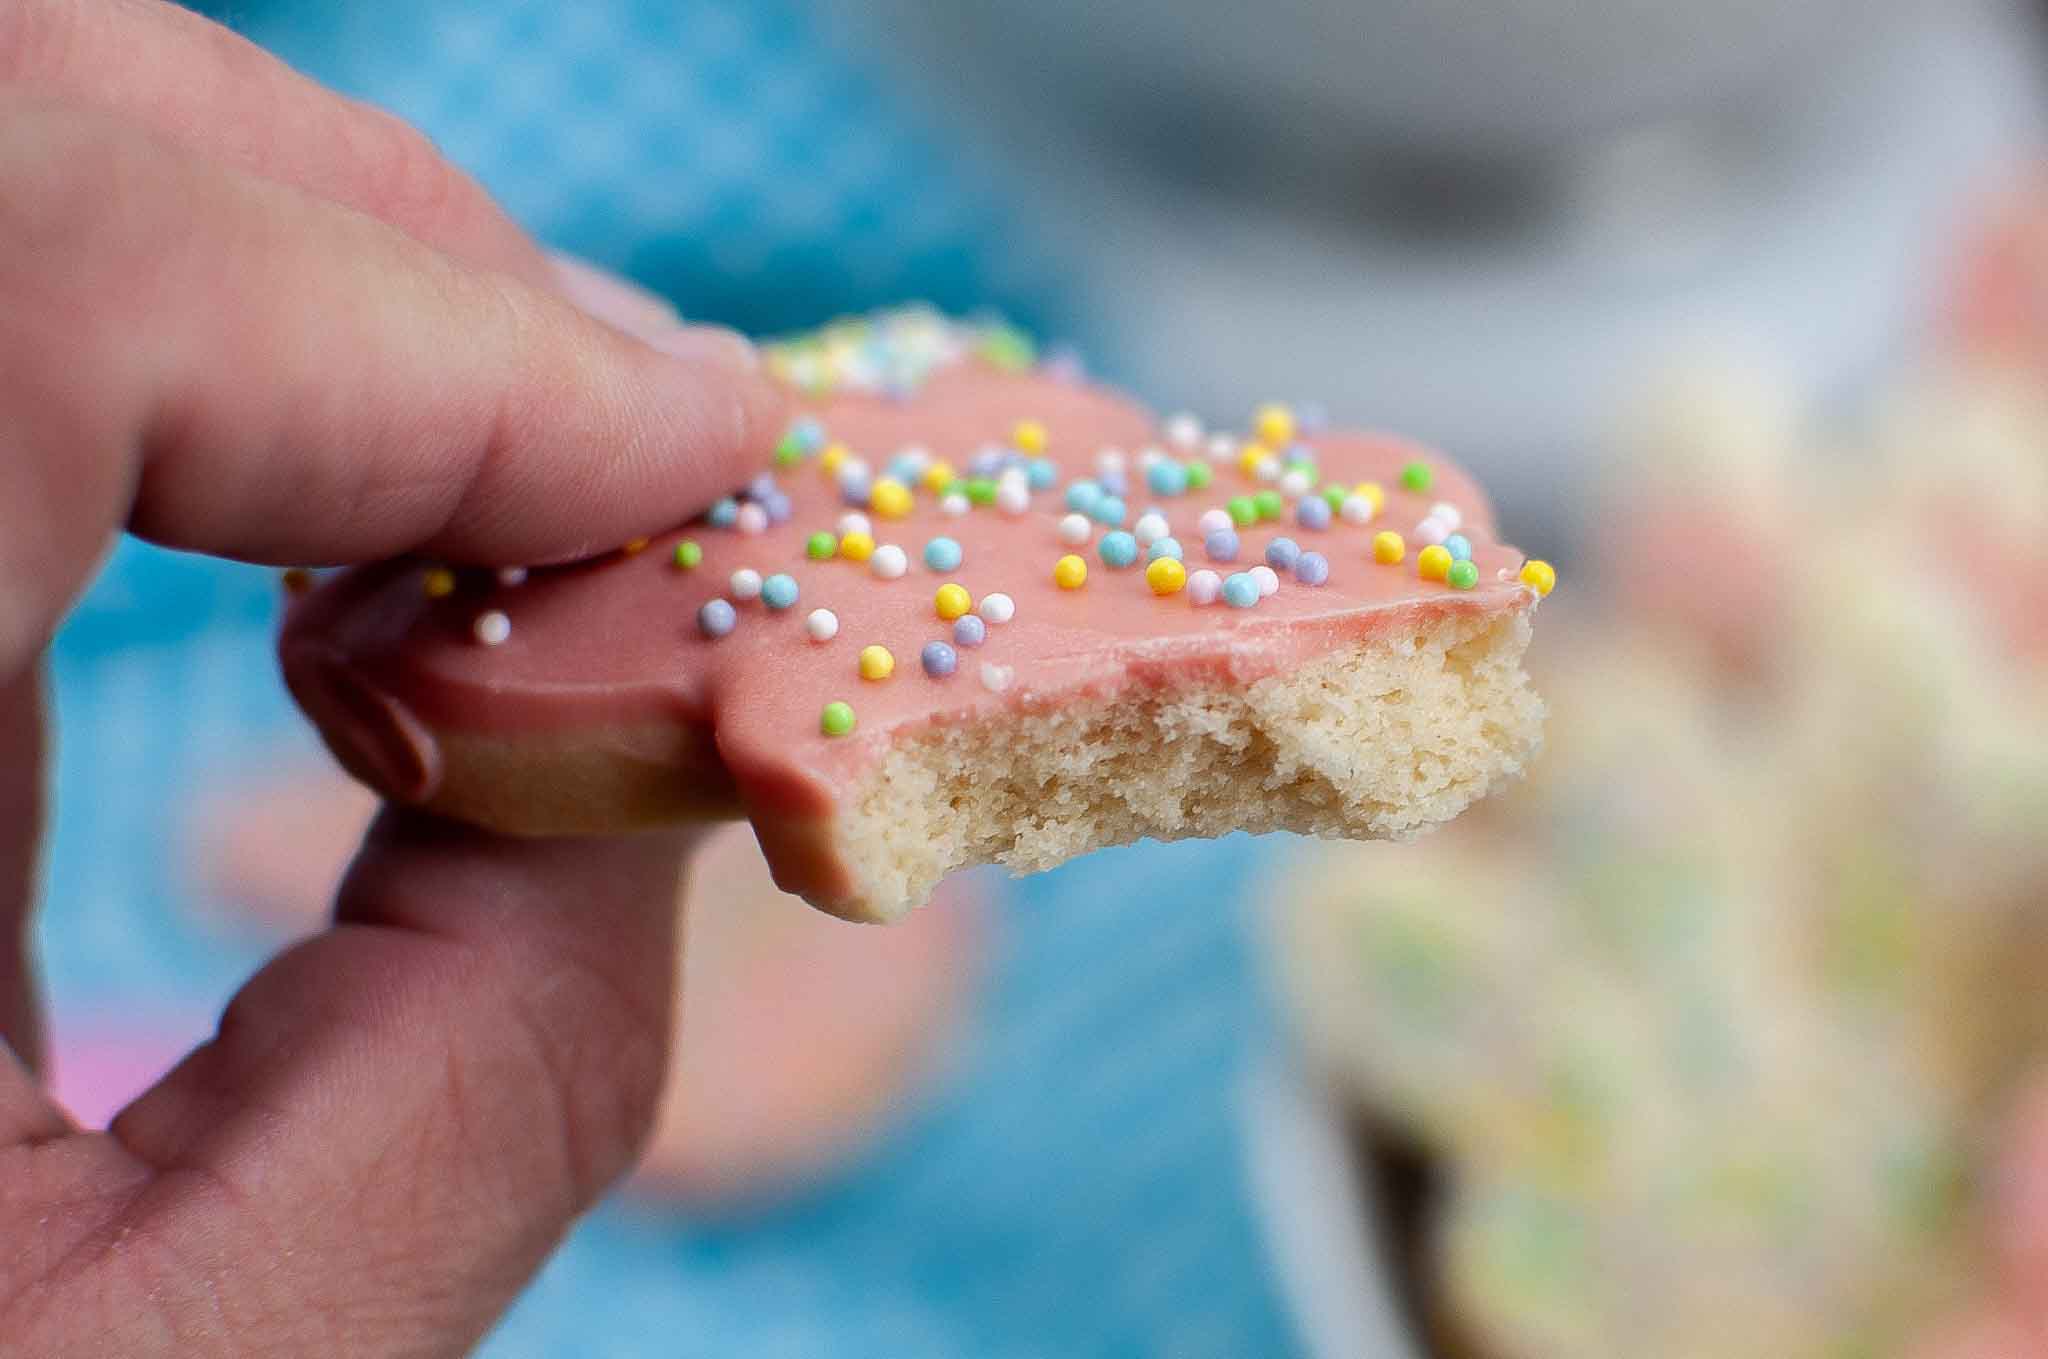
From-scratch butter sugar cookies cut into bunny shapes with a 4-inch cookie cutter, then finished with pink and white candy melts and Easter sprinkles. The candy melts give a glossy, smooth coating that sets firm at room temperature — no piping skills required, no royal icing waiting time, and the finish looks polished.
Two decoration options:
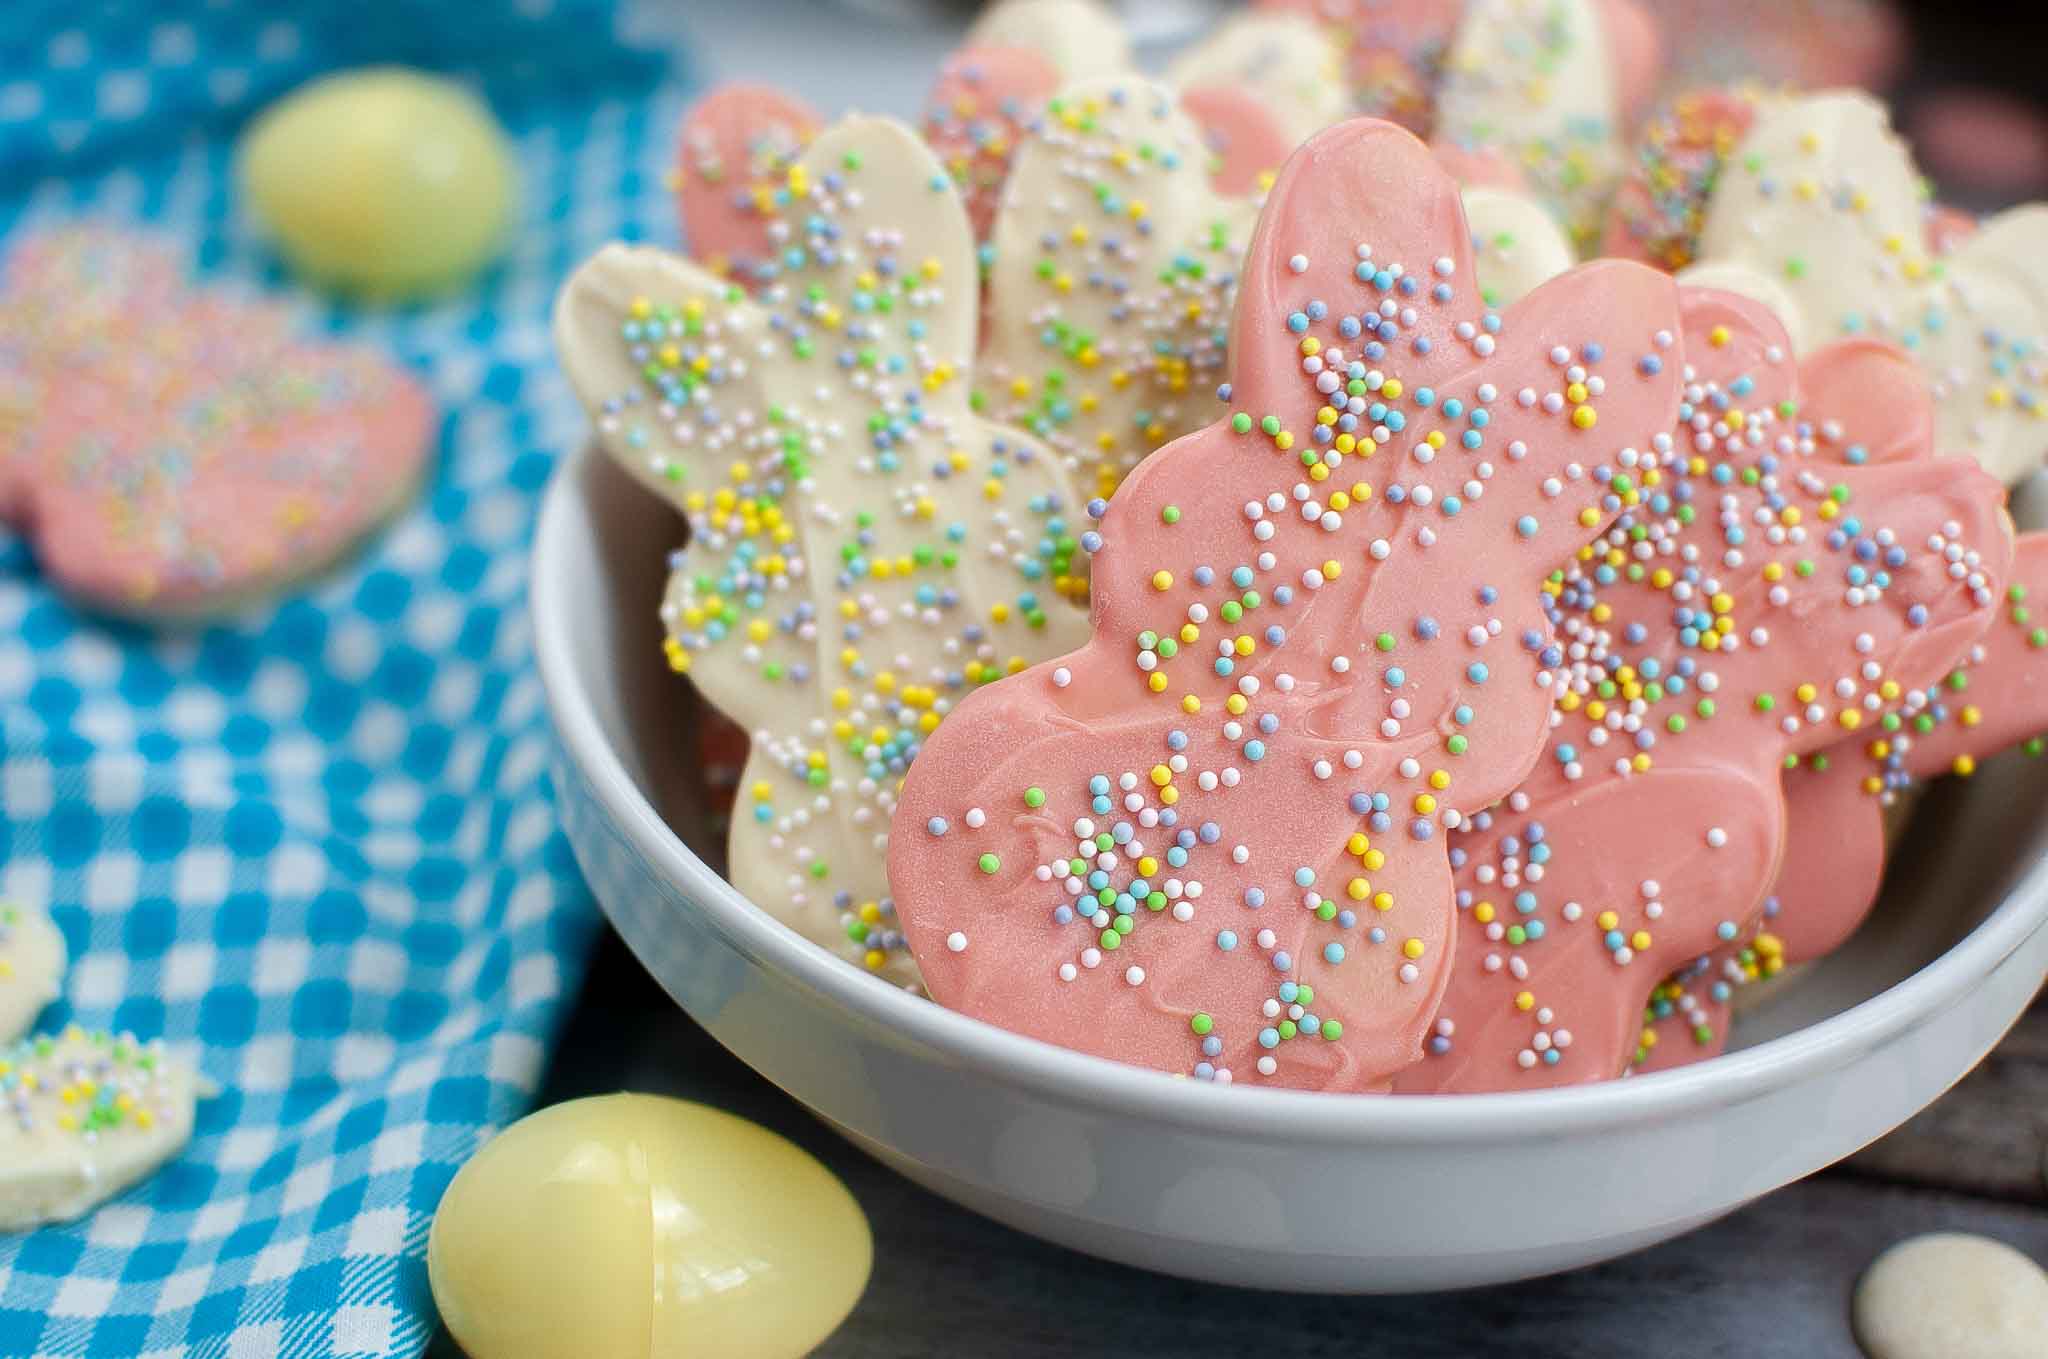
- Pink candy melt dip — the whole cookie coated in pink for that classic pastel Easter look
- White candy melt dip — cleaner, more minimal, lets the sprinkles pop in color
What ingredients do you need for these Easter Bunny Cookies?
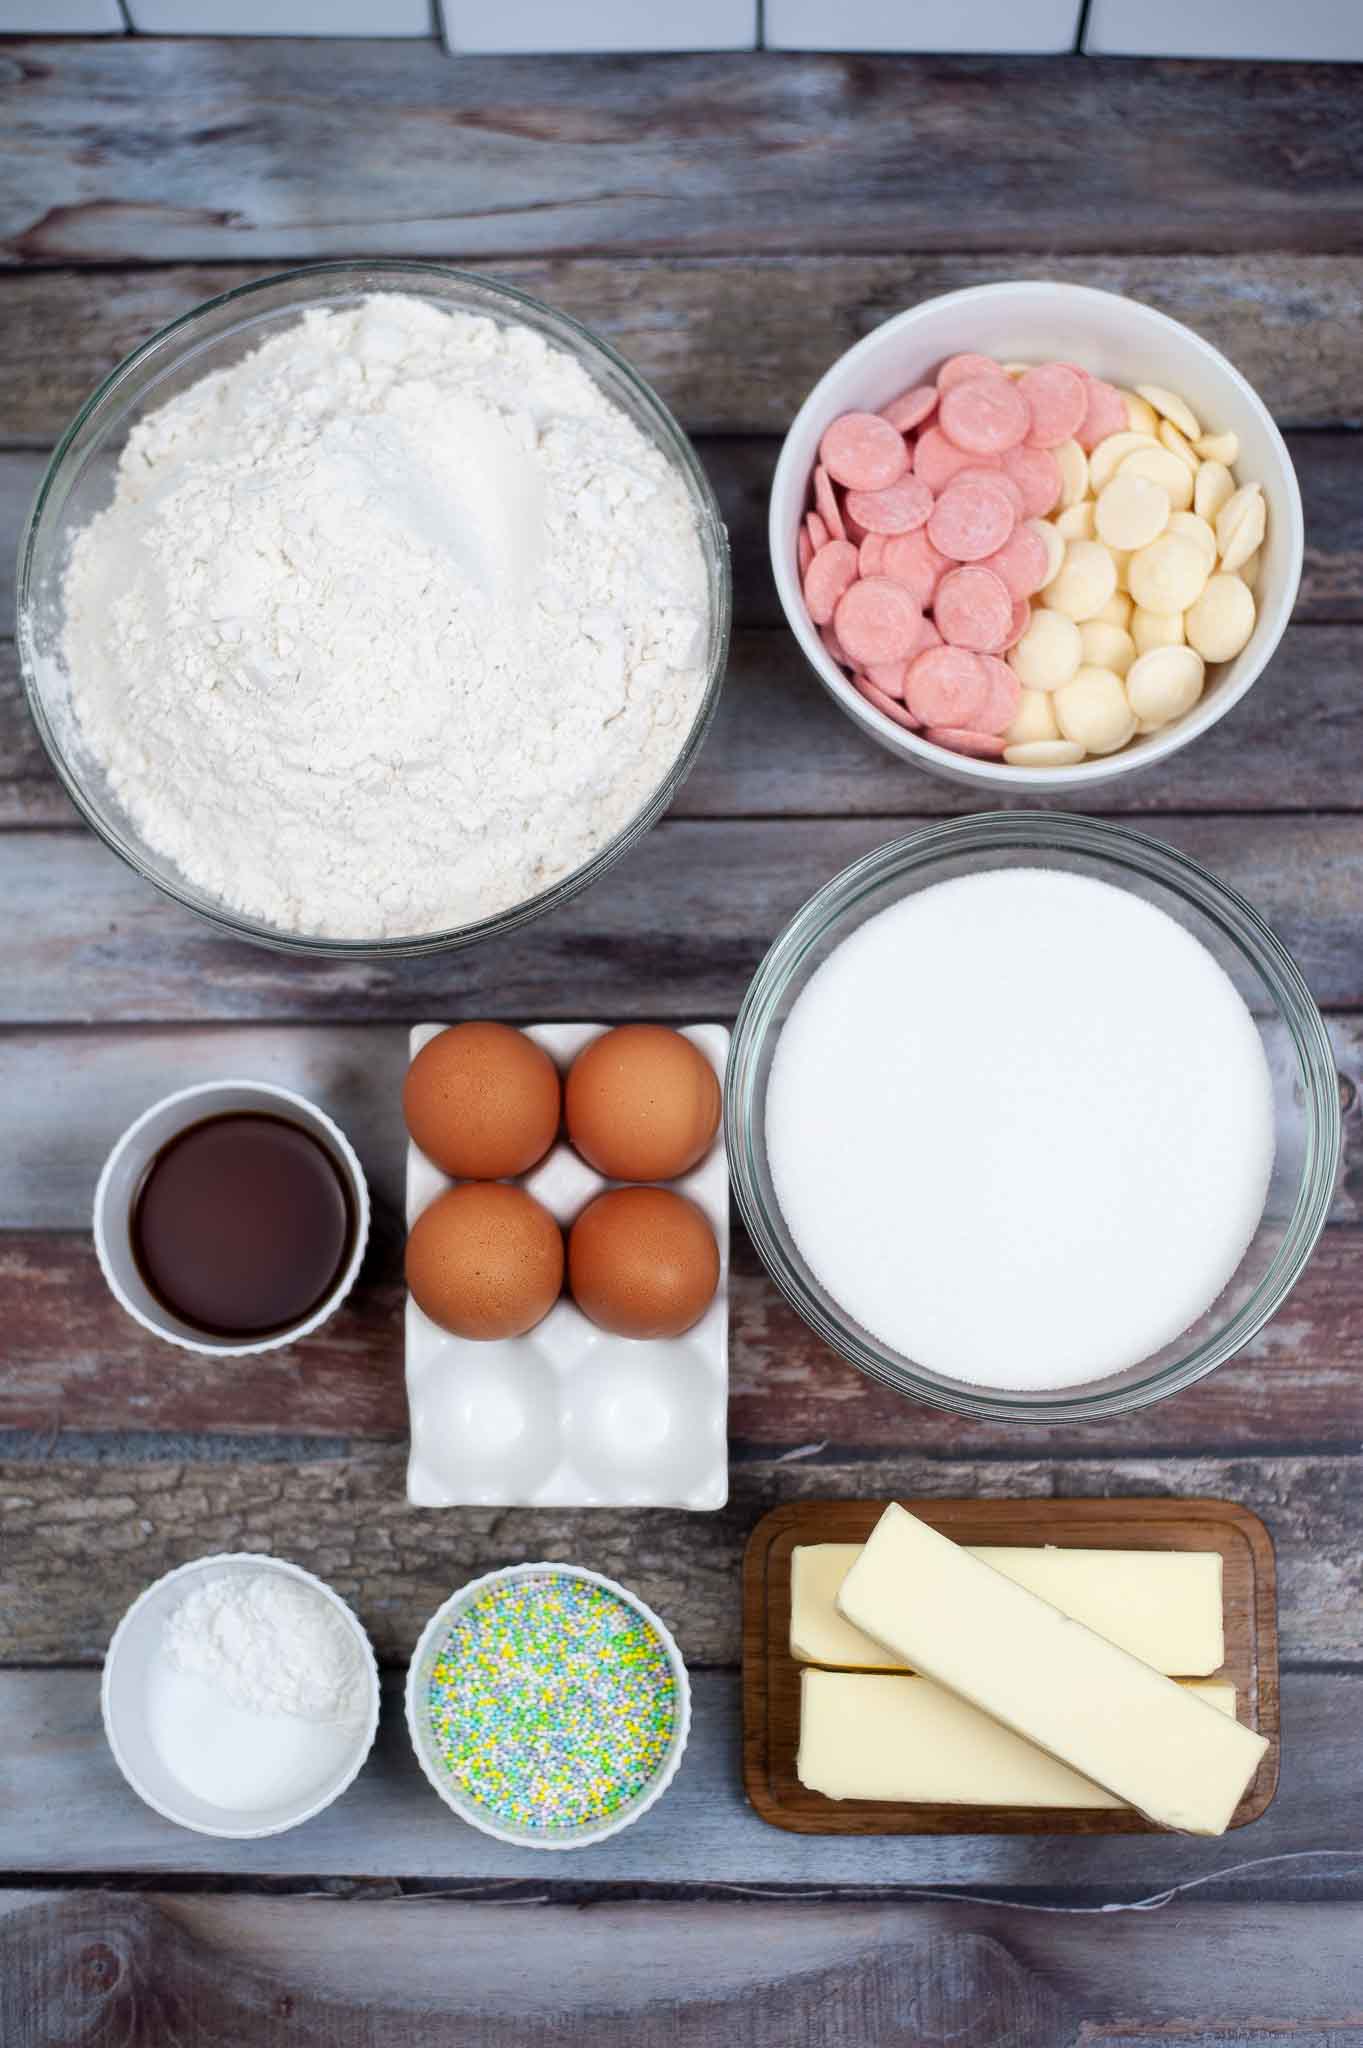
- butter softened
- white sugar
- eggs
- vanilla extract
- all-purpose flour
- baking powder
- salt
- White candy melts
- Pink candy melts
- Easter sprinkles
You can do all pink, all white, or a mix of both across the batch for visual variety.
INGREDIENT NOTES
Butter (1½ cups / 3 sticks), softened: Must be at room temperature — soft enough that your finger leaves an indent. This recipe uses a significant amount of butter, which is what makes these cookies tender and rich rather than dry. Cold butter will make the dough crumbly and hard to work with; melted butter will make it greasy and sticky.
White sugar (2 cups): Standard granulated sugar. This recipe doesn’t use powdered sugar in the dough — the granulated sugar gives a slight crispness to the edge of each cookie that contrasts nicely with the soft center.
Eggs (4 large): Added one at a time to ensure they incorporate smoothly without breaking the creamed butter mixture.
Vanilla extract (1 tsp): Pure vanilla extract preferred. You can add a second teaspoon for a stronger vanilla flavor — this recipe can handle it.
All-purpose flour (5 cups): Measured by spooning into the measuring cup and leveling — do not scoop directly from the bag. This recipe uses a lot of flour, which is intentional: the high flour ratio is what makes the dough stiff enough to roll, cut, and hold shape without spreading in the oven.
Baking powder (2 tsp): Whisked into the flour before adding to the wet ingredients. This ensures even distribution through the dough.
Salt (1 tsp): Also whisked into the flour. Balances the sweetness.
White candy melts (12 oz) + Pink candy melts (12 oz): Wilton is the standard recommended brand — widely available at Michaels, Walmart, and Amazon. Candy melts melt smoothly, set firm at room temperature, and come in pre-colored options so no food coloring is needed. Use separate microwave-safe bowls for each color. Do not mix the colors.
Easter sprinkles: Apply immediately after dipping while the candy melt is still wet. Pastel nonpareil mix (small round sprinkles) works well, as do shaped Easter sprinkles — bunnies, eggs, flowers.

How To Make These Easter Cookies
Make the dough
In a large bowl, cream the softened butter and sugar together until light and fluffy, about 2–3 minutes with a hand mixer or stand mixer on medium speed.
Add the eggs one at a time, beating well after each addition. Add the vanilla extract and mix to combine.
In a separate bowl, whisk together the flour, baking powder, and salt. Add the dry ingredients to the wet ingredients gradually — about one cup at a time — mixing on low between additions. Once all the flour is incorporated, mix on medium until just combined. Do not overmix.
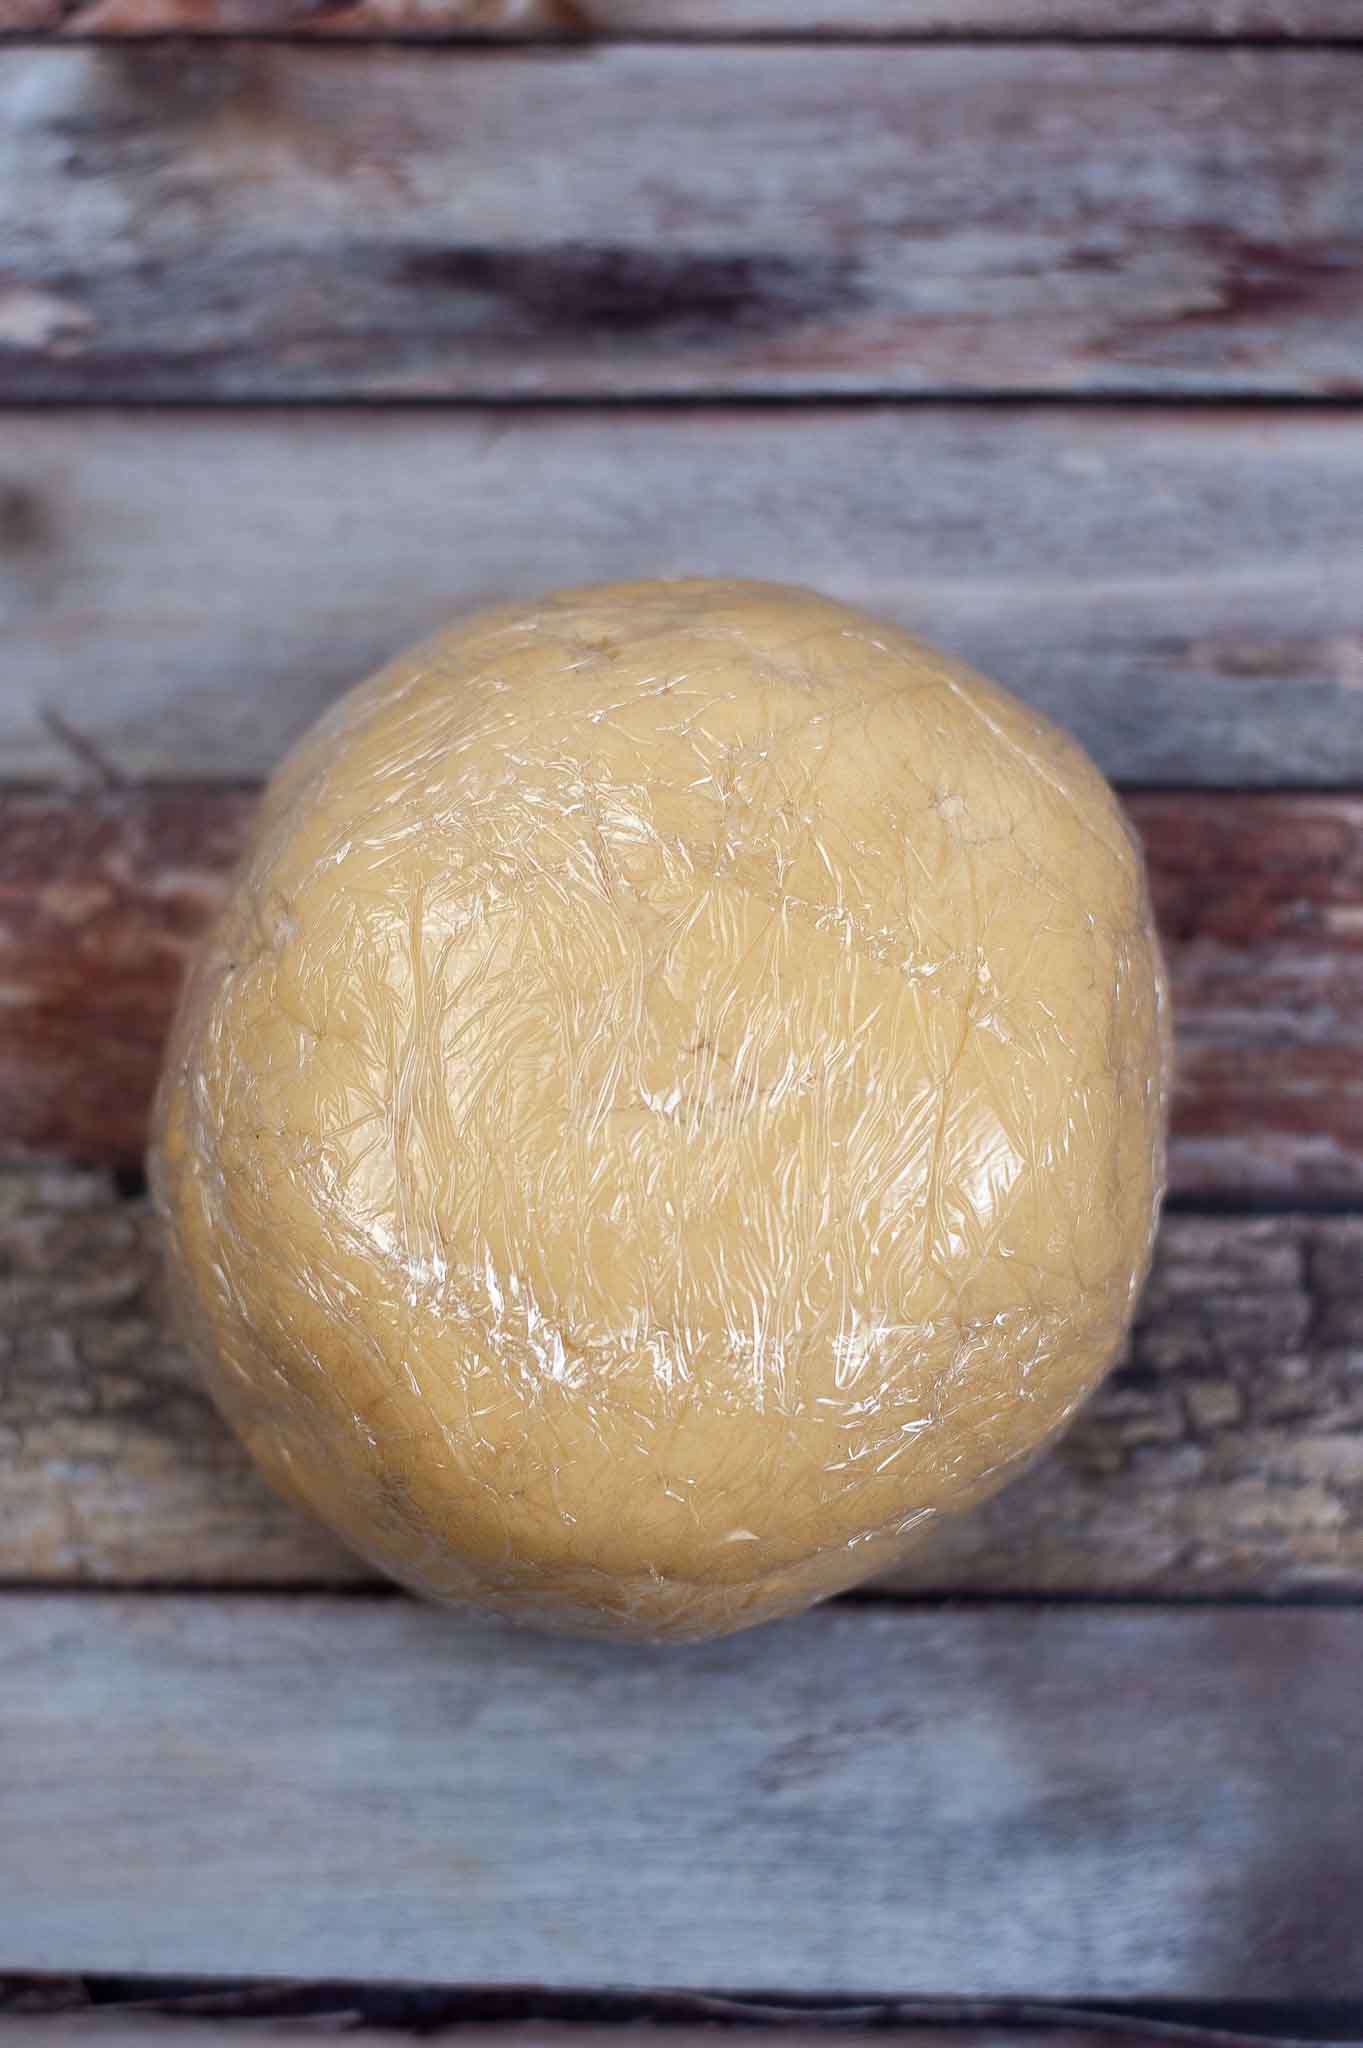
Chill the dough
Using your hands, shape the dough into a large ball. Wrap tightly in plastic wrap and refrigerate for at least 4 hours, or overnight. The dough will be very firm when it comes out of the refrigerator — this is correct and necessary for rolling.
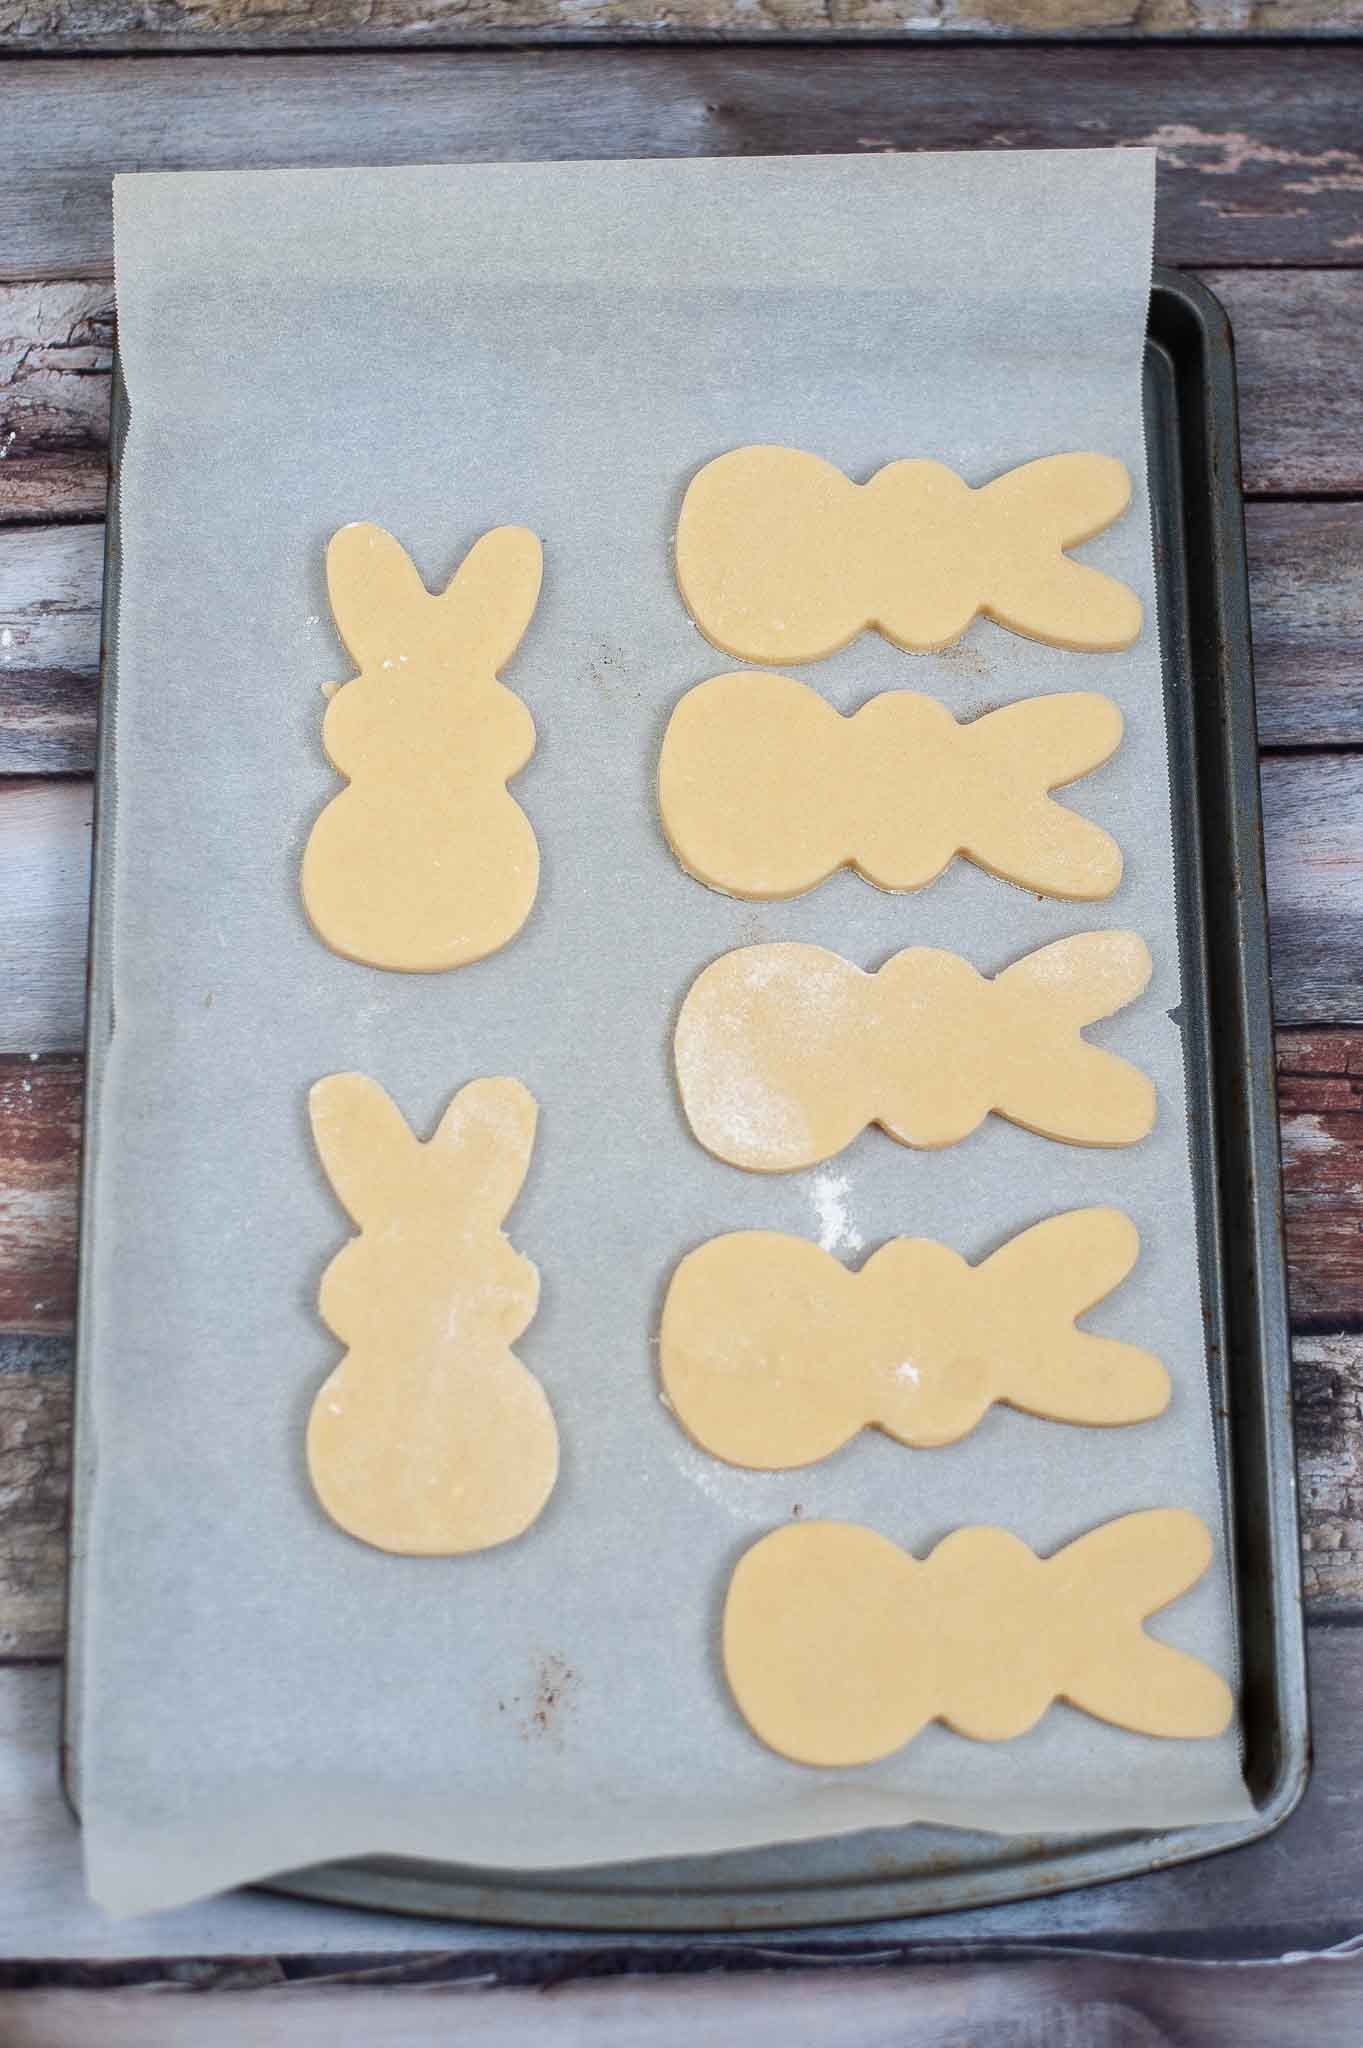
Roll and cut
When ready to bake, preheat the oven to 400°F. Line baking sheets with parchment paper.
Divide the chilled dough into 4 portions — working with one portion at a time keeps the rest cold. On a lightly floured surface, roll each portion to ¼-inch thickness. Use a 4-inch Easter bunny cookie cutter to cut out shapes. Place on prepared baking sheets with about 1 inch of space between each cookie.
Gather the scraps, re-roll, and cut additional cookies. Repeat with remaining dough portions.
Bake
Bake at 400°F for 7–9 minutes, checking at 7 minutes. The cookies are done when the edges are just barely set and the tops look matte, not shiny. They should not be golden — sugar cookies at this thickness bake pale. They will firm up as they cool.
Transfer to a wire rack and cool completely before decorating — at least 30 minutes. Decorating warm cookies will melt the candy coating immediately.
Melt the candy melts
Add the white candy melts to one microwave-safe bowl and the pink candy melts to a second bowl. Keep them separate. Microwave each at 30-second intervals, stirring between each interval, until fully melted and smooth — usually 2–3 intervals total. Do not overheat; candy melts will seize if overcooked.
If the candy melts are too thick for dipping, add ½ teaspoon of coconut oil or shortening and stir to thin.
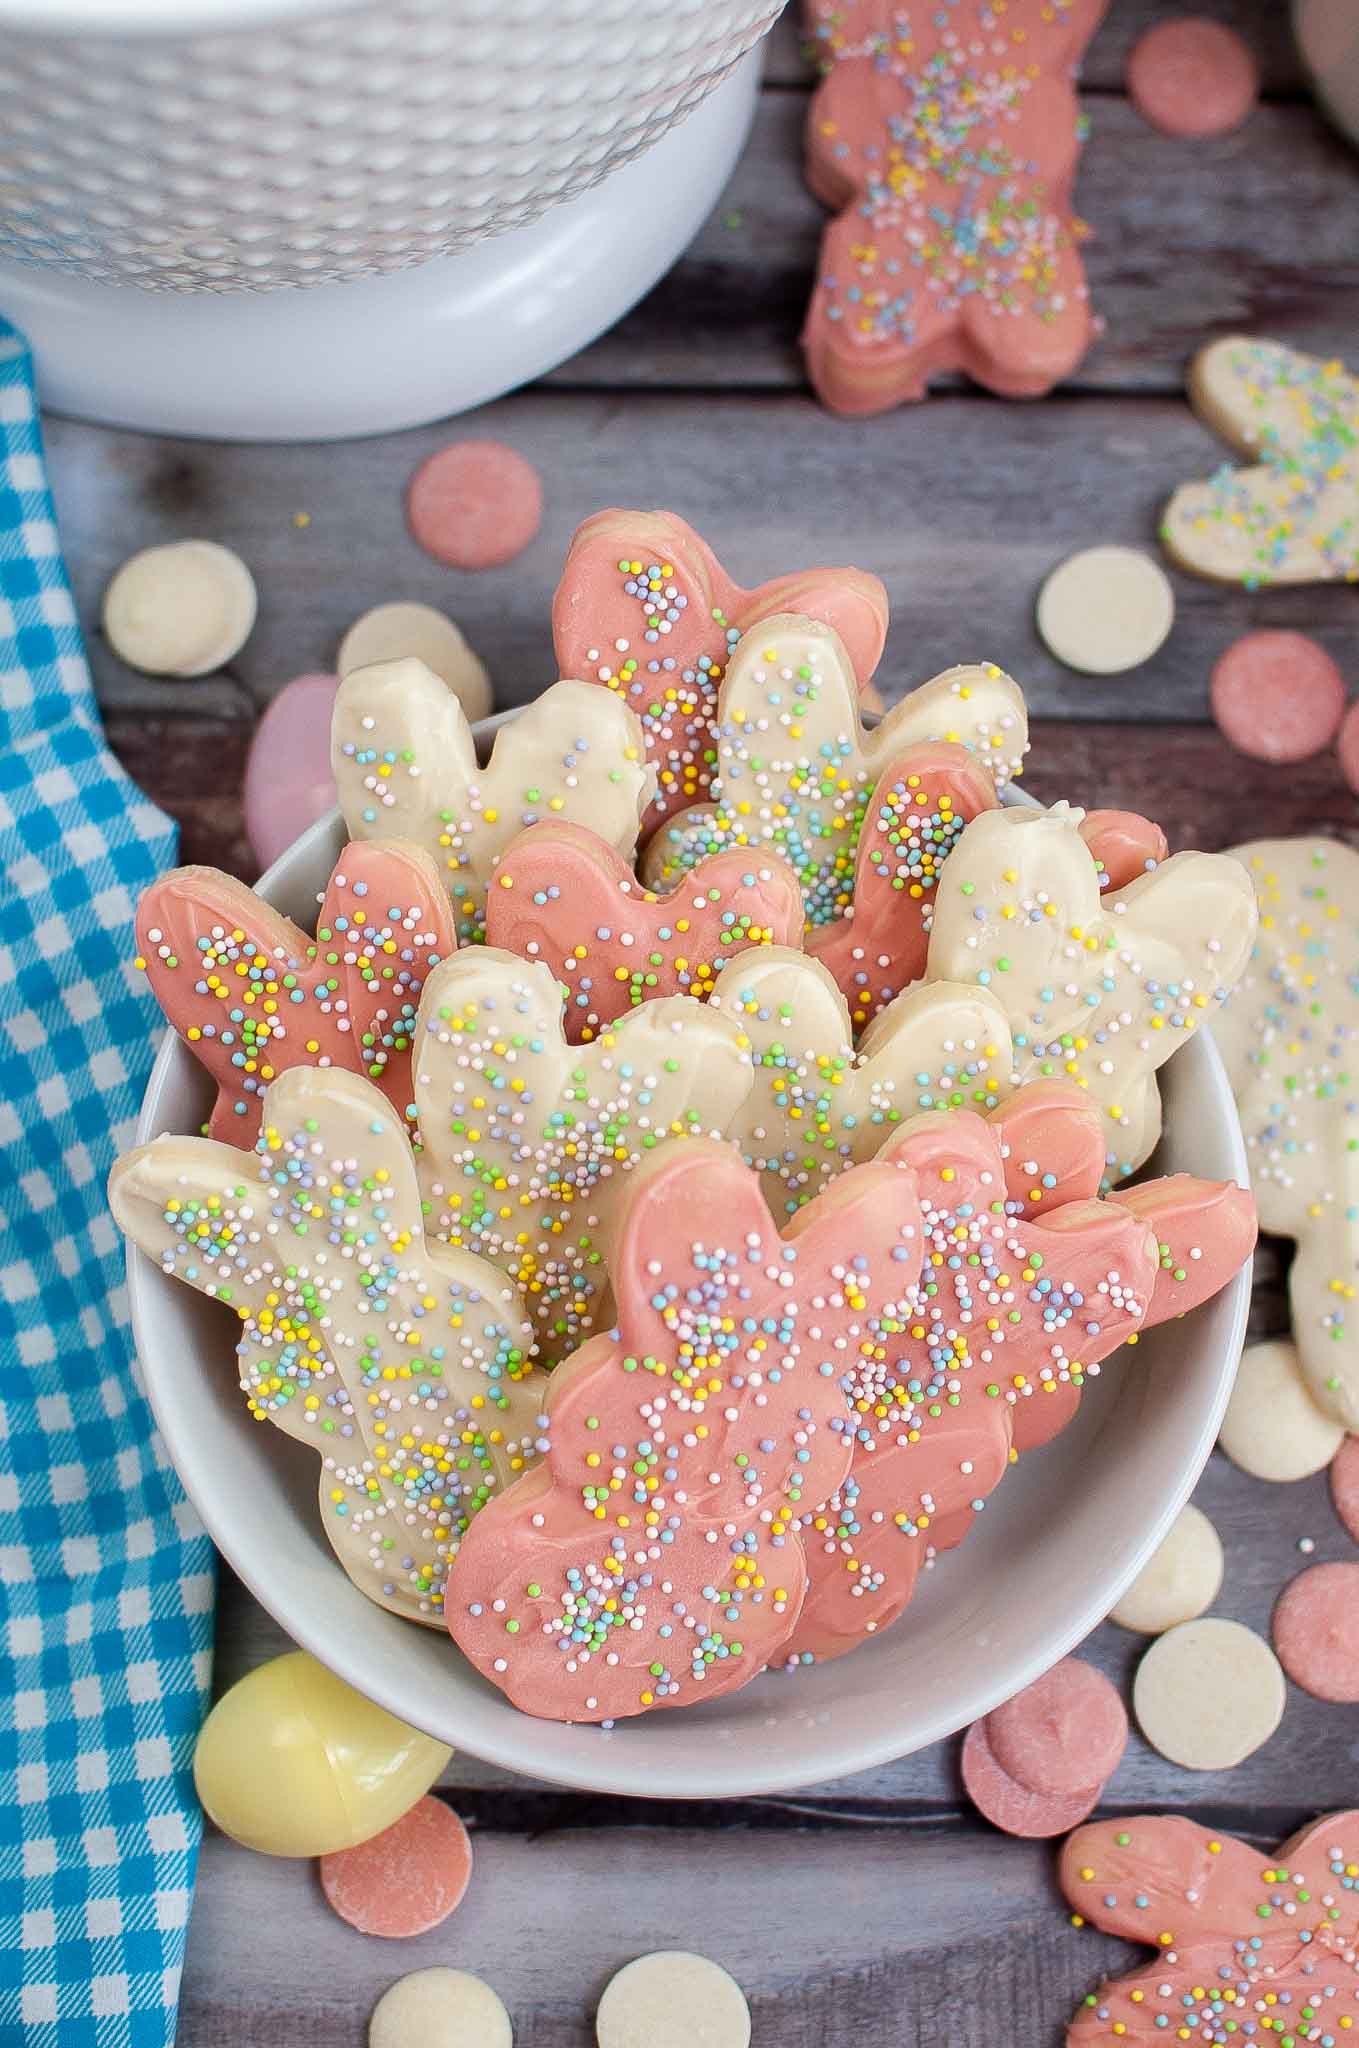
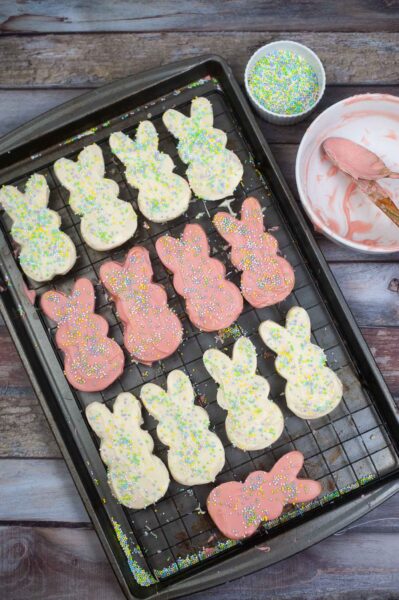
Decorate
Working one cookie at a time, dip the top face of each bunny cookie into the melted candy. Hold the cookie over the bowl for a second to let the excess drip off, then set on a parchment-lined surface. Immediately sprinkle with Easter sprinkles before the coating sets.
Alternatively, spoon the candy melt onto the cookie and spread with an offset spatula or the back of a spoon for a slightly thicker, more hand-crafted look.
Allow to set completely at room temperature, about 15–20 minutes. Do not refrigerate to speed this up — condensation will make the coating cloudy.
TIPS
The chill time is non-negotiable. Warm or room-temperature dough is too soft to roll and cut cleanly — the bunny shapes will distort when you try to transfer them to the baking sheet. Overnight chilling gives you the cleanest cuts and the best-defined ears and edges.
Work with cold dough in sections. Don’t roll out all the dough at once. Divide into four portions, keep three in the refrigerator while you work with one. If the dough starts to feel sticky or soft while rolling, wrap it back up and chill for 10 minutes before continuing.
Flour the surface and the cutter. A lightly floured surface prevents sticking. Dip the cookie cutter in flour before each cut to get clean edges without dragging.
Cool completely before dipping. Even slightly warm cookies will melt the candy coating immediately. Give them the full 30 minutes on the wire rack — or bake them the night before and decorate the next day.
Thin the candy melts if needed. If the melted candy is too thick and clumpy for smooth dipping, stir in ½ teaspoon of coconut oil or vegetable shortening. Do not add water — it will seize the chocolate immediately.
Apply sprinkles immediately. Candy melts set fast at room temperature. The window for sprinkles is about 30–60 seconds after dipping. Work one cookie at a time: dip, set down, sprinkle, move to the next.
Make-ahead option: Bake the cookies up to 2 days ahead and store undecorated in an airtight container. Decorate the day you plan to serve or give them.
VARIATIONS
Pastel royal icing: For a more detailed decorated look (piped outlines, flooded centers, face details), substitute royal icing for the candy melts. Royal icing allows you to pipe bunny faces — eyes, nose, whiskers — on top of the base coating once it sets.
Chocolate dip: Use white chocolate chips or milk chocolate candy melts instead of the pink/white options for a different flavor profile. Add a drop of coconut oil to help the chocolate melt smoothly.
Bunny face cookies: After the white candy melt base sets, use a small amount of pink candy melt in a piping bag (or zip-lock bag with a tiny corner snipped) to pipe a small oval nose and inner ear details.
Store-bought shortcut: Use refrigerated sugar cookie dough from the grocery store in place of the from-scratch dough. The texture will be slightly softer and the cookies may spread more, but the candy melt decoration technique is identical.
Other Easter shapes: The same dough and decoration technique works with egg, chick, and flower cookie cutters for a full Easter cookie platter.
FAQs
Yes — the dough can be made up to 3 days ahead and kept refrigerated, or frozen for up to 3 months. Wrap tightly in plastic wrap. If frozen, thaw overnight in the refrigerator before rolling. The 4-hour minimum chill is actually a benefit for make-ahead baking.
The most common causes: the dough wasn’t chilled long enough (the butter needs to be firm to hold the shape through baking), the dough was rolled too thick or too thin (aim for exactly ¼ inch), or the baking sheets were warm from a previous batch. Always use a cool baking sheet. If cookies are spreading, chill the cut-out shapes on the baking sheet in the refrigerator for 10 minutes before baking.
Yes. Royal icing gives you more decorating precision — you can pipe outlines, flood with color, and add fine detail like bunny faces and whiskers. The tradeoff is drying time: royal icing takes several hours to set fully, compared to 15–20 minutes for candy melts. For a quicker project with kids, candy melts are the easier choice.
Add ½ teaspoon of coconut oil or vegetable shortening and stir thoroughly. Repeat in small amounts until you reach a smooth, dippable consistency. Never add water — it will cause the candy melts to seize and become unusable.
Decorated cookies stored in an airtight container at room temperature will keep for up to 5 days. The candy melt coating protects the cookie surface and actually helps them stay fresh longer than uncoated cookies. Do not stack cookies until the coating is fully set — about 20 minutes after decorating.
Yes — freeze in a single layer on a baking sheet first until the coating is solid, then transfer to a freezer-safe container with parchment paper between layers. Freeze up to 2 months. Thaw at room temperature for 1–2 hours. The candy melt coating may develop slight condensation spots as it thaws, but the taste won’t be affected.
This recipe is designed for a 4-inch Easter bunny cookie cutter. A smaller cutter (2–3 inches) will yield more cookies and require slightly less baking time (check at 6 minutes). The Ann Clark 4-inch bunny cutter linked in the tools section is the one used in the photos.
It’s one of those easy recipes that will become your new favorite sugar cookie recipe. Whether you bake cookies by yourself or with family, these easter treats make for some really cute cookies!
One of my favorite easter cookie recipes that you can serve after one of those fun easter egg hunts!
These have become an annual Easter tradition — the kids cut the shapes, I handle the oven, and then everyone decorates together. The candy melt dip is the right call for this age group: it’s fast, it’s forgiving, and the finished cookies look like they came from a bakery. Make the dough the night before and the day-of project goes quickly.
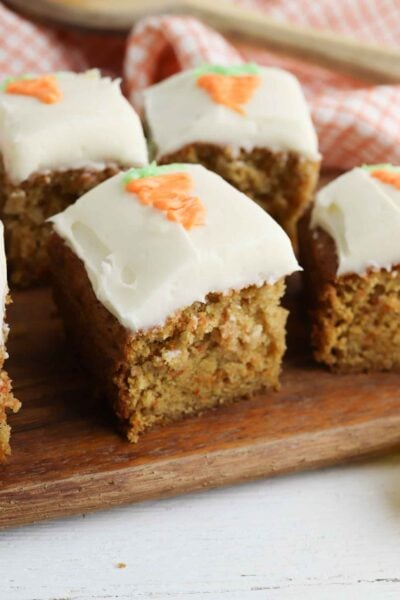
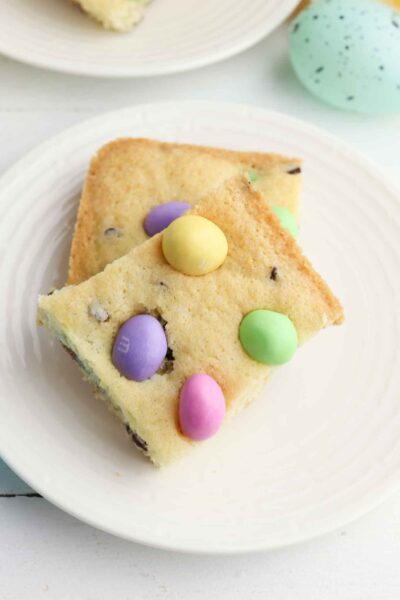
If you’re building out an Easter dessert table, the Carrot Cake Bars, Cadbury Egg Cookies, and Easter Egg Rice Krispie Treats are all linked below — everything bakes in advance and holds well.

Easy Easter Bunny Cookies
This is a super fun Easter Bunny recipe that is great for Easter baskets!
Ingredients
- 1 1/2 cups butter softened
- 2 cups white sugar
- 4 eggs
- 1 teaspoon vanilla extract
- 5 cups all-purpose flour
- 2 teaspoons baking powder
- 1 teaspoon salt
- 12 oz White candy melts
- 12 oz Pink candy melts
- Easter sprinkles
Instructions
- In a large bowl, cream the softened butter and sugar together until light and fluffy, about 2–3 minutes.
- Add the eggs one at a time, beating well after each addition. Add the vanilla extract and mix to combine.
- In a separate bowl, whisk together the flour, baking powder, and salt. Add the dry ingredients to the butter mixture gradually, about one cup at a time, mixing on low between additions until just combined.
- Using your hands, form the dough into a large ball. Wrap tightly in plastic wrap and refrigerate for at least 4 hours, or overnight.
- When ready to bake, preheat the oven to 400°F. Line baking sheets with parchment paper.
- On a lightly floured surface, roll the chilled dough to ¼-inch thickness, working in sections. Use a 4-inch Easter bunny cookie cutter to cut out shapes and place on prepared baking sheets about 1 inch apart.
- Bake for 7–9 minutes, until the edges are just set and the tops look matte. Do not overbake — these cookies should stay pale, not golden. Cool on a wire rack completely before decorating.
- Add white candy melts to one microwave-safe bowl and pink candy melts to a second bowl. Microwave each at 30-second intervals, stirring between each, until fully melted and smooth.
- Dip the face of each cooled cookie into the melted candy, let the excess drip off, then place on a parchment-lined surface. Immediately sprinkle with Easter sprinkles before the coating sets. Allow to harden completely at room temperature, about 15–20 minutes.
Notes
Do not add the baking powder and salt after the flour — whisk them into the flour first so they distribute evenly through the dough.
If the candy melts are too thick for dipping, stir in ½ teaspoon of coconut oil to thin. Never add water.
Cookies can be baked up to 2 days ahead and stored undecorated in an airtight container. Decorate the day you plan to serve.
Tools You Need For These Easter Bunny Cookies
Ann Clark Cookie Cutters Easter Bunny Cookie Cutter, 4"
My favorite brand of candy melts: Wilton Candy Melt
Nutrition Information
Yield
42Serving Size
1Amount Per Serving Calories 221Total Fat 7gSaturated Fat 4gTrans Fat 0gUnsaturated Fat 2gCholesterol 35mgSodium 139mgCarbohydrates 37gFiber 0gSugar 20gProtein 2g

Before you go, Grab Your Free Printable Recipe Kit!
Keep track of all your favorite recipes and ingredients with this free printable book!
Hi! I’m Nellie. I am an entrepreneur, a busy mama of 3 and a wife to my high school sweetheart. I have been sharing content for over 12 years about how to cook easy recipes, workout tips and free printables that make life a little bit easier. I have been featured in places like Yahoo, Buzzfeed, What To Expect, Mediavine, Niche Pursuits, HuffPost, BabyCenter, Mom 2.0, Mommy Nearest, Parade, Care.com, and more!
Get comfortable and be sure to come hang out with me on social. Don’t forget to grab your free fitness journal before you go!