Skip to Content
Search
Magnifying Glass
Search for:
Close Search
×
Home
About Me
Fitness
Running Tips & Tricks
Strength Training 101
General Fitness Tips & Tricks
Family
Pregnancy & Parenthood
Family Fun
Kids Printables/Activity Sheets
Travel
Travel Ideas + Free Travel Printables
Disney World Travel Tips, Tricks & News
MEALS
Breakfast Recipes
The Best Breakfast Recipes
Easy Muffin Recipes
Easy Overnight Oats Recipes
Delicious Sweet Breakfast Recipes
The Best Lunch Recipes
Lunch Ideas
The Best Pizza Recipes
Tasty Dinner Recipes
Tasty Dinner Ideas
Delicious Soup Recipes
The Best Pasta Recipes
Scrumptious Side Dishes
Easy Slow Cooker Recipes
Dessert
Delicious Cake Recipes
The Best Cupcake Recipes
The Best Homemade Ice Cream Recipes
50+ Easy Dessert Recipes For Kids
71 of The Best Cookie Recipes Ever
Drinks
Easy Mixed Drinks
Easy Milkshakes and Floats
Tasty Hot Drink Recipes
Amazing Mocktail Recipes
50+ Amazing Healthy Smoothies
Small Bites
33 Awesome After School Snack Recipes
Incredible Charcuterie Board Ideas
Delicious Dip Recipes
The Best Party Appetizers
Seasonal
St. Patrick’s Day
Valentine’s Day Recipes
Fun Easter Recipes
The Best Cinco De Mayo Recipes
50+ Easy 4th Of July Food Ideas
Contact Me
Privacy Policy
Free Printables
Blogging Courses
Editorial Page
Must Have Cookbooks
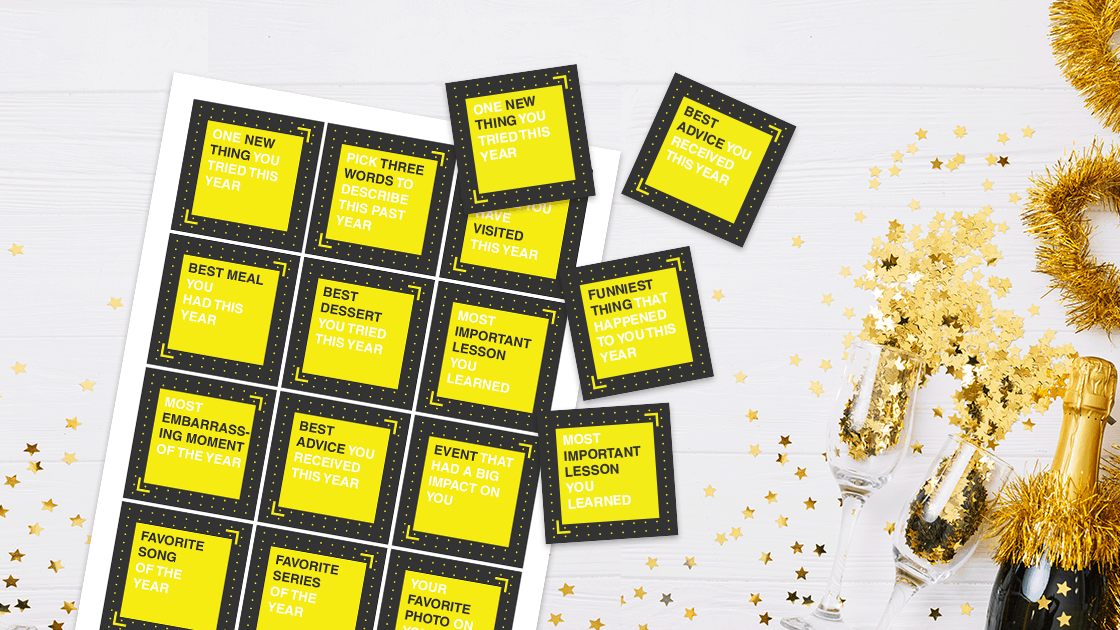
Year in Review_#1_blog image
Post navigation
New Year’s Party Family Games – Conversation Starters (Free Printable)
Click here to cancel reply.
Current ye@r
*
Leave this field empty