
Food photography is not easy especially when you are first starting out. Here are some easy ways to spice up your food photography!
We need it everywhere, food pictures! Healthy food, not so healthy food and even food that may taste delicious but simply looks really bad in a photo. I don’t post a ton of food on my Instagram but when I do, the pictures are so popular!

So when I was invited to a Food Photography workshop led by the amazing EatingNYC and hosted by World Kitchen on Instagram, I didn’t hesitate. I am always looking to improve my photography skills especially because social media is so incredibly visual.
I arrived a bit late because of work event but was welcomed immediately by the hosts with open arms. It’s so nice when you get somewhere all frazzled and the hosts don’t hold it against you.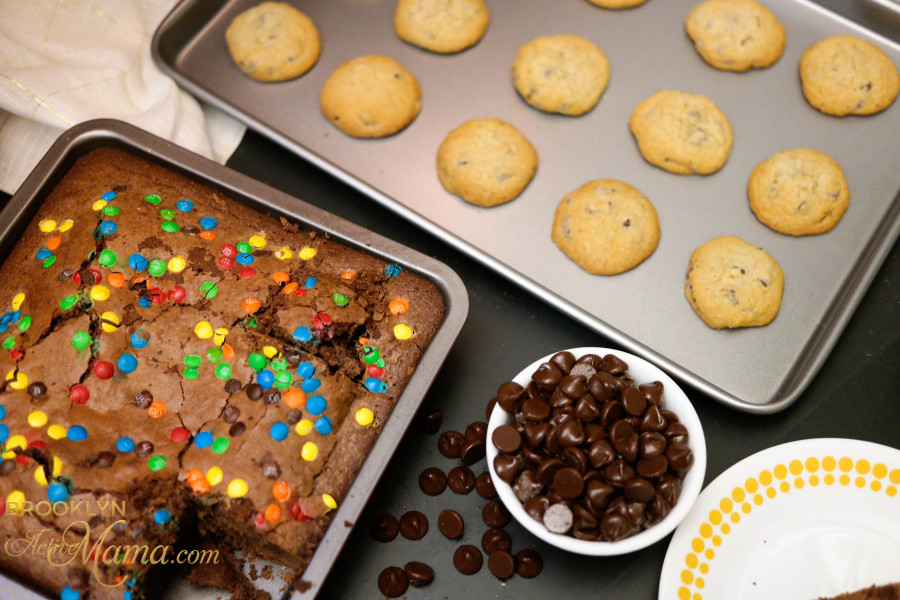
There were several food stations set up all over the stunning Upper East Side apartment that had been repurposed for the press events. There was actual food to eat as well but there were stations that had the set up for the perfect picture. One of the first stations I approached was the brownie section. (It wasn’t on purpose I swear). I picked up 3 smart photography tips from just this section alone:
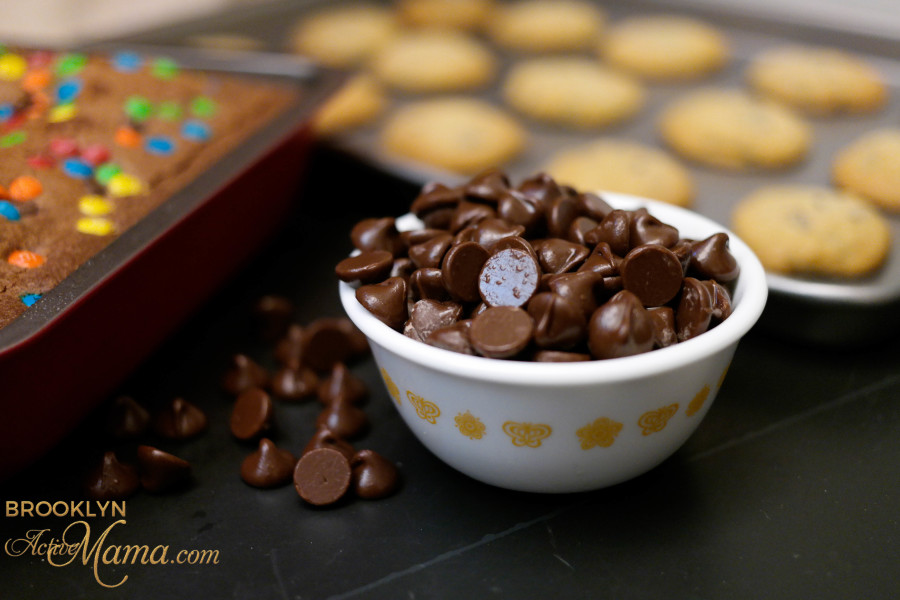
- Use raw ingredients: When you bake or create something, use the raw ingredients int the picture to accentuate the final product. For example: A cup full of sugar or a container of chocolate chips on the side really makes the picture pop.
- Dress up your extras: A neat tip for dry chocolate chips: You know how sometimes chocolate chips can have that really dusty look? Try painting them with Olive Oil using a brush. Now you have photo ready chocolate chips!
3. Bake with style: Use a pan with color to really make the finished product like this one from Baker’s Secret to really make your dish stand out. Check out the pan here, it’s a steal at $6.99!

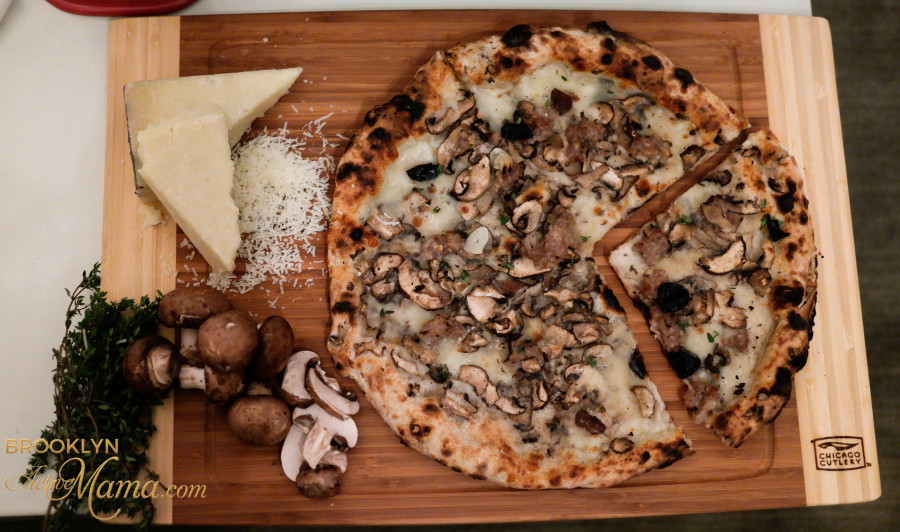
Next I walked over to the food stations where they had pizza set up with plenty of ingredients to compliment. It was the perfect type of scenario to practice on!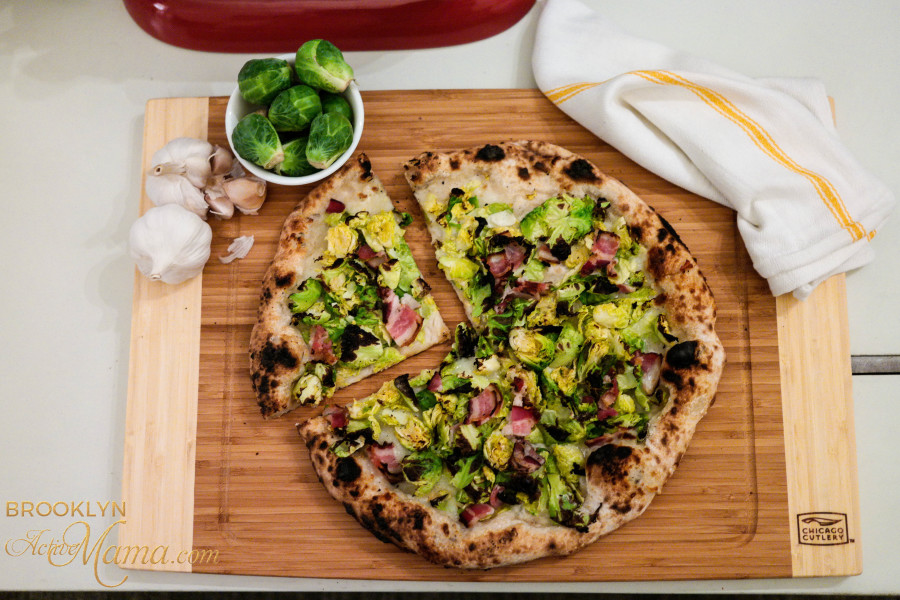
Finally I got some time to chat with Alexa. She was the sweetest and share some really good tips with me like:
4. It’s all about dimension: Overhead shots work really well for things like pizza, but if the food has depth or a lot of layer it is better to really get all in there for the shot.
5. Kitchen towels work great: Sometimes adding a kitchen towel with a pop of color can make all the difference in your photo
6. The rule of thirds still applies: “Food photography is not a selfie, so follow the rule of thirds making sure your image falls just off center for best results. The rule of thirds divides your photo equally with two horizontal and two vertical lines.The focal point should fall along the lines or at their intersections.”
7. Flash too harsh? Use a napkin: We have all been in a situation where the restaurant was dark so the food pictures come out looking kind of…rough. Alexa shared that simply draping your napkin over the flash of your phone or camera can create a softer glow.
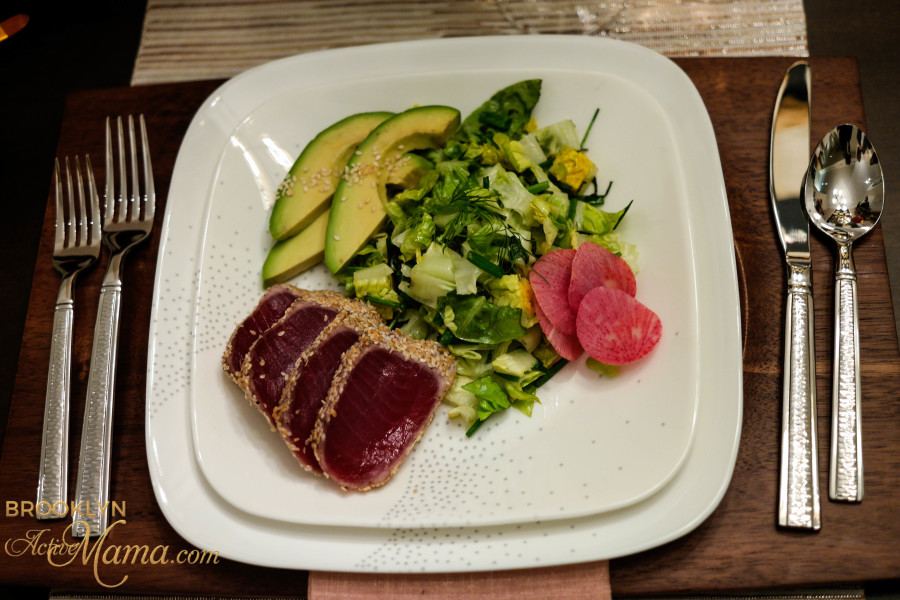
8. Use pretty plates: Make sure your food is served on plates thatcompliment its colors, like arranging a beautiful winter salad on the WestEnd Corelle Market Street New York™ dishes. I personally love this Crimson 10.25 in plate for only $4.99 each!! It would be perfect for pasta with red sauce!
There was also a beautiful bowl of ramen perfectly staged that I practiced on. This was my FAVORITE because there was so much dimension and so much to focus on in the bowl.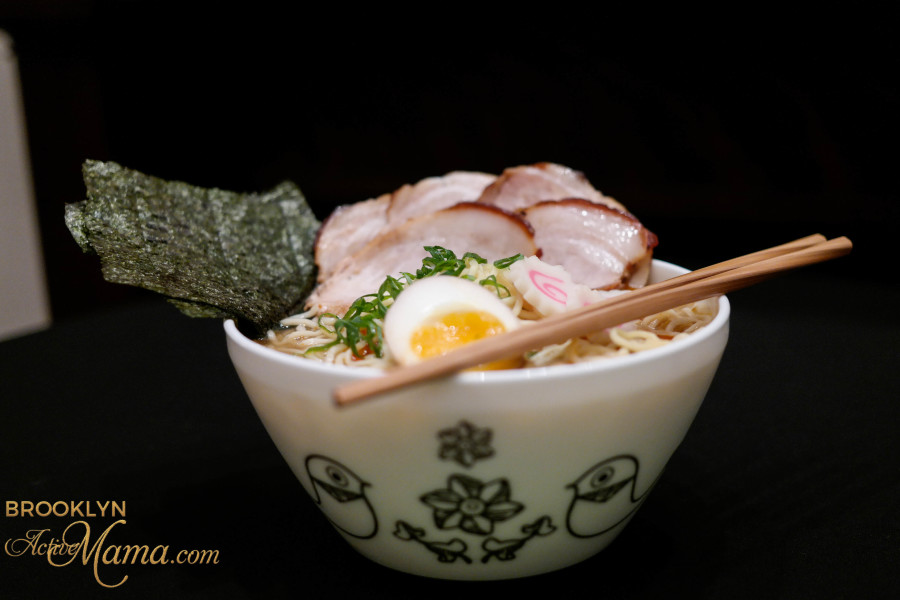
Here are some more fun tips!
Use Natural Light Whenever Possible
One of the cardinal rules in food photography is to take advantage of natural light. Natural light helps to evenly illuminate the subject, making the colors more vibrant and true to life. Choose a spot near a large window to set up your shoot. The best time for this is usually during the early morning or late afternoon when the light is softer. If the light is too harsh, consider diffusing it with a sheer curtain. Avoid using your camera’s built-in flash as it can make the food look unappetizing with harsh shadows and glare.
Choose the Right Background and Props
The background and props should complement the food without overwhelming it. Simple, solid-color backgrounds like white or light gray often work best, as they allow the food to stand out. When it comes to props, think minimalism. A few strategically placed utensils or a napkin can add context and depth to the photo without making it look cluttered. Remember, the food is the star of the show, so don’t let the extras steal the spotlight.
Work on the Composition
Composition is key to taking compelling food photos. The “Rule of Thirds” is a helpful guideline here; imagine your frame divided into nine equal rectangles and try to place the food at one or more of the intersecting lines. Don’t hesitate to experiment with different angles as well. A top-down shot is great for showcasing colorful dishes with multiple elements, while a side angle can be more suitable for foods with layers or height, like a burger or a stack of pancakes. Also, try filling the frame to focus solely on the food or leave some negative space for added context.
Pay Attention to Color and Texture
The appeal of a food photo often lies in its colors and textures. Using contrasting colors can make the food pop. For instance, a green salad on a white plate will stand out more than on a green plate. Likewise, consider the texture of the food and how it will photograph. Crispy, gooey, flaky, or creamy textures can add an extra layer of appeal to your photos. Use close-up shots to emphasize these textural elements.
Edit but Don’t Overdo It
Post-processing is a useful tool in food photography but should be used sparingly. Apps like Adobe Lightroom or simple phone editing tools can help you adjust exposure, contrast, and saturation to make the food look even more delicious. However, avoid going overboard with filters and edits, as you want the food to look as natural and appealing as possible.
Keep the Food Fresh
It’s crucial to photograph the food while it’s fresh. If you’re photographing a hot dish, the steam can add an extra element of temptation. For dishes that can melt or wilt, have everything set up beforehand so you can take the picture as soon as the food is ready. A spritz of water on fresh fruits and vegetables can mimic the look of fresh produce and make it more inviting.
Learn from Others
Finally, don’t hesitate to learn from other photographers or chefs who are skilled in the art of food photography. Platforms like Instagram and Pinterest offer endless inspiration. Pay attention to the details that make a particular shot stand out and try to incorporate similar elements into your own work.
By incorporating these tips, you’ll be well on your way to capturing stunning food photographs that do justice to your culinary creations. Whether you’re a seasoned chef or a home cook, these techniques can help you showcase your dishes in the best light possible.

Do you have any food photography tips to add? Did you know all of these? Did you learn anything new?
If you liked this food photography article be sure to check out these Healthy Mini Chicken Pot Pies!
Hi! I’m Nellie. I am an entrepreneur, a busy mama of 3 and a wife to my high school sweetheart. I have been sharing content for over 12 years about how to cook easy recipes, workout tips and free printables that make life a little bit easier. I have been featured in places like Yahoo, Buzzfeed, What To Expect, Mediavine, Niche Pursuits, HuffPost, BabyCenter, Mom 2.0, Mommy Nearest, Parade, Care.com, and more!
Get comfortable and be sure to come hang out with me on social. Don’t forget to grab your free fitness journal before you go!
Food Photography
Sunday 11th of March 2018
You’ve quite succeeded in your post. My mouth is actually watering after seeing all those delicious-looking food some I don’t even recognize but will love to give it a bite. LOL! Yum yum… Now I’m hungry.
Jean
Wednesday 9th of March 2016
Nellie, how I would love to have been there with you! Great tips. Definitely need to upgrade my camera, but then having a really good guitar didn't really improve my playing! :D
Leslie
Wednesday 2nd of March 2016
Food photography is no easy task! I've done a lot of research, but still have a long way to go. Definitely agree that a well-placed kitchen towel can make a shot far more interesting, and hadn't heard about brushing chocolate with oil to make it more glossy!
kita
Monday 29th of February 2016
I can't ever do food right *sigh* I've given up. I just try to make sure I am near a light and that's about all I can do lol
Tamara
Monday 29th of February 2016
I definitely struggle with this. I feel like mine has been passable at best, but I need it to be better. I just am so accustomed to photographing humans and large spaces. That said, I used a macro lens last night and it made a HUGE difference. You'll see that post tomorrow. It's tasty! And the napkin tip is awesome. A splash of color or an accent or something to fill the frame with some authenticity.