
Imagine walking into a room filled with the aroma of freshly baked cookies, the glow of twinkling lights, and the sight of a magical treat that captures the essence of Christmas. Enter the Santa Hat Christmas Buttercream Board!
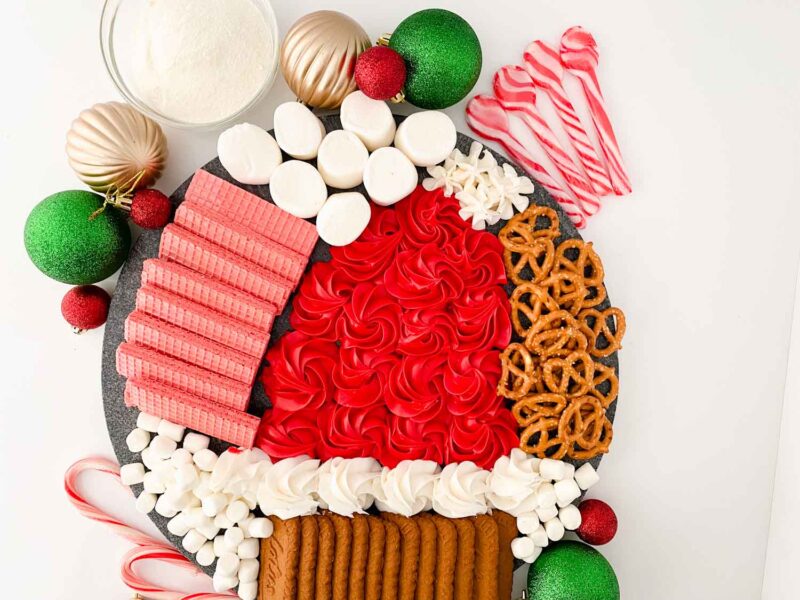

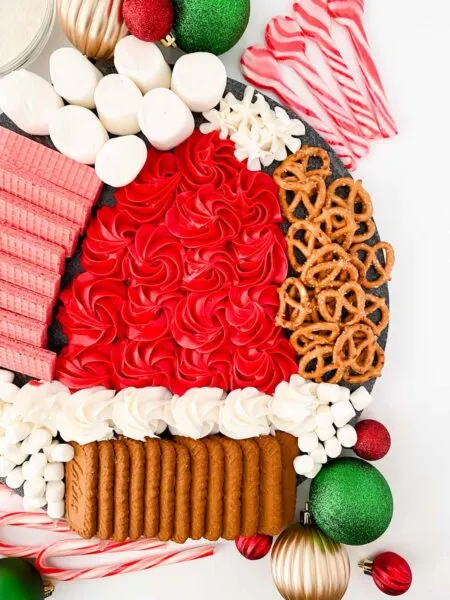
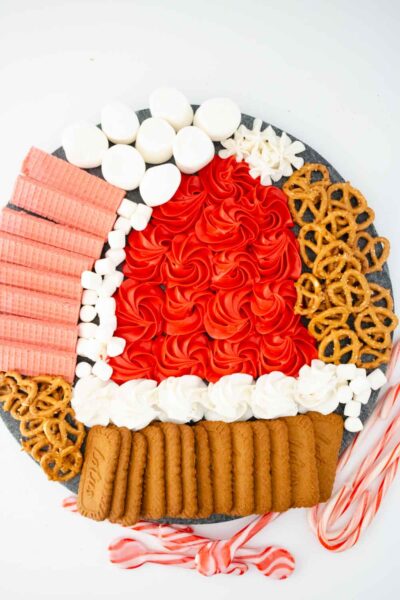
This eye-catching, mouth-watering board is an explosion of flavors and textures, all arranged to mimic a Santa hat. Using ready-made ingredients like canned red and white frosting, along with a merry assortment of pretzels, cookies, and marshmallows, this board is a holiday dream come true for those who love to celebrate Christmas with gusto!
FAQs
What Type of Frosting Should I Use?
For this recipe, store-bought cans of red and white frosting work perfectly. You could opt for cream cheese, buttercream, or even whipped frosting depending on your personal preference.
Can I Make This in Advance?
Yes, you can assemble the base a day in advance but it’s best to add the marshmallows and other toppings right before serving.
Can I Substitute the Cookies?
Absolutely! Feel free to use your favorite Christmas cookies or even homemade ones if you’d like.
Tips and Tricks
Smoothing the Frosting
For a clean, polished look, use a spatula or the back of a spoon to smooth out the frosting once you’ve spread it on the board.
Arrangement
Think of this board as an art project. Arrange the pretzels, cookies, and marshmallows in layers or patterns for a visually striking effect.

Variations
Add Fruit
You can add some sliced strawberries or cherries for a fruity twist.
Make it Gluten-Free
Substitute the cookies and pretzels with gluten-free versions if you or your guests have dietary restrictions.
Where to Serve
This board is perfect for Christmas parties, family gatherings, or even as an indulgent treat to enjoy while watching Christmas movies. Its festive appearance makes it a show-stopping centerpiece.

Storage
The board can be covered with cling film and stored in the fridge for up to two days. However, the marshmallows may get a little soggy, so it’s best to consume it as soon as possible.
Common Problems and How to Avoid Them
Frosting Melting
If you’re serving this outdoors or in a warm room, the frosting may start to melt. To avoid this, serve the board in a cool environment.
Soggy Pretzels
Nobody likes soggy pretzels! To prevent this, add the pretzels just before serving.
Tips for Making This Recipe with Kids
Children will have a blast helping you assemble the board. Let them get creative with the arrangement of the pretzels and marshmallows. Just ensure adult supervision when handling the frosting to make sure it spreads evenly.

Topping Options
Feel free to go wild with additional toppings like sprinkles, chocolate chips, or even small candies. More is more when it comes to Christmas, after all!
Why This Recipe Works
The Santa Hat Christmas Buttercream Board is not just a treat; it’s an experience. The contrast of flavors—from the sweet, fluffy marshmallows to the salty crunch of pretzels—creates a delightful sensory adventure.

The use of red and white frosting captures the quintessential Christmas color scheme, while the varied textures make each bite interesting. It’s an inclusive dish that allows for creativity and personalization, making it a true holiday winner. Happy Holidays!
Here are some other amazing Christmas posts to check out:
- The Best Free Printable Christmas Games To Play With Family
- Easy Christmas Crack Recipe
- The Best M and M Christmas Cookies
- Free Printable Christmas Movie Bucket List + Movie Bingo Game

Easy Buttercream Santa Hat Board
This amazing Santa Hat Buttercream board is so easy to make for all of your Christmas Festivities!
Ingredients
- 1 store bought can of red frosting
- 1 store bought can of white frosting
- 1 cup mini pretzels
- 1 small pack biscoff cookies
- 1 small pack strawberry wafer cookies
- 1 cup mini marshmallows
- 1 cup standard size marshmallows
Instructions
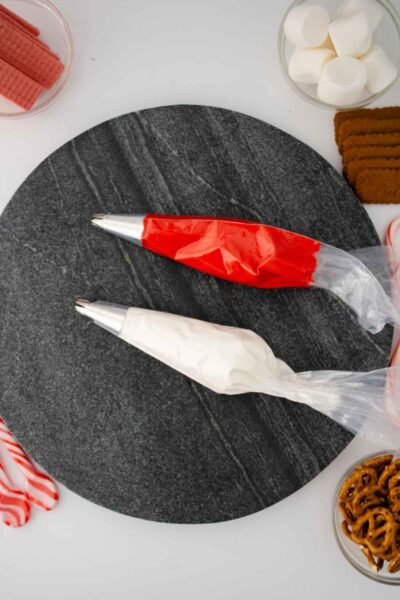
- First start by mixing your store bought frosting. If you have a hand held mixer, use ONE beater on the mixer, insert into the plastic can and mix, the frosting will become smooth and fluffy after about 45 sec.
- Do this for both the red and white frostings.
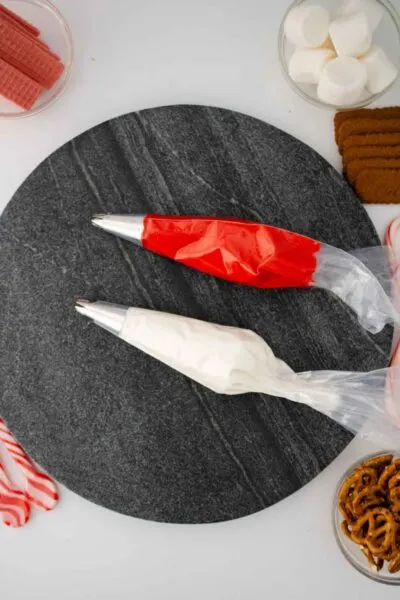
- Fit piping bags with the 1M tips
- Add red to one bag, white to the other.
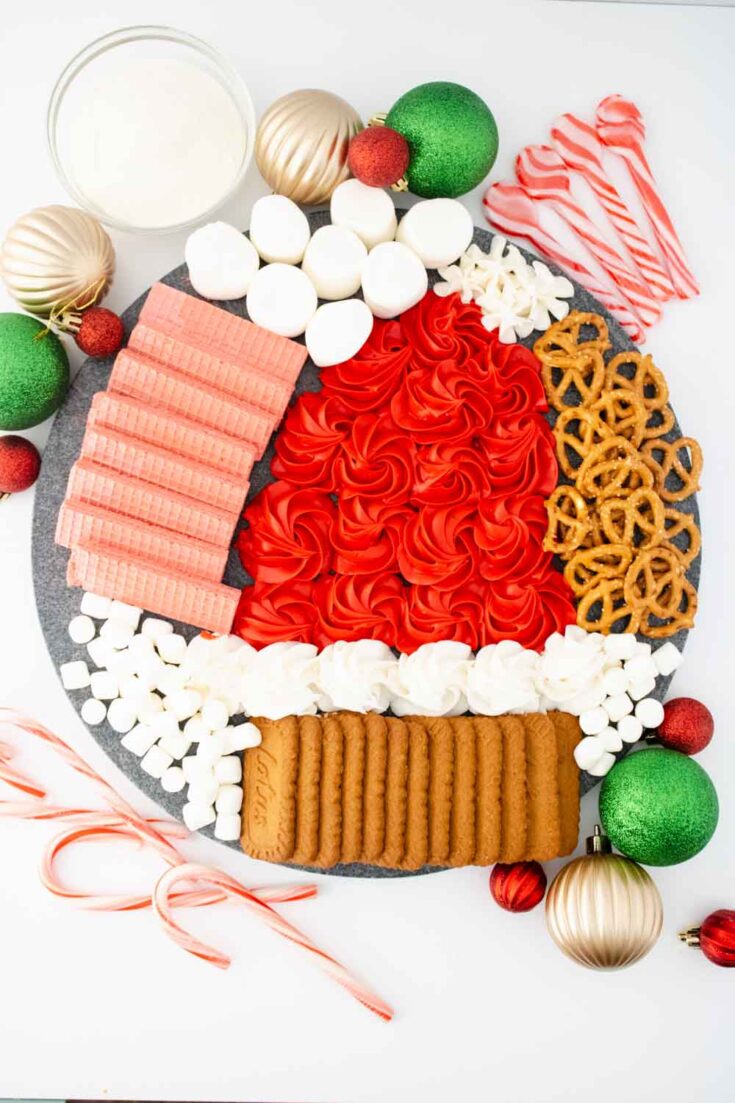
- Decide where you want to place the hat, in the center or off centered.
- (I went off center due to the length of the wafers I was adding to the board).
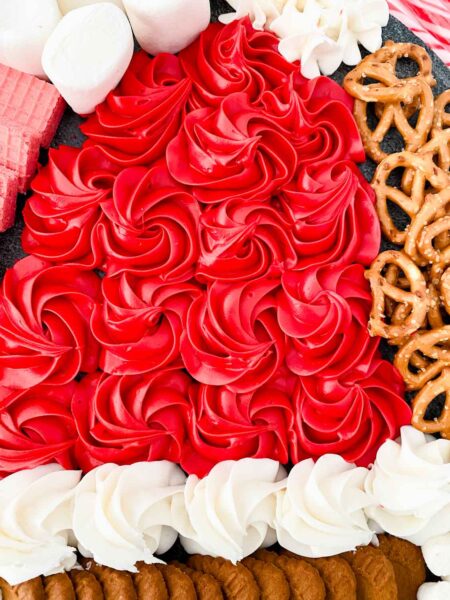
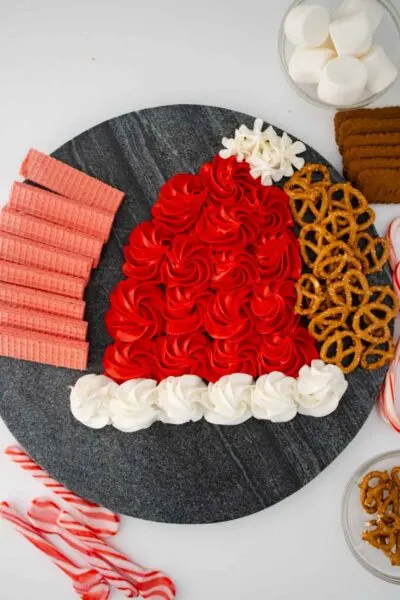
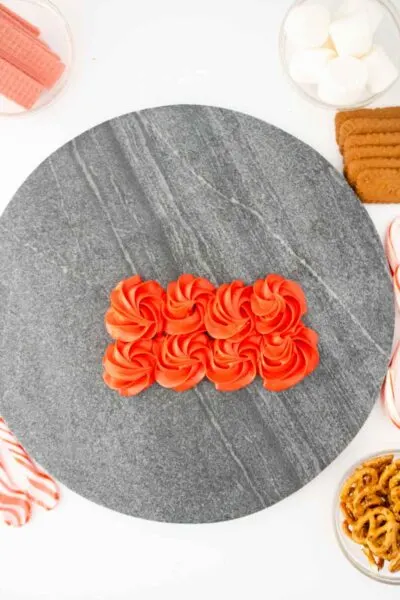
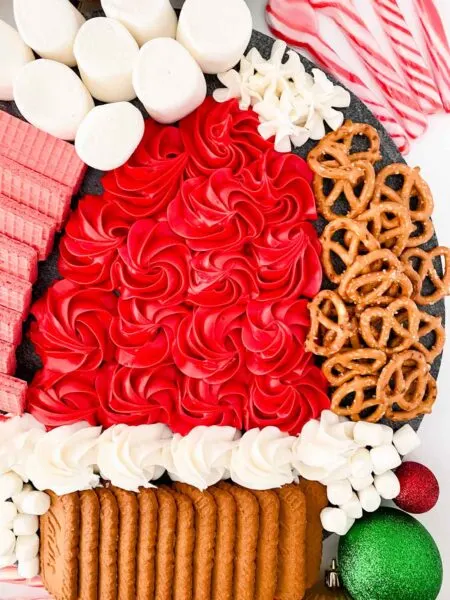
- To make the rosettes: Lift the piping bag slightly above the board.
- Squeeze with consistent pressure in a circle.
- Do not drag on the board or the rosettes will be flat.
- Make several in a row, the keep creating rows until the hat forms
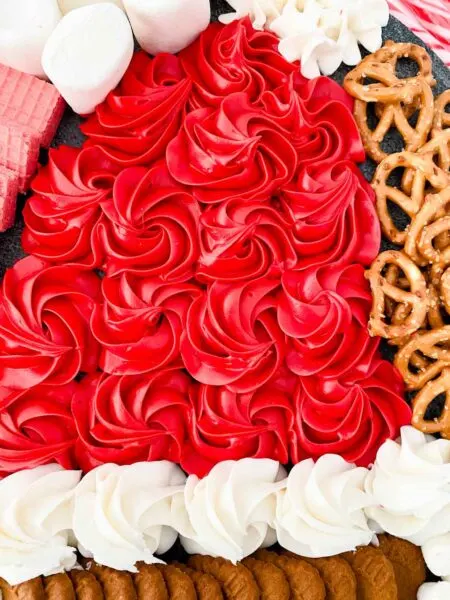
- Add a longer line of white rosettes at the bottom for the bottom of the hat and then “star tip” the top.
- To make the star, squeeze out a little frosting then stop squeezing and pull off.
- This should make a textured “star tip” cotton ball for the hat
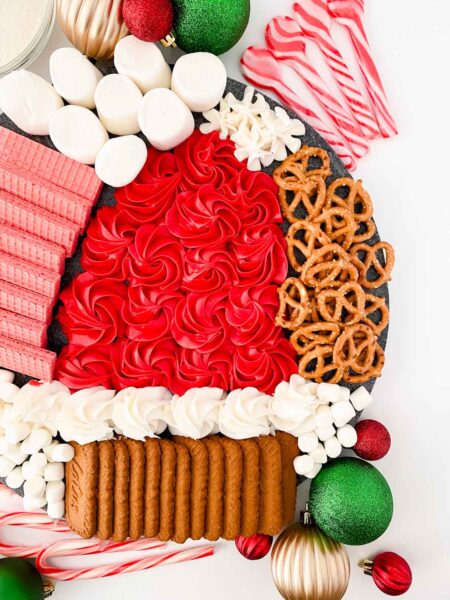
- Next position all of your favorite treats.
Nutrition Information
Yield
20Serving Size
1Amount Per Serving Calories 54Total Fat 1gSaturated Fat 0gTrans Fat 0gUnsaturated Fat 1gCholesterol 0mgSodium 52mgCarbohydrates 10gFiber 0gSugar 6gProtein 1g

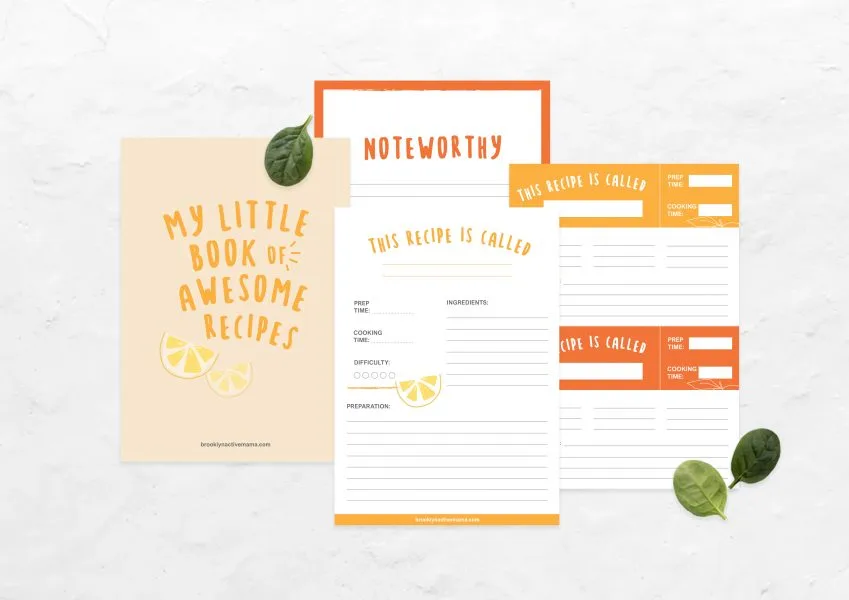
Before you go, grab Your Free Printable Recipe Kit!
Keep track of all your favorite recipes and ingredients with this free printable book!
Hi! I’m Nellie. I am an entrepreneur, a busy mama of 3 and a wife to my high school sweetheart. I have been sharing content for over 12 years about how to cook easy recipes, workout tips and free printables that make life a little bit easier. I have been featured in places like Yahoo, Buzzfeed, What To Expect, Mediavine, Niche Pursuits, HuffPost, BabyCenter, Mom 2.0, Mommy Nearest, Parade, Care.com, and more!
Get comfortable and be sure to come hang out with me on social. Don’t forget to grab your free fitness journal before you go!